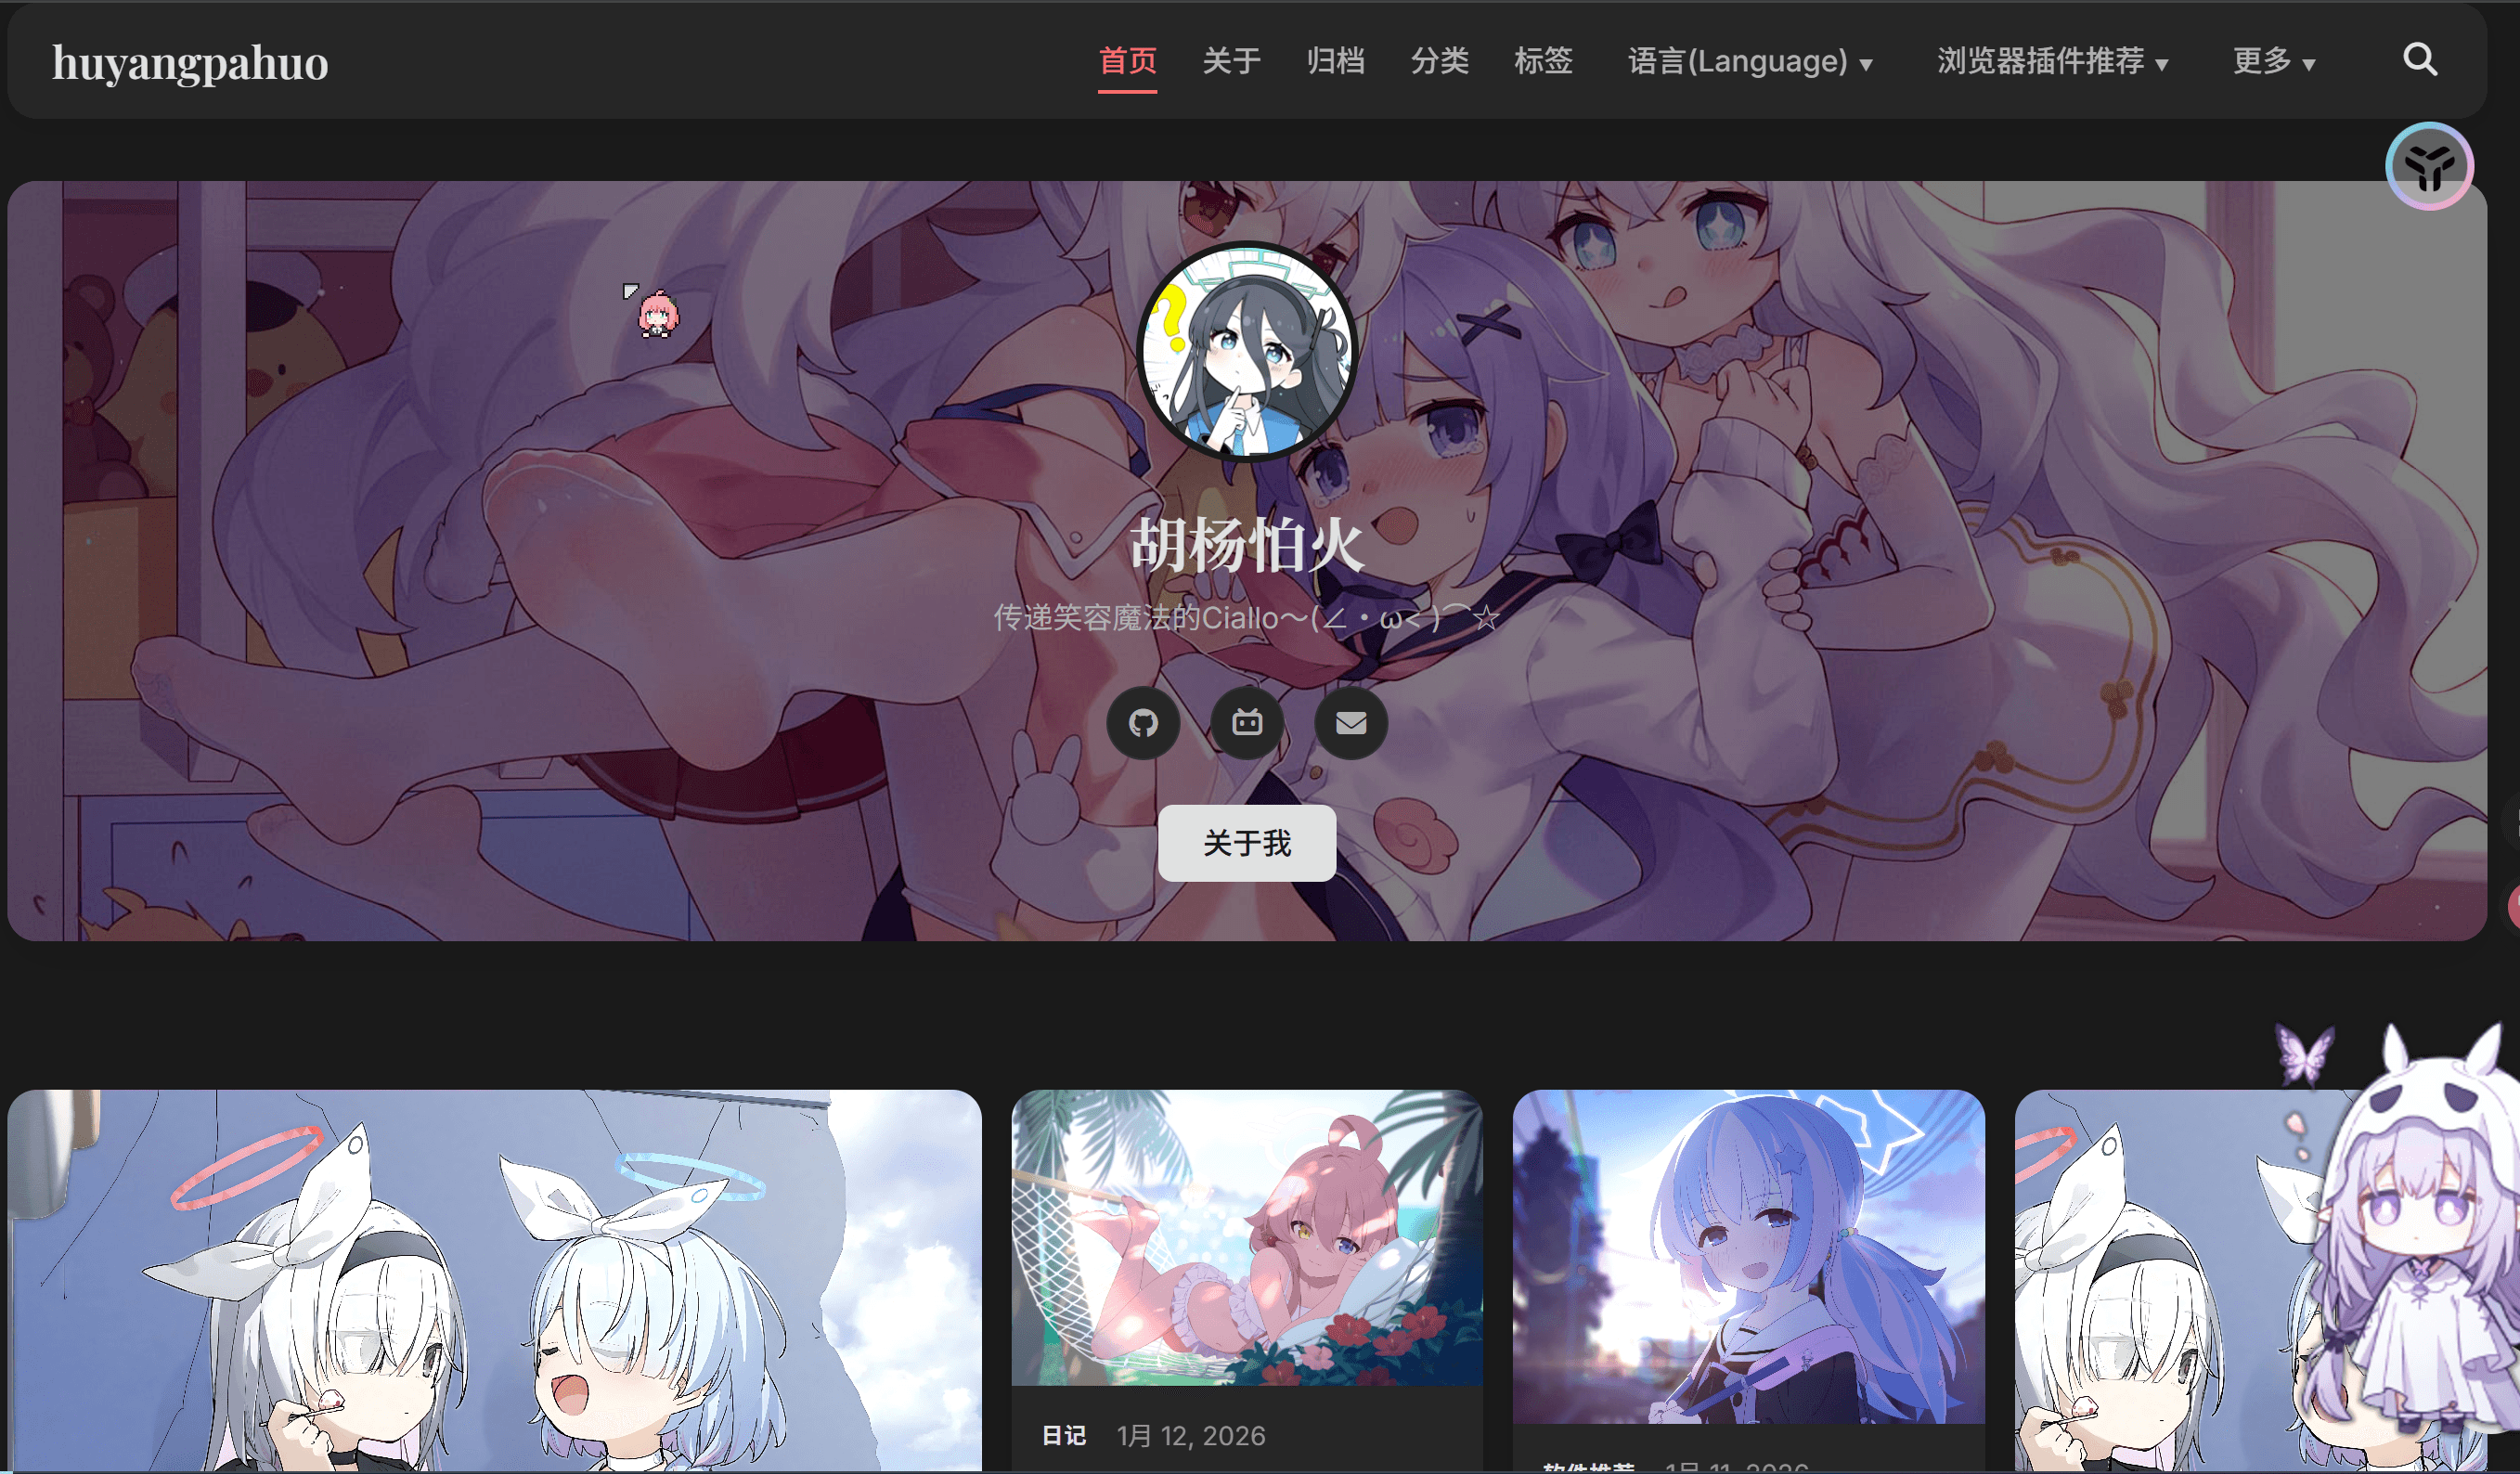
这个是我正在使用的Hexo主题 大佬主题教程已出,你们可以基本上不用看我的这篇文章了,点击跳转 查看文档
这个主题的最大优点——-很有创新性,不同于其他Blog的以文字为主 主题下载地址 Hexo magzine主题
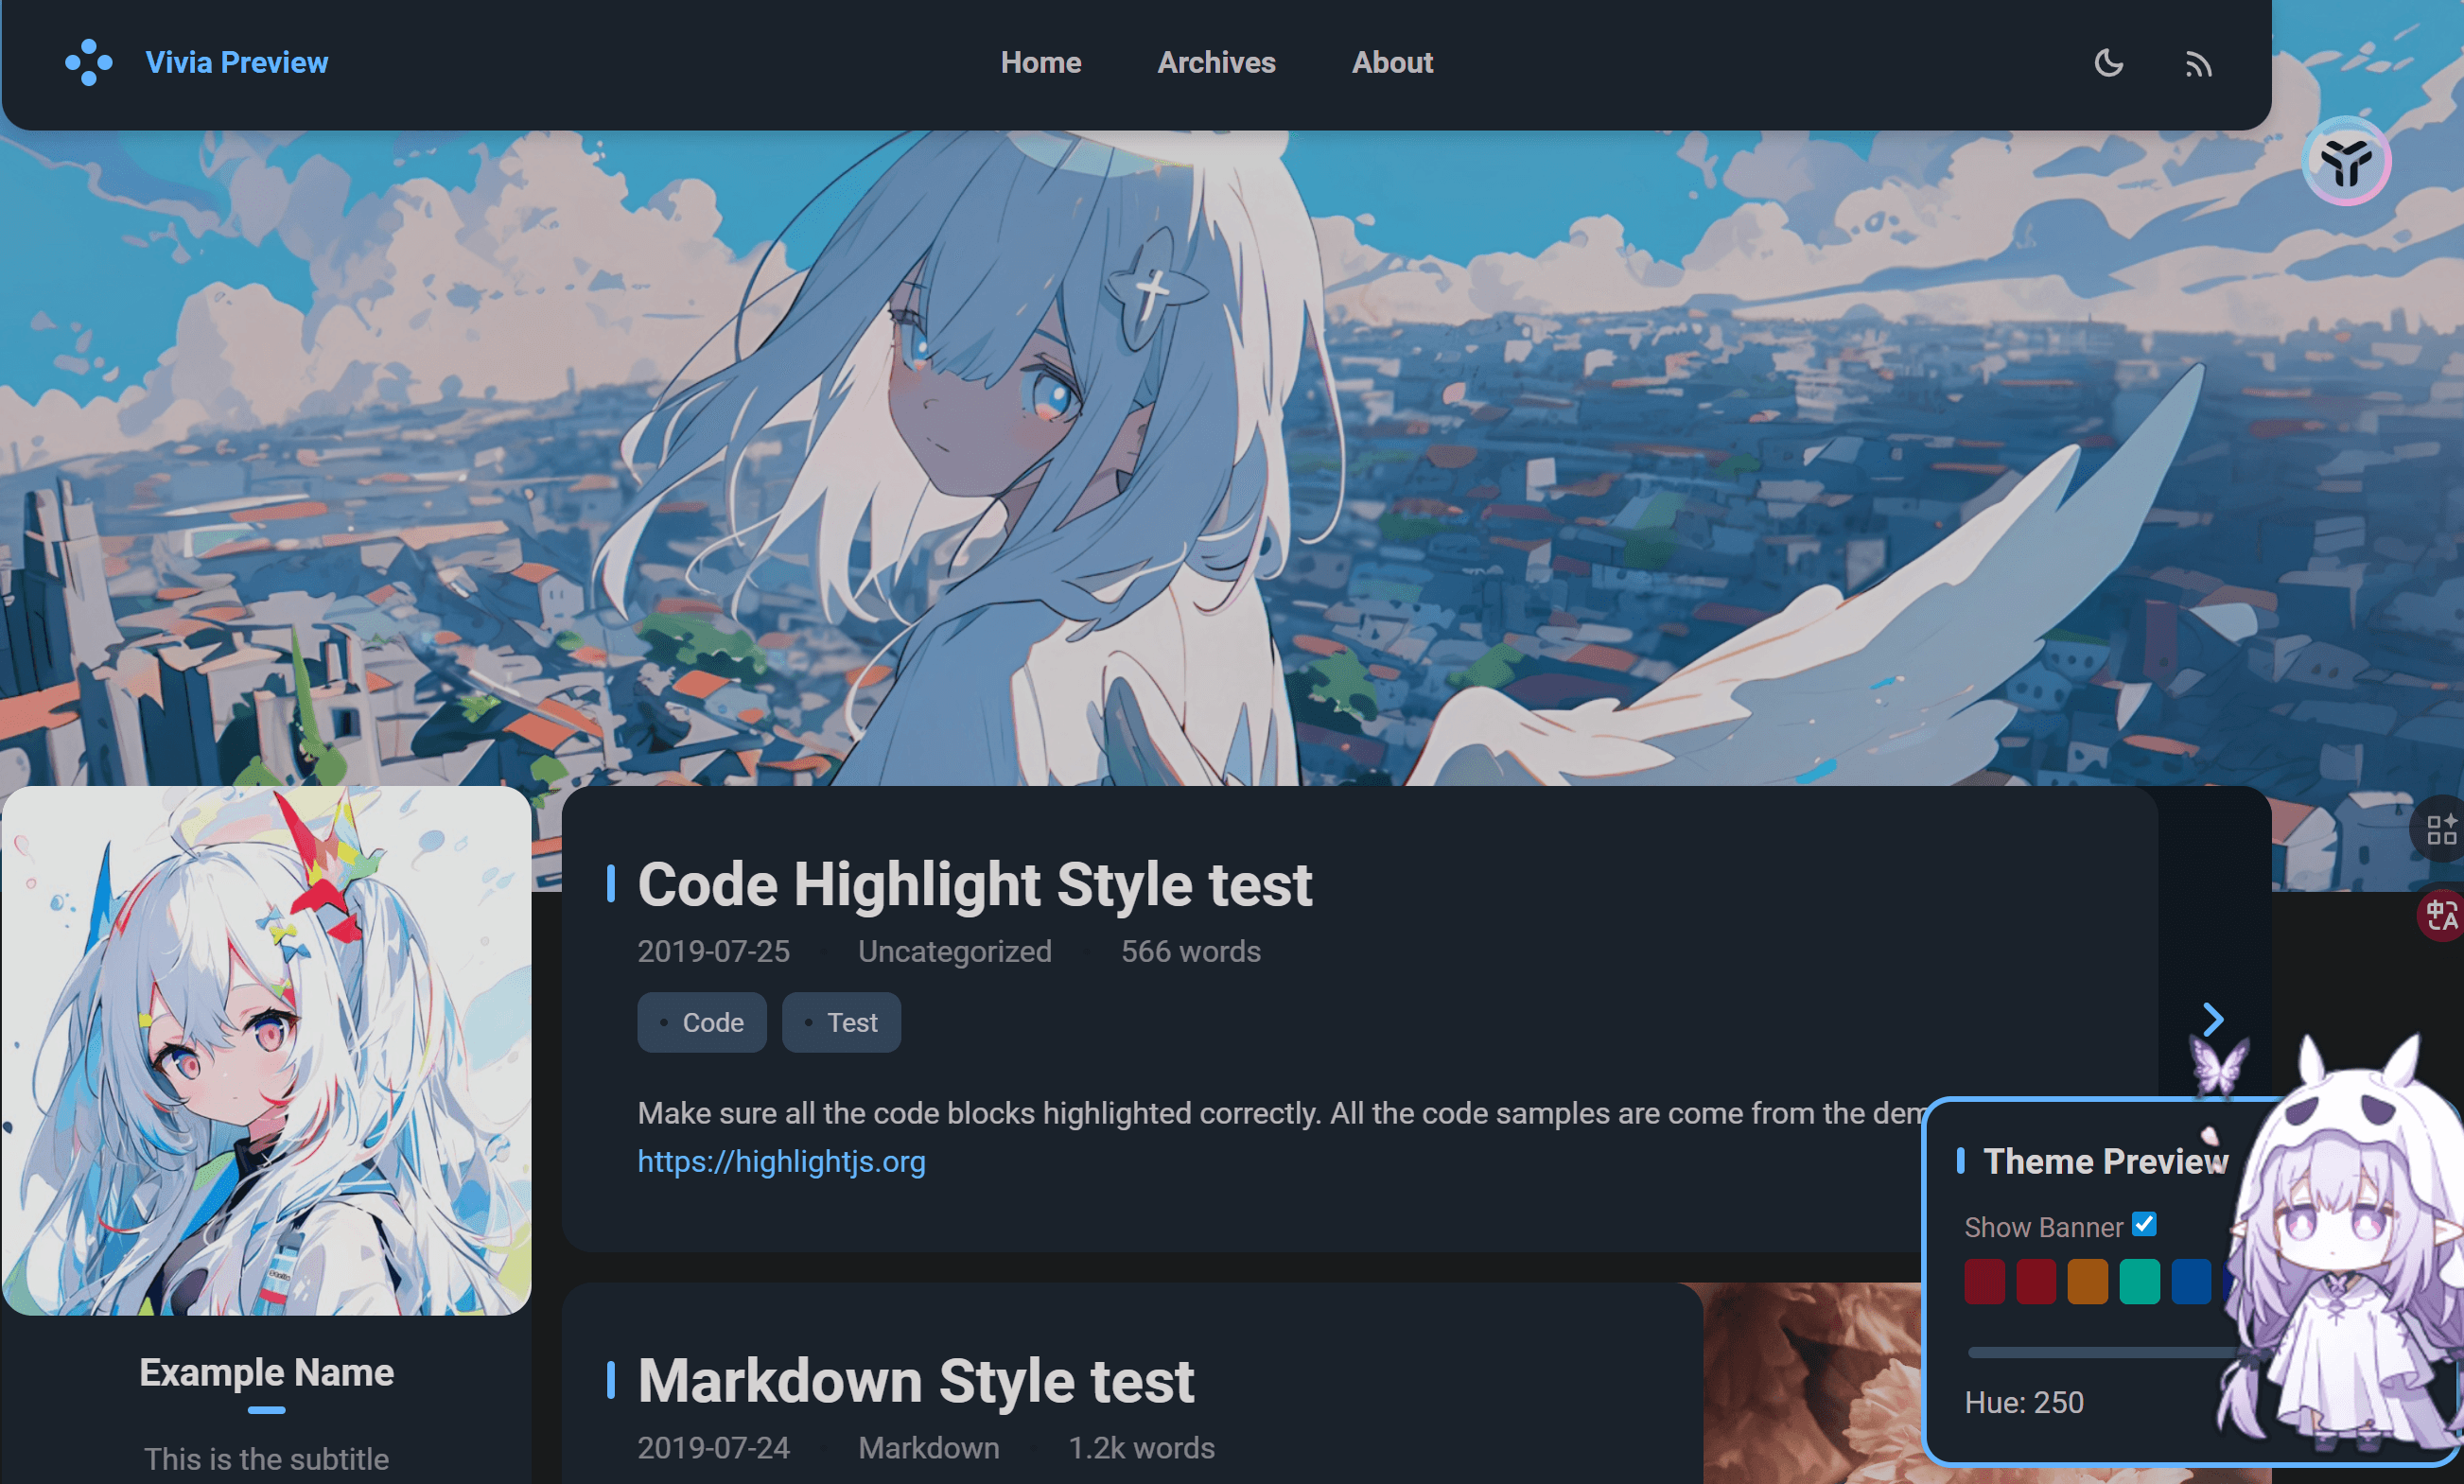
之所以选择这个magzine主题而不是另一个我比较喜欢的 Hexo Vivia 主题
对了提一下,Vivia的作者就是现在 Astro fuwari主题 Astro MizukiAstro主题 狗头狗头狗头
但是,虽然这两个主题都非常好看,但是从心理学的角度来说,我们更倾向于图像内容而不是文字内容
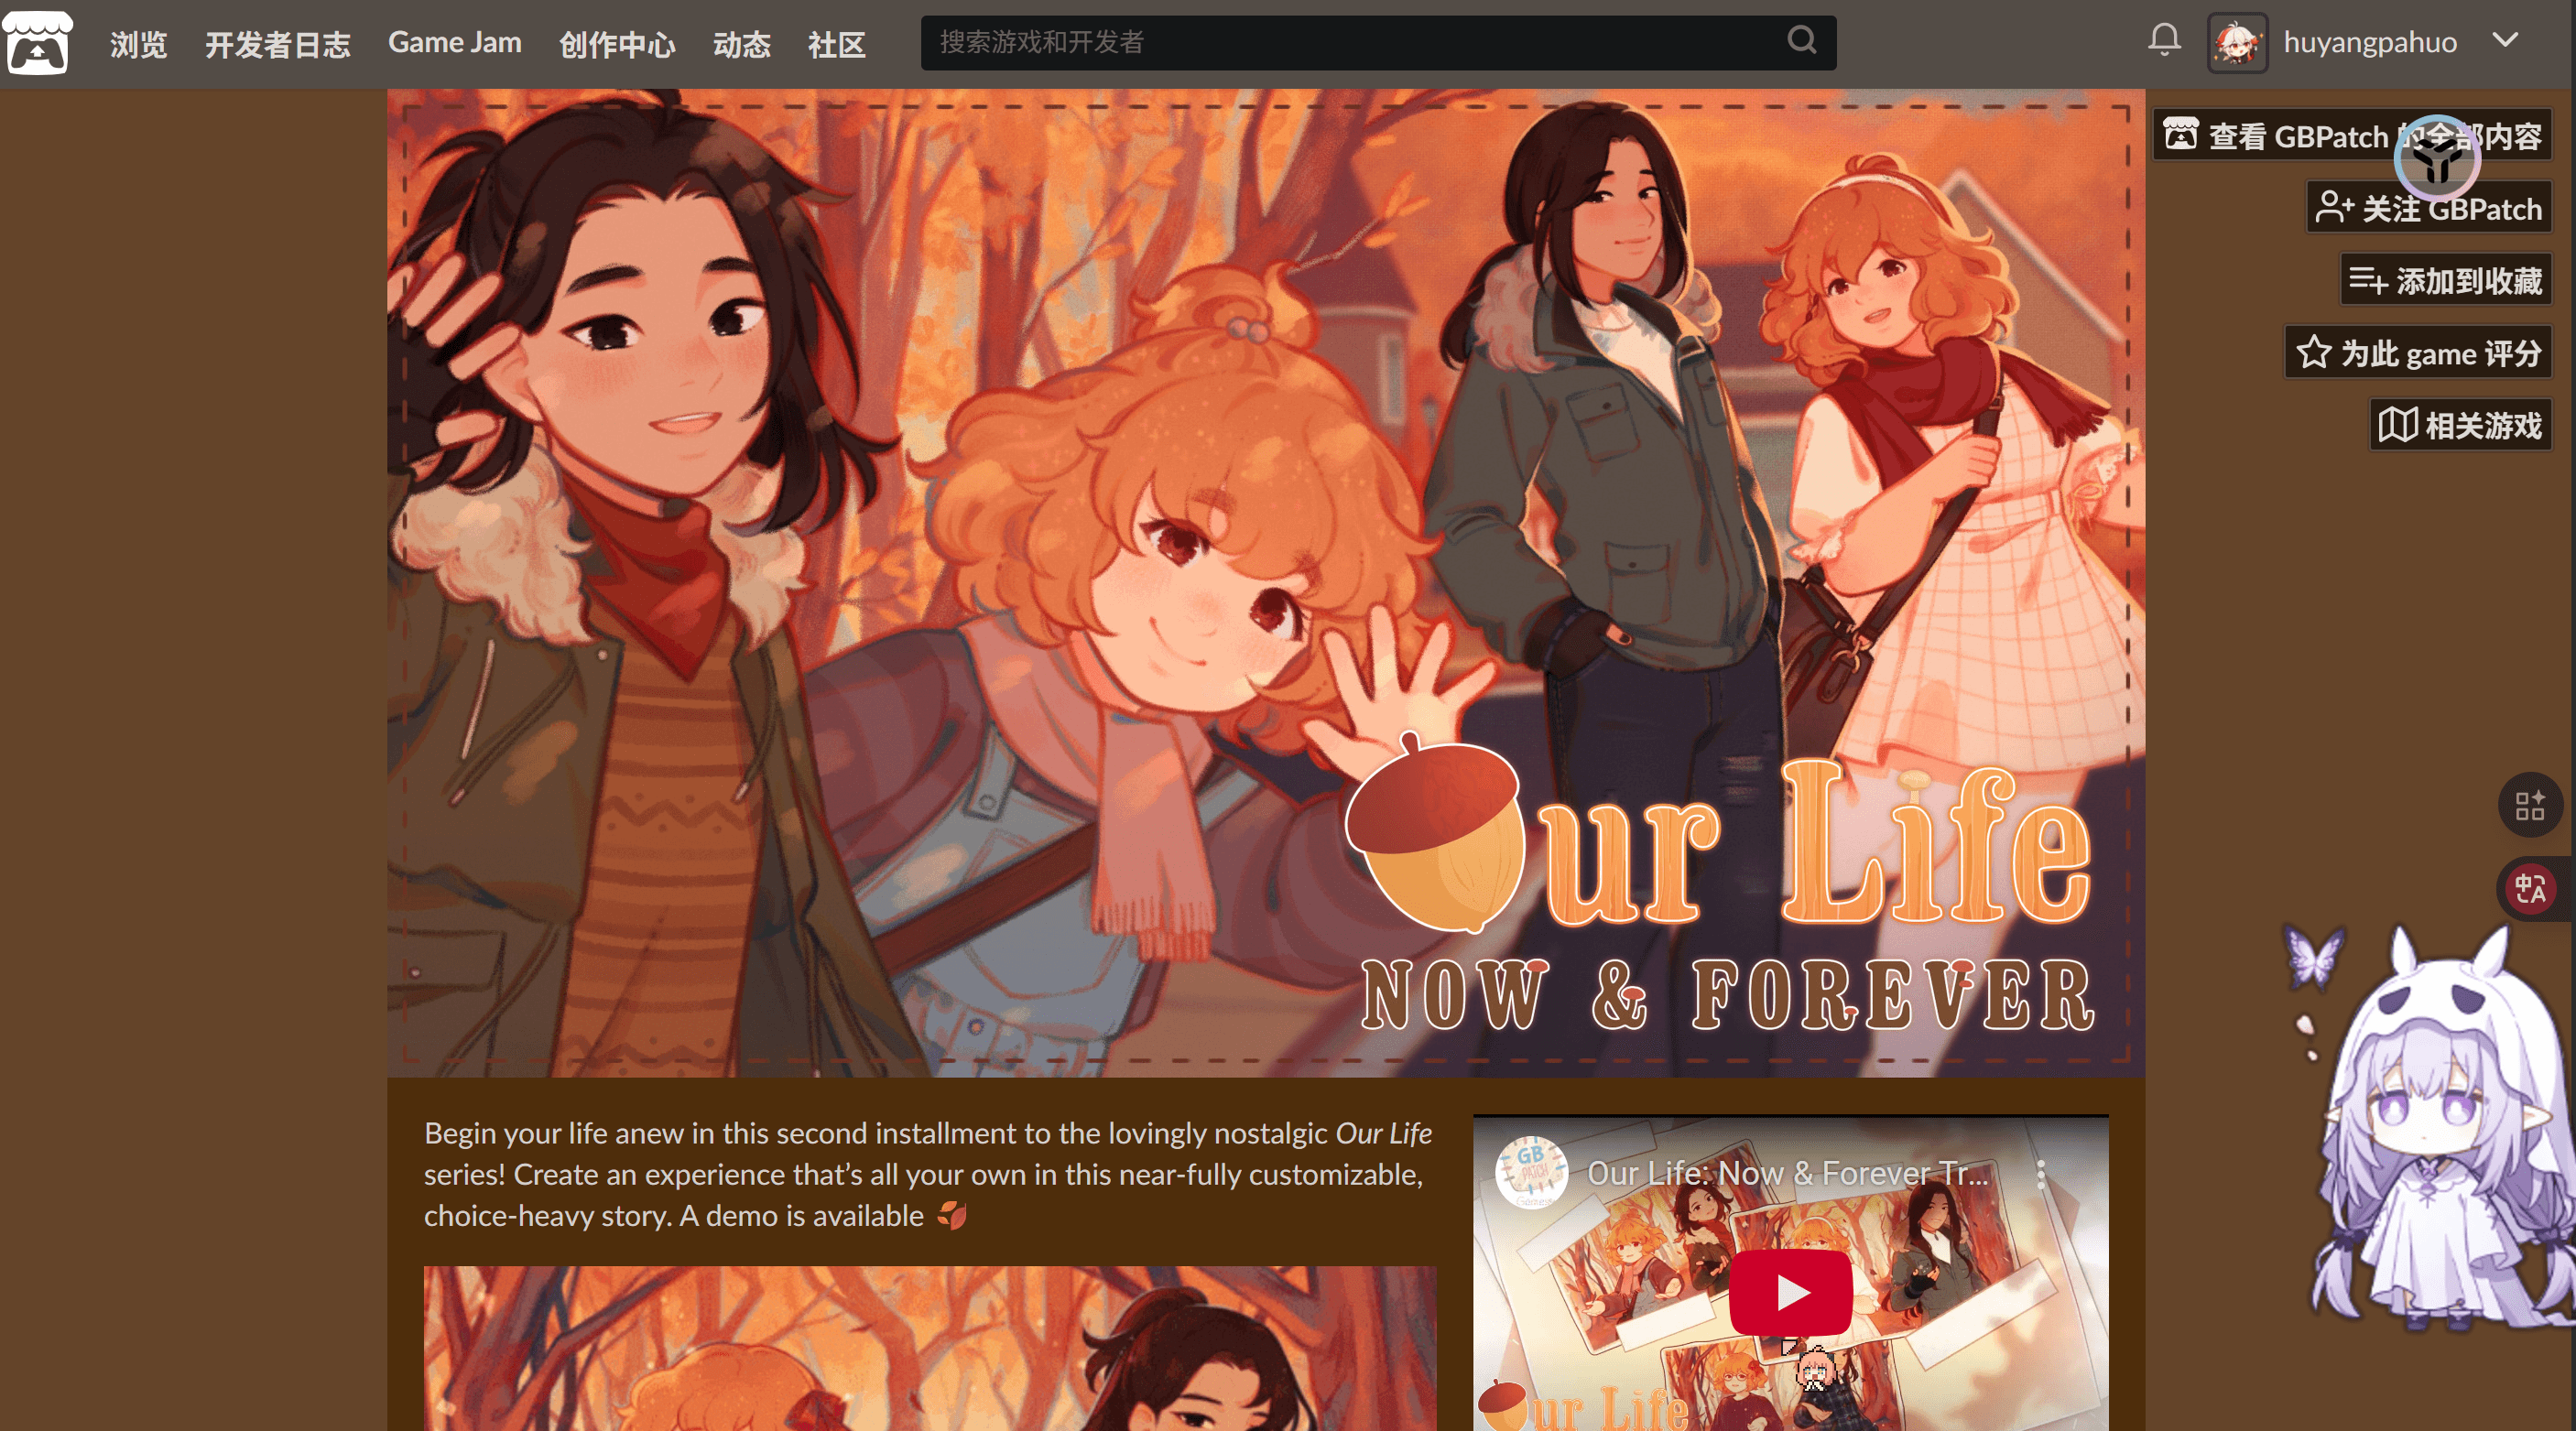
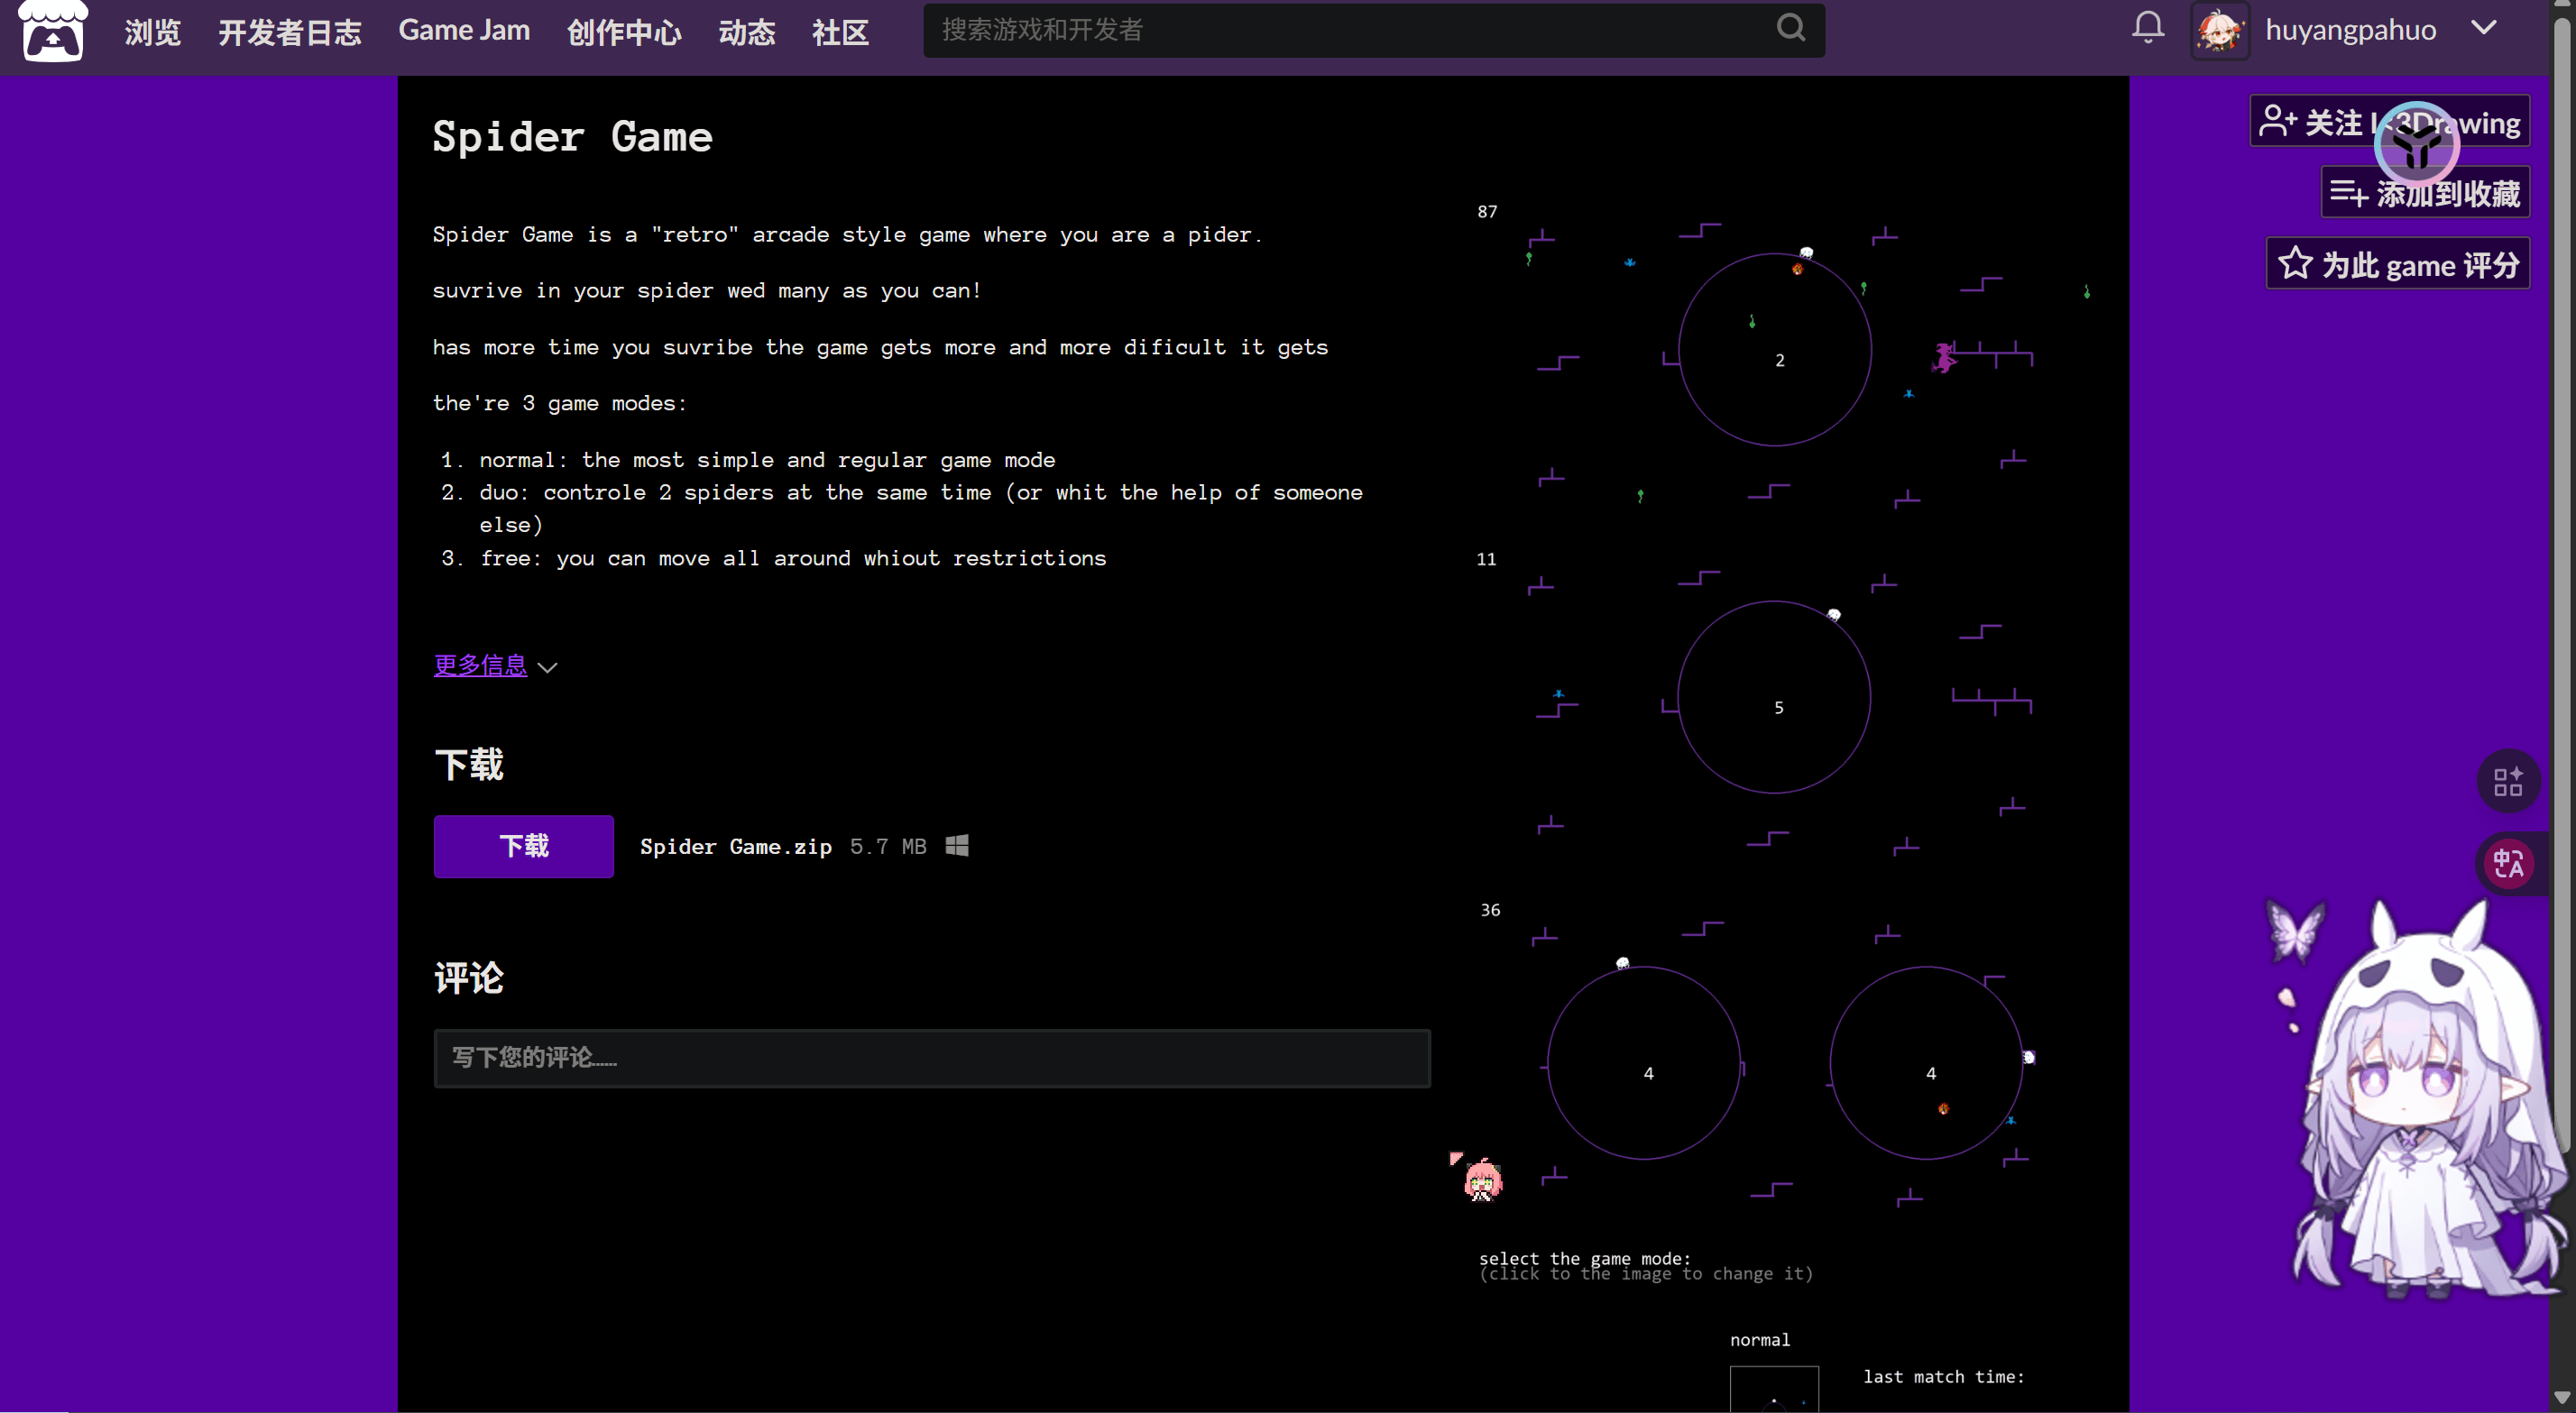
这里我举个例子 以下是 itch.io上的几个小游戏 大家可以对比一下
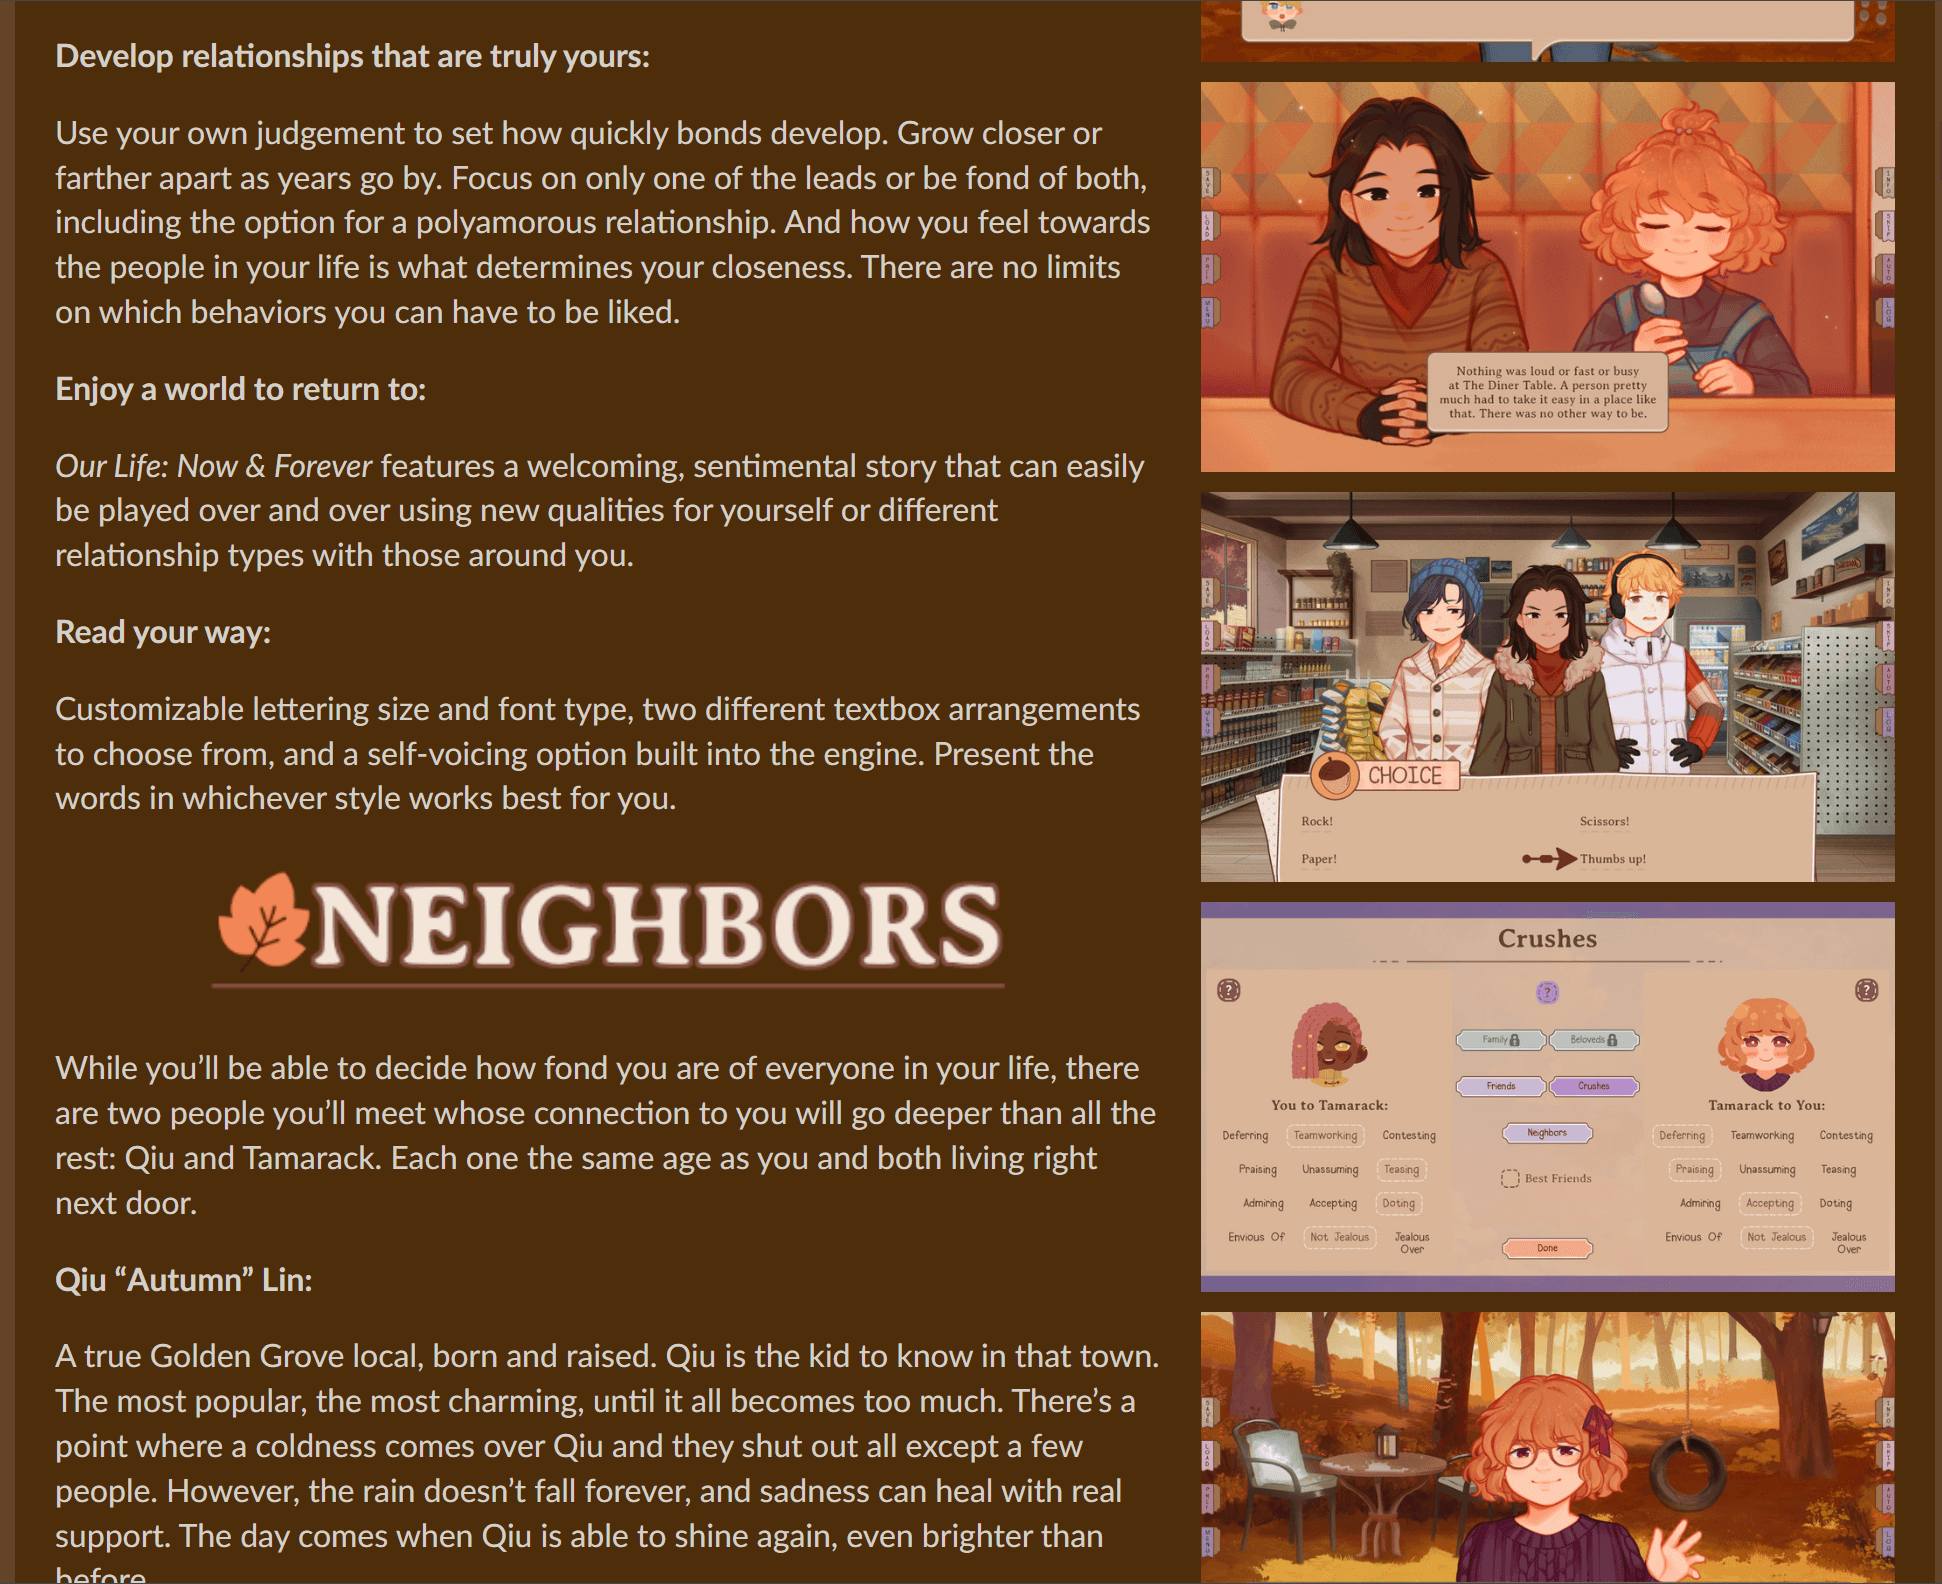
这是第一个游戏 ,不仅有文字描述还有游戏实机图像 甚至还有宣传片
点击跳转
这是第二个游戏 文字描述非常少 图片就像是随手截的图一样 网页配色也让人很难受(可能这个游戏作者是一个小萌新)
点击跳转
要是我,我一定不会玩第二个游戏,真的碰都不会碰,第一个我八成会想试一试
所以大家也可以发现一件事,那就是我们人类是看脸的生物,大家绝对第一眼先看图片再看文字,或者说根本不看文字
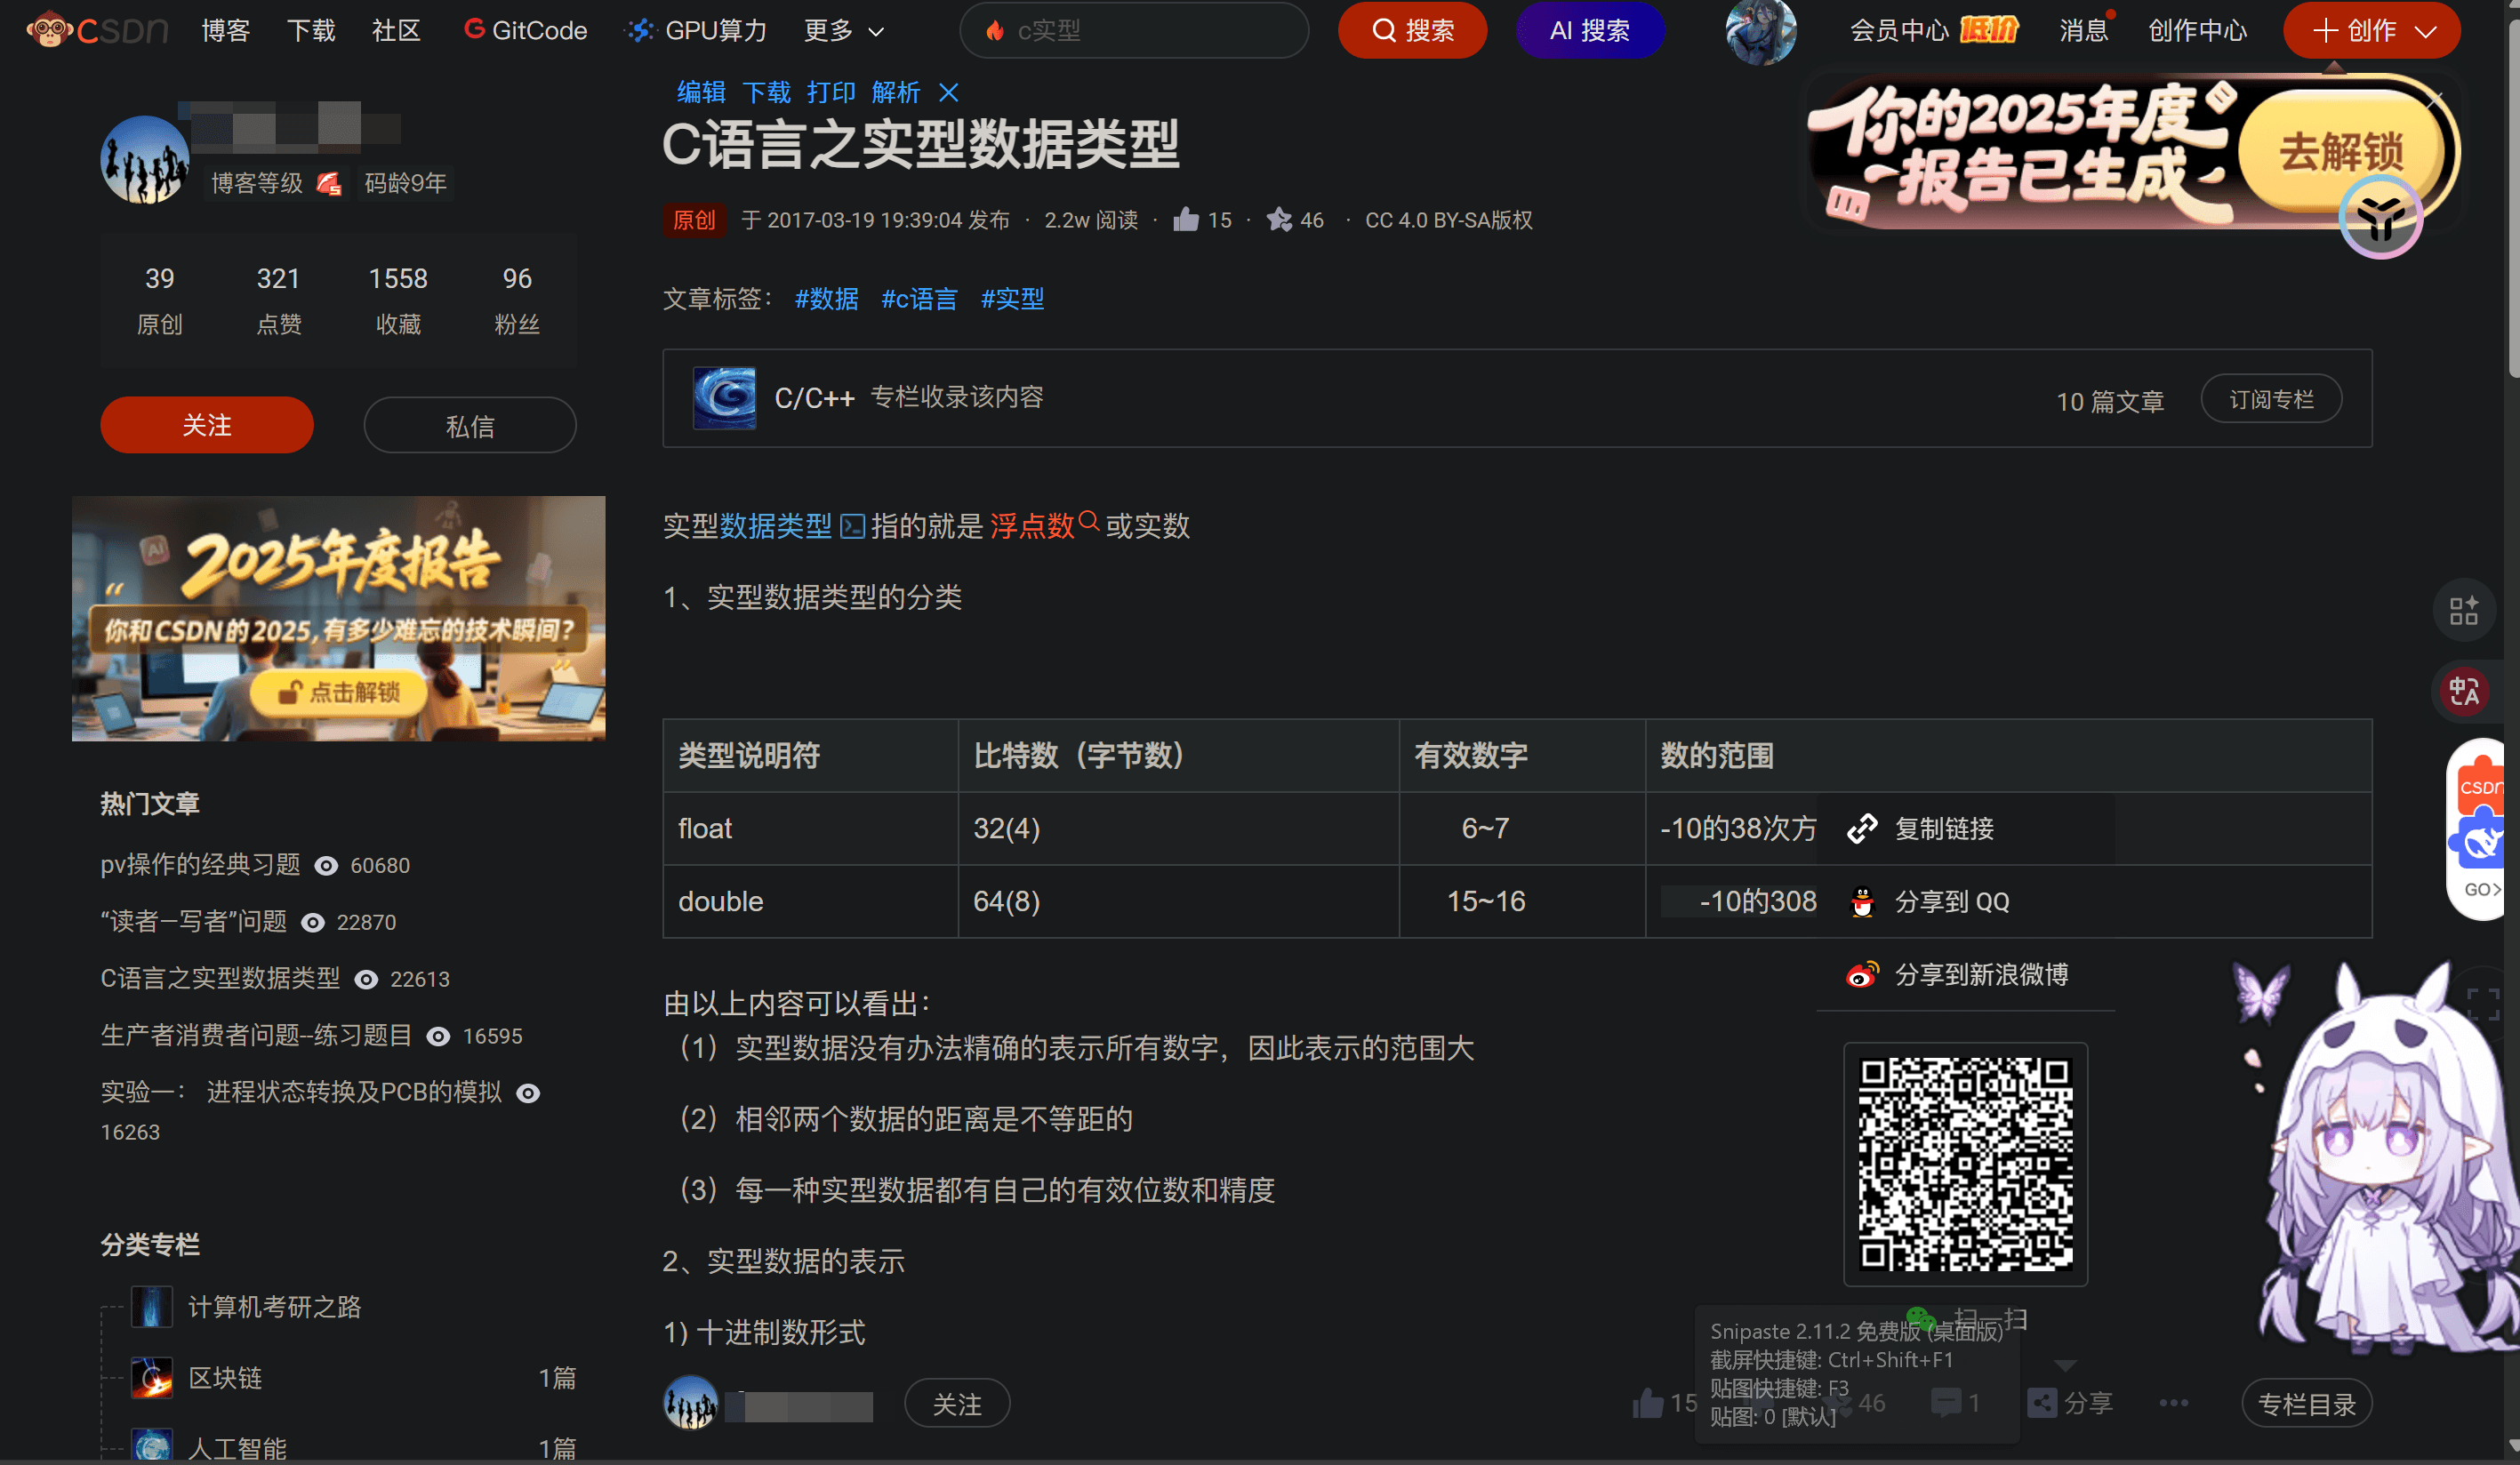
对于Blog 我个人认为类似CSDN这种界面真的好难看 你们可以看看
小小的界面塞进去几十个没用的东西,配色也很阴间,甚至强制登录,也是无敌了,这个公司的员工的审美这么差劲吗 (# ̄~ ̄#)
对比一下 stackoverflow 就知道差距有多大了,人家界面起码能保证UI和配色一致不辣眼睛(毕竟是论坛所以文字居多)
所以把东西都藏到边边角角里反而会给用户更好的观感,而不是把功能全部呈现给用户甚至展现一些没用的东西
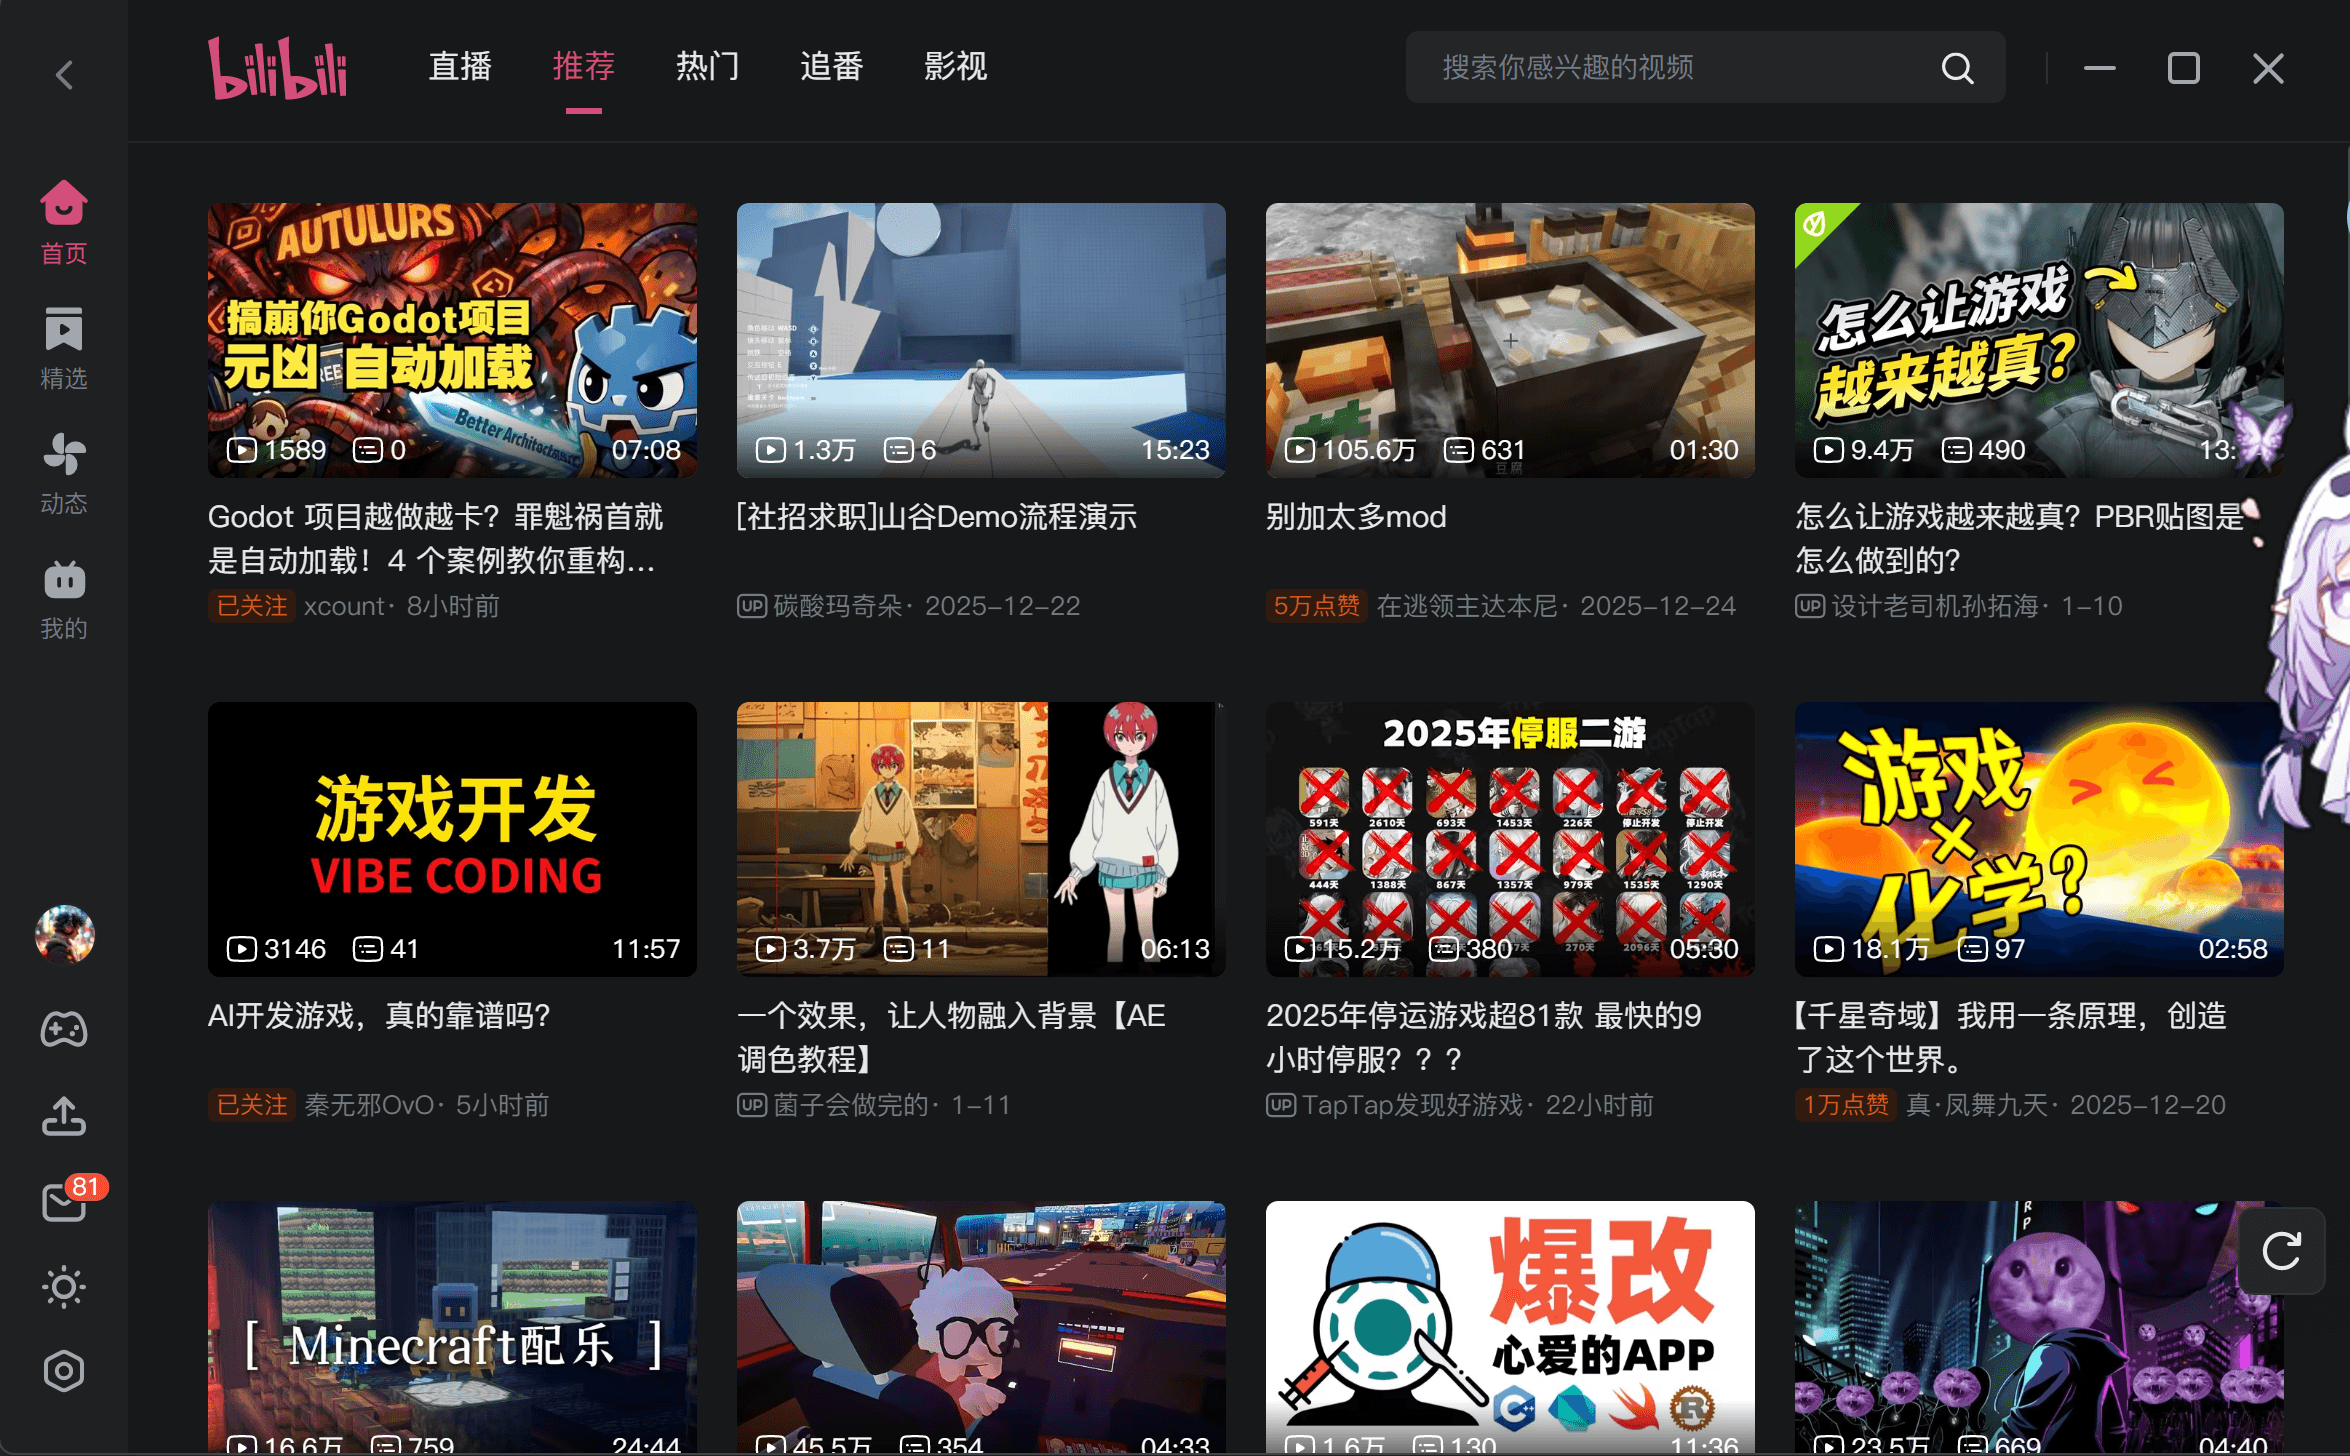
所以要么主题以文字为主,要么以图像加文字为主,类似于哔哩哔哩这种界面反而效果更好看
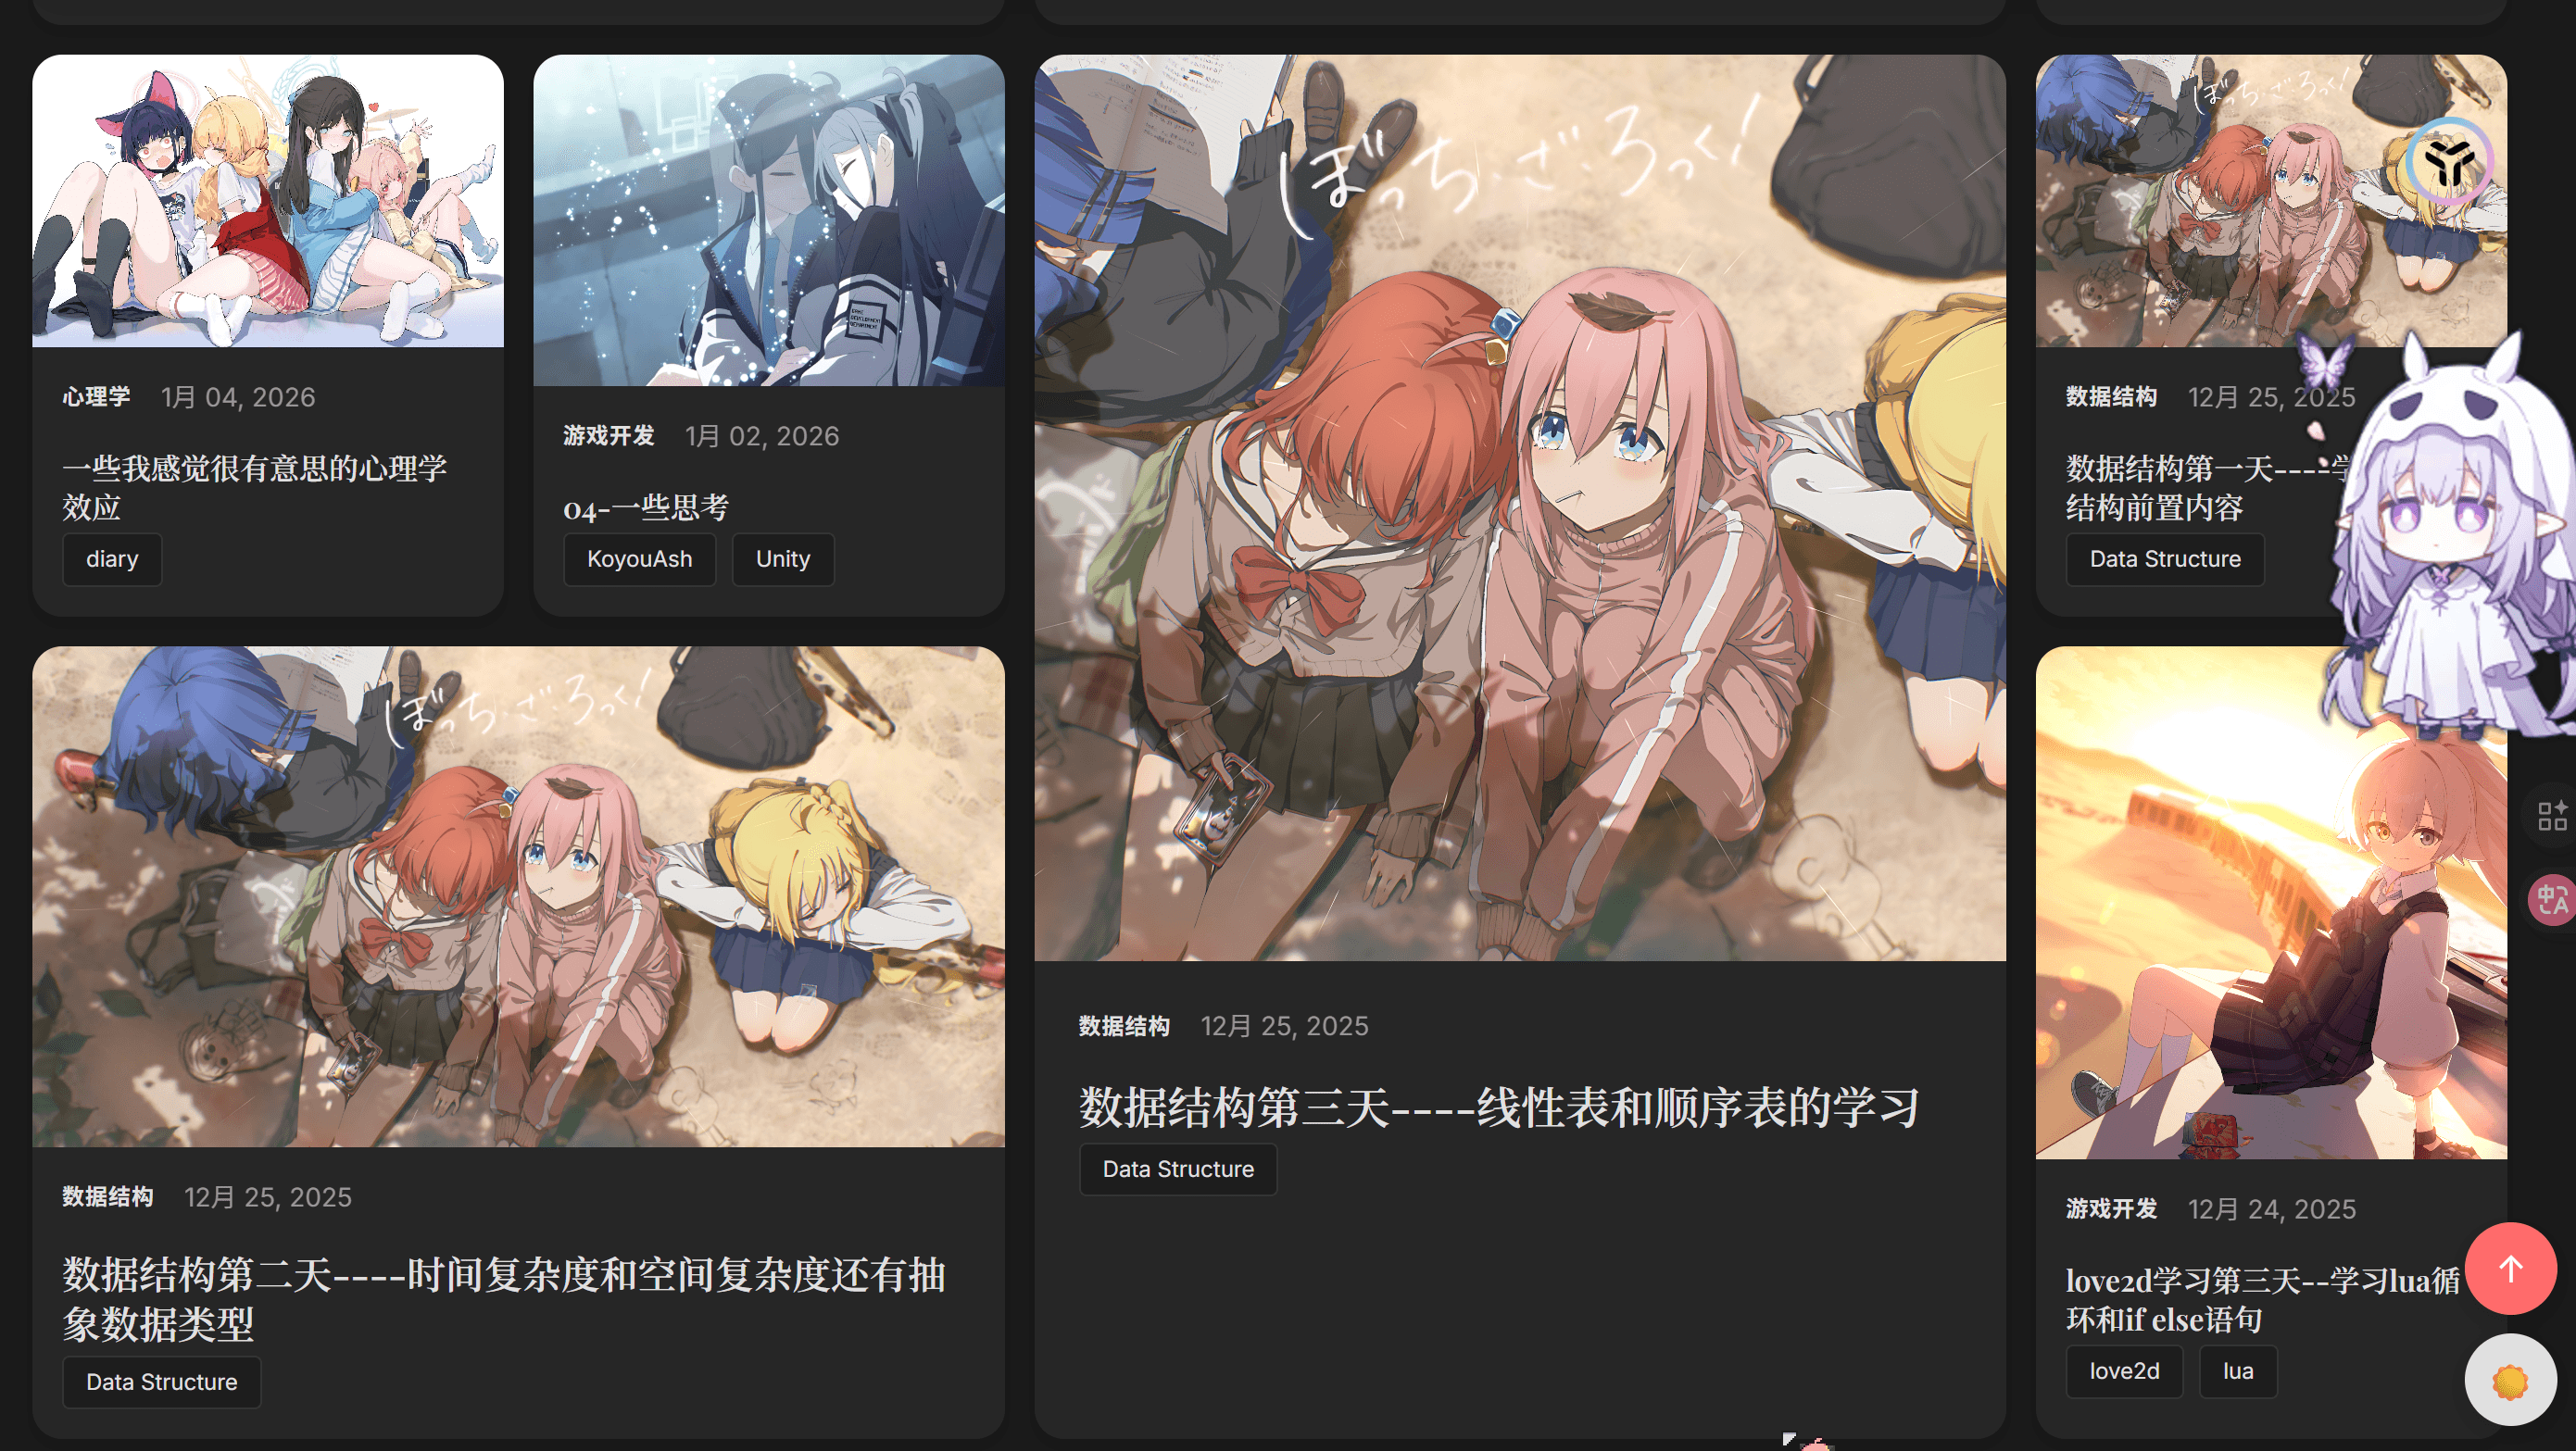
比如forever218 大佬的magzine的界面看起来就很让人舒服~~ 看Blog 就好像在刷视频一样
而 fuwari 主题 这种只展现文字的每一篇文章 我完全没有一点点 点开的欲望 所以这种绝对不适合作为 个人Blog
只适合作为 某个 软件 或 项目 的 文档 或者 说明书 之类的东西 因为这个排版感觉太严肃了
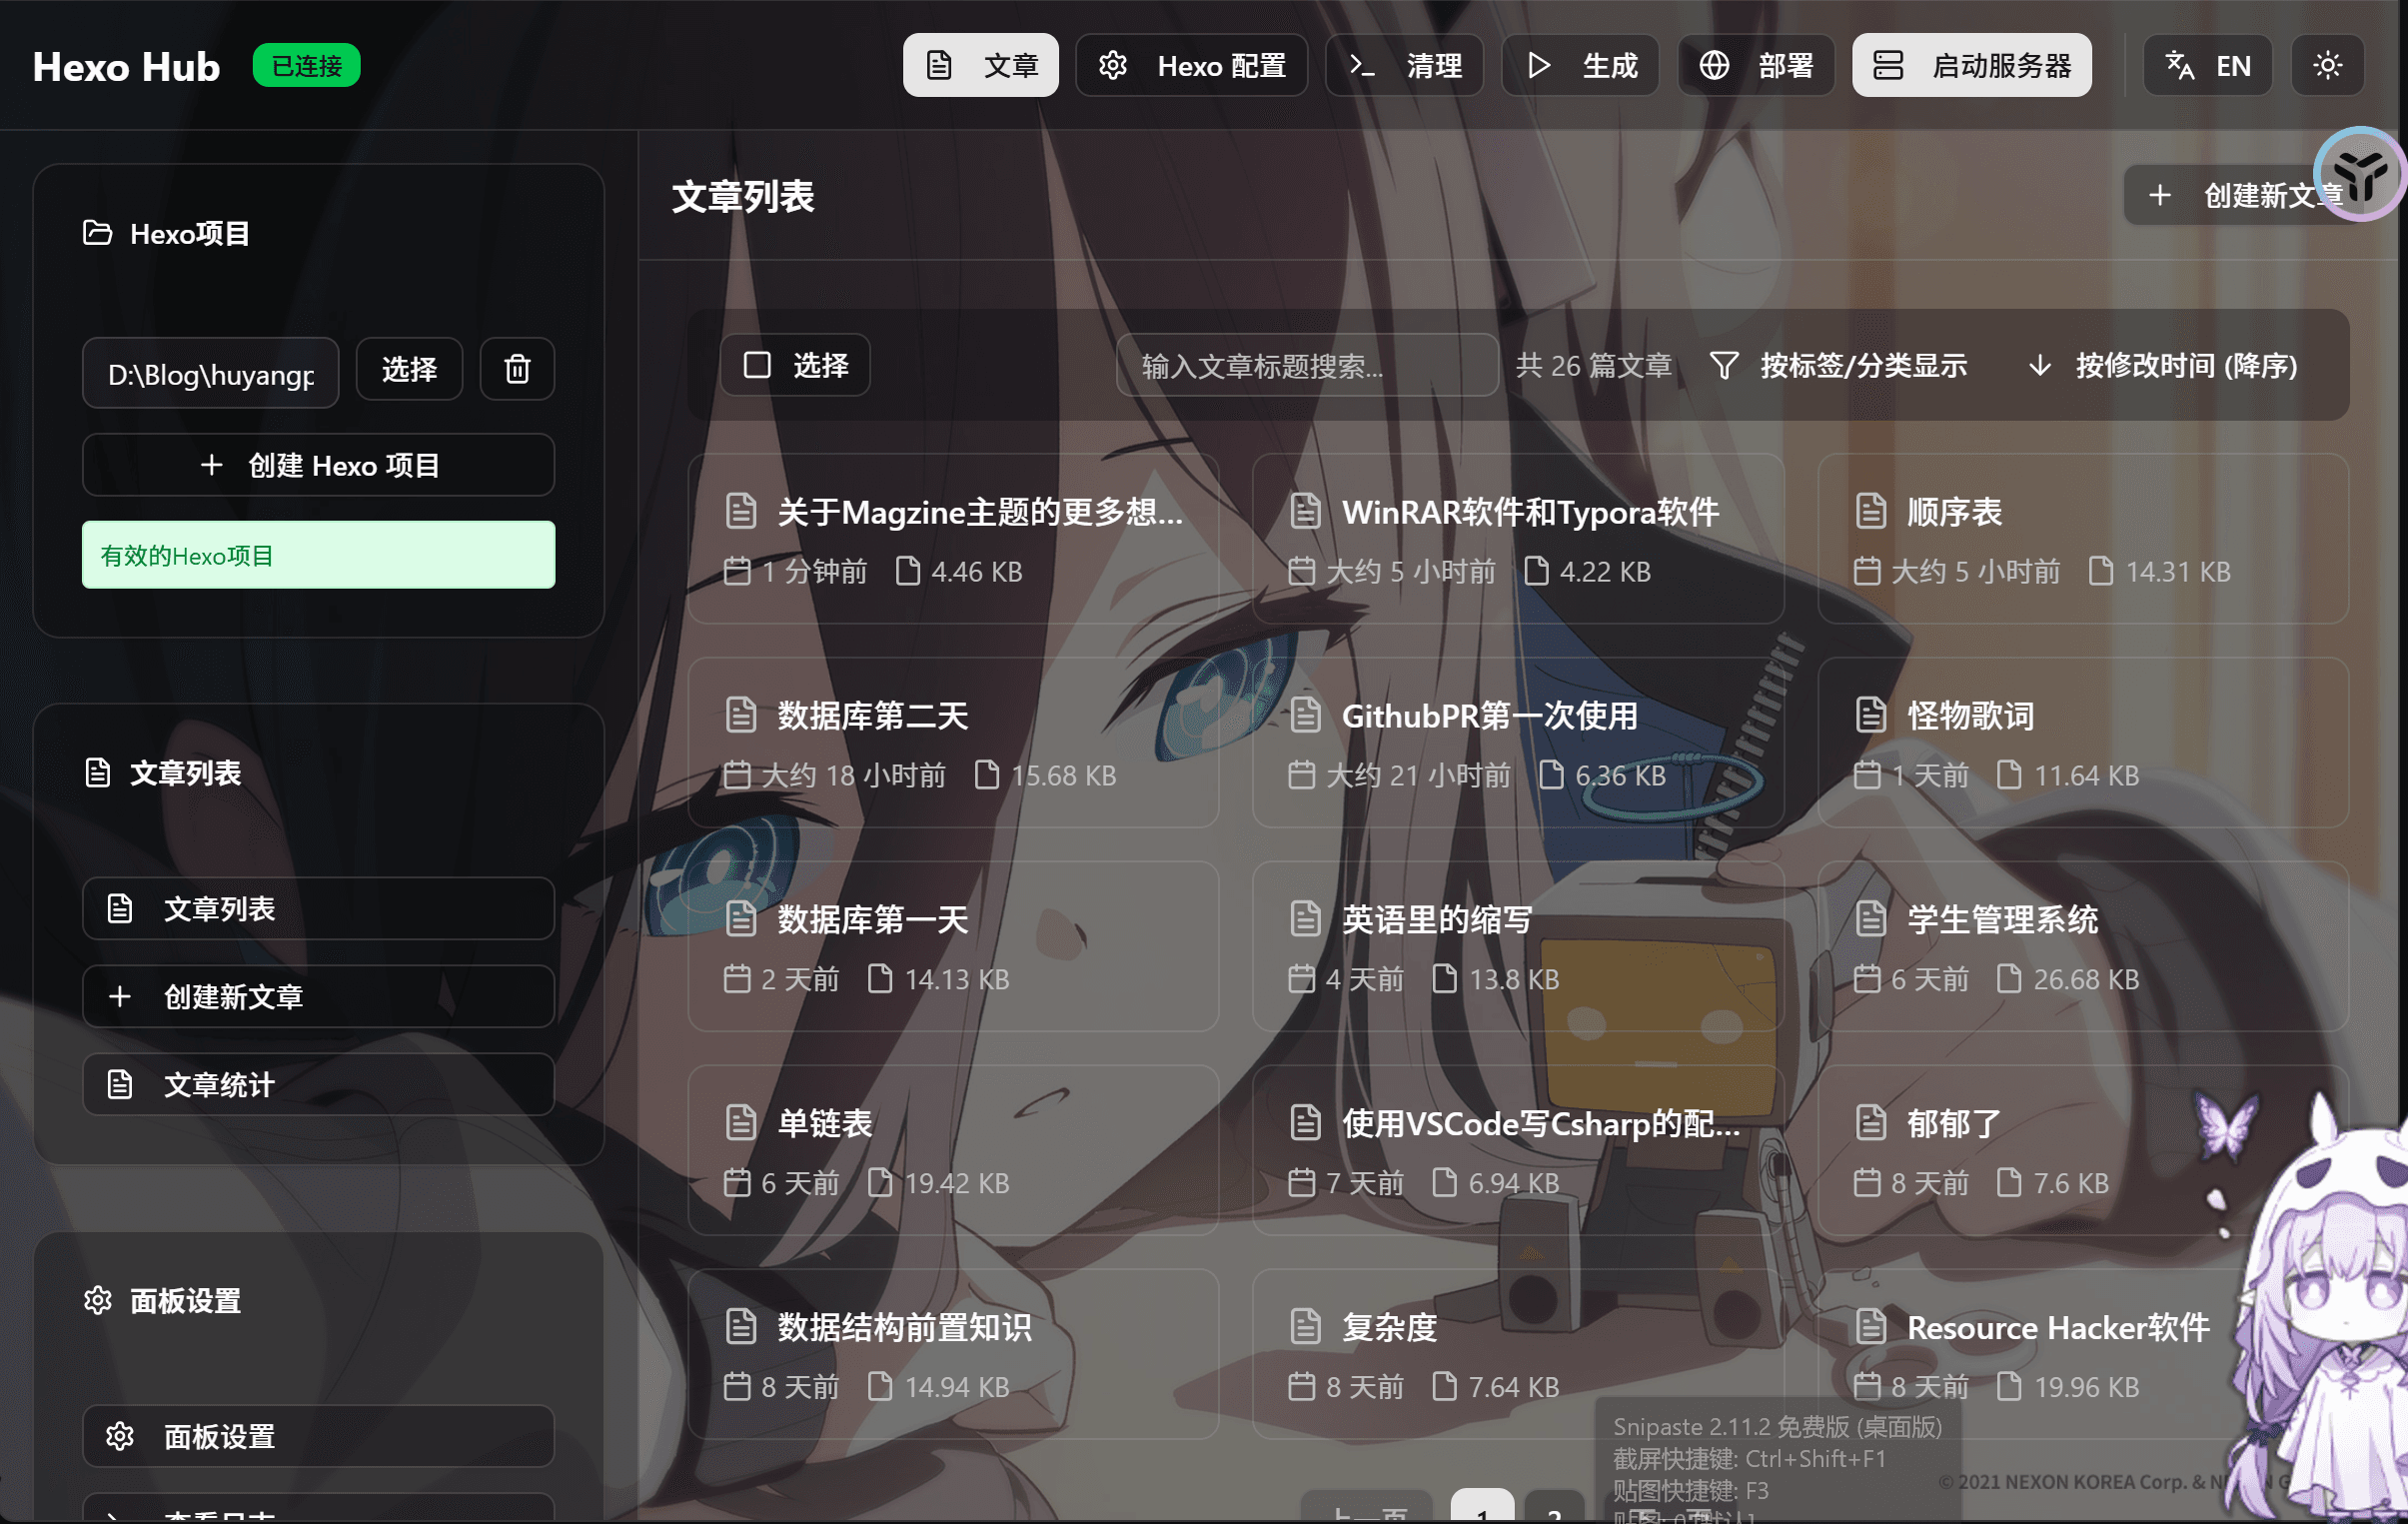
使用方式 第一种使用方式(可视化)———–面向已经熟练使用hexo的大佬 由于 forever218 大佬暂时比较忙没时间制作使用文档,这里我就说明一下怎么使用吧
大佬已经制作了hexo可视化交互界面软件,但是这个软件我个人觉得对小白不是很友好
不过我就首先推荐你们使用这个吧 <( *  ̄▽ ̄ * )/
这个是下载链接 HexoHub 大佬的文档 官方文档 狗头狗头狗头
我是希望在这个软件的上方增加一个类似于“使用文档 ” 的按钮 以及“ 主题选择 ” 的按钮 这样就不用去看hexo的官方手册还有去hexo的官方主题市场下载主题了 这样对于小白超友好 ♪ ( ^ ∇ ^ *)
第二种使用方式(命令行) ———–小白必学之路 这个起源于我第一次使用的时候踩的坑 o(╥﹏╥)o
当时给大佬写了几封信反馈了一下,我就把信件原话给你们看看吧,然后加入我的一些补充
我尽量写的详细一点,从零开始教(够详细吧),我尽量讲讲我会的部分,还有一些我还没有学
不过我感觉别的功能你们也绝对用不上,毕竟这个只是用来写文章的,非开发人员也没有必要折腾其他的 ヾ( =^ ▽ ^ =)ノ
=-=-=-=-=-=-=-=-=-=-=-=-=-=-=-=-=-=-=-=-=-=-=-=-=-=-=-=-=-=-=-=-=-=-=-=-=-=-=-=-=-=
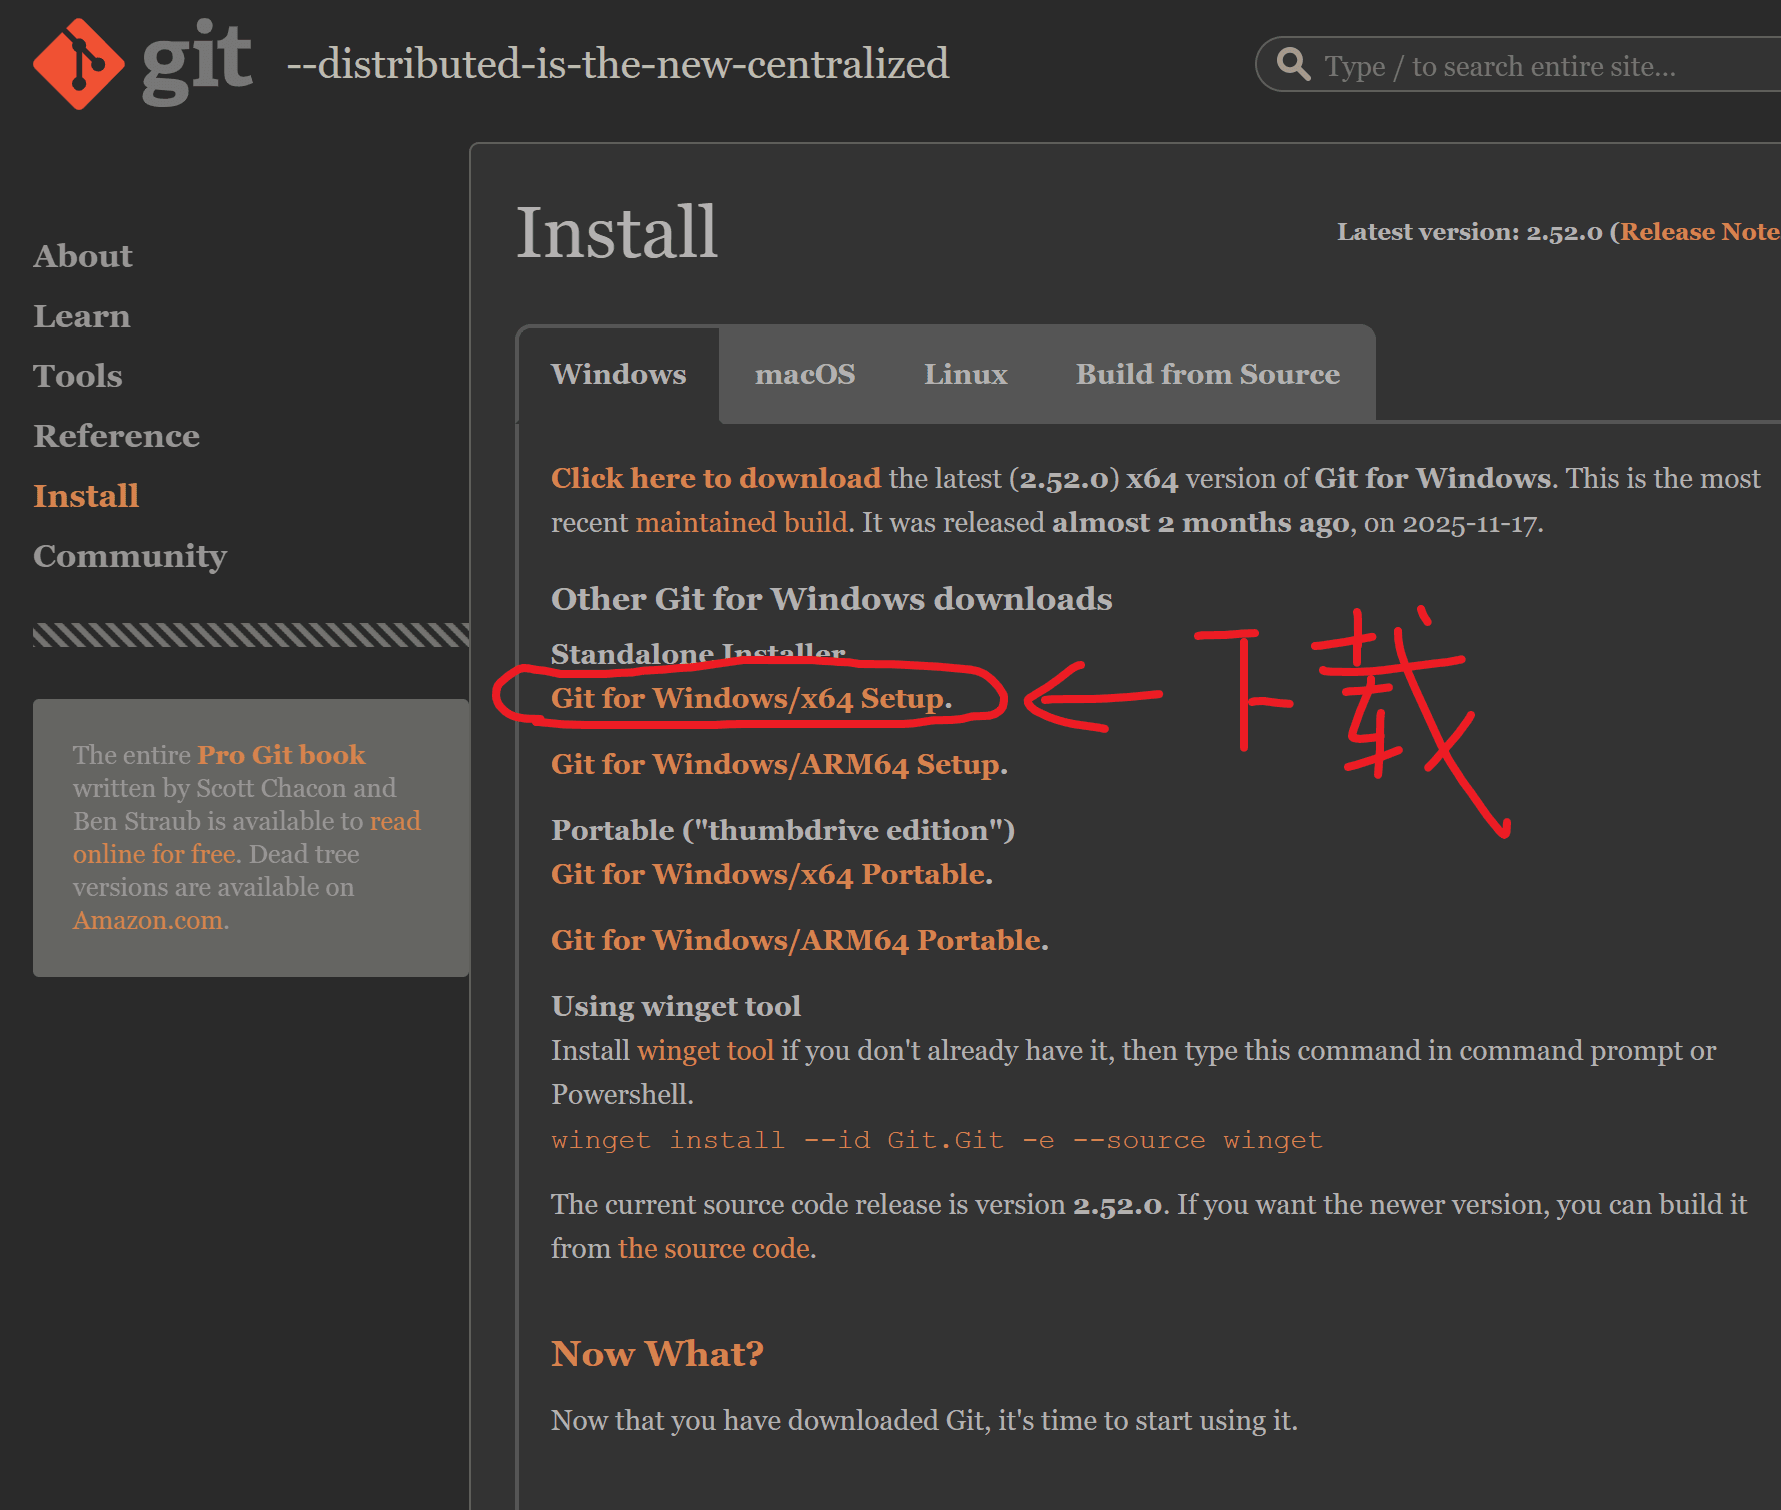
第一步: 下载git和 nodejs 首先我们需要下载 Git - Install for Windows
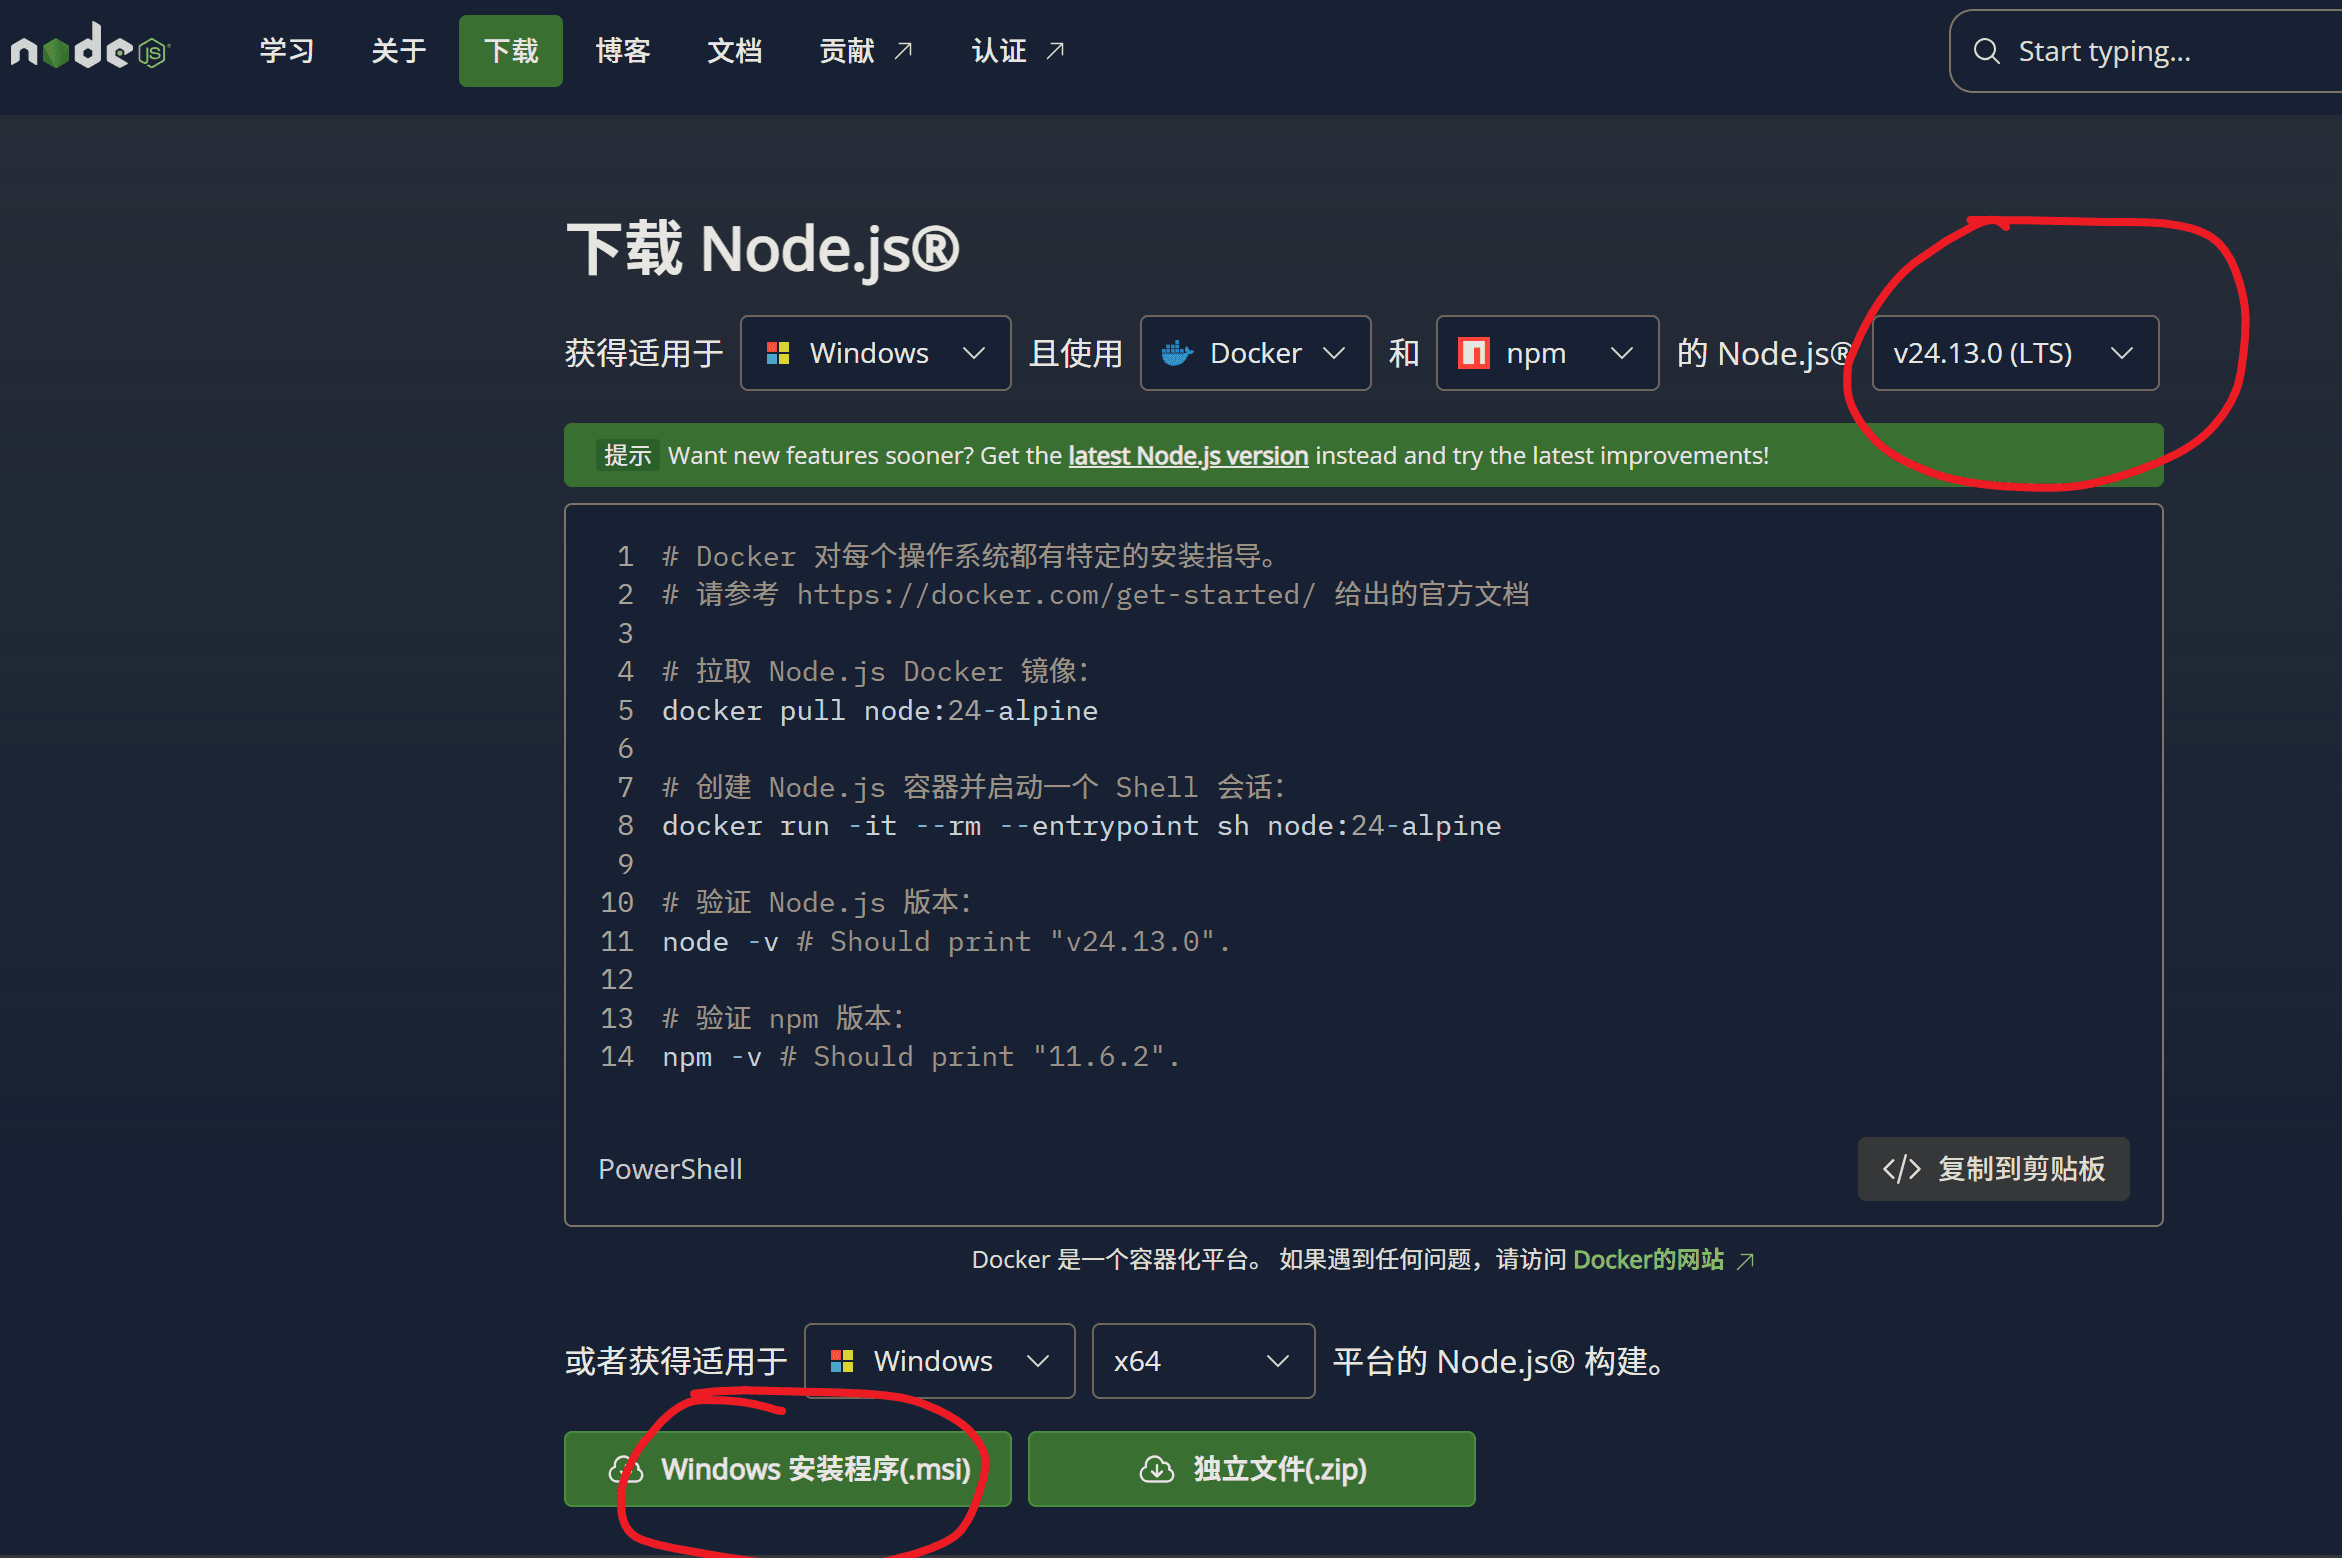
我们还需要下载 Node.js — 下载 Node.js®
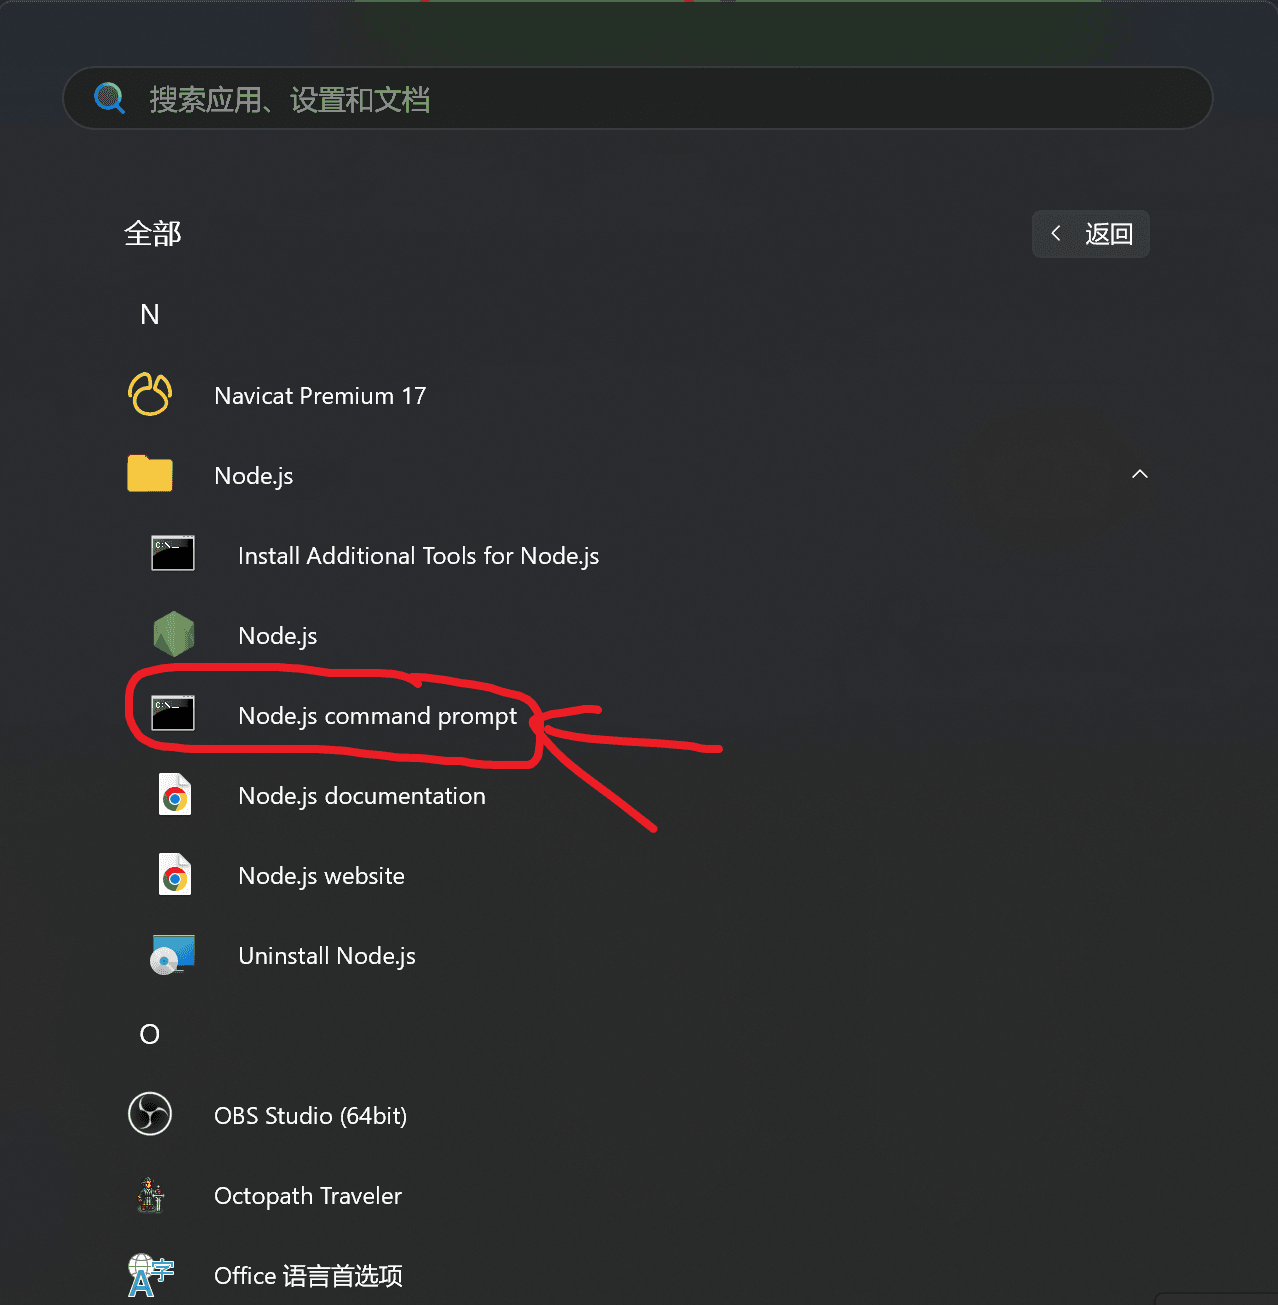
然后我们点开这个nodejs的控制台(应该是控制台吧,我不熟悉nodejs哈哈)
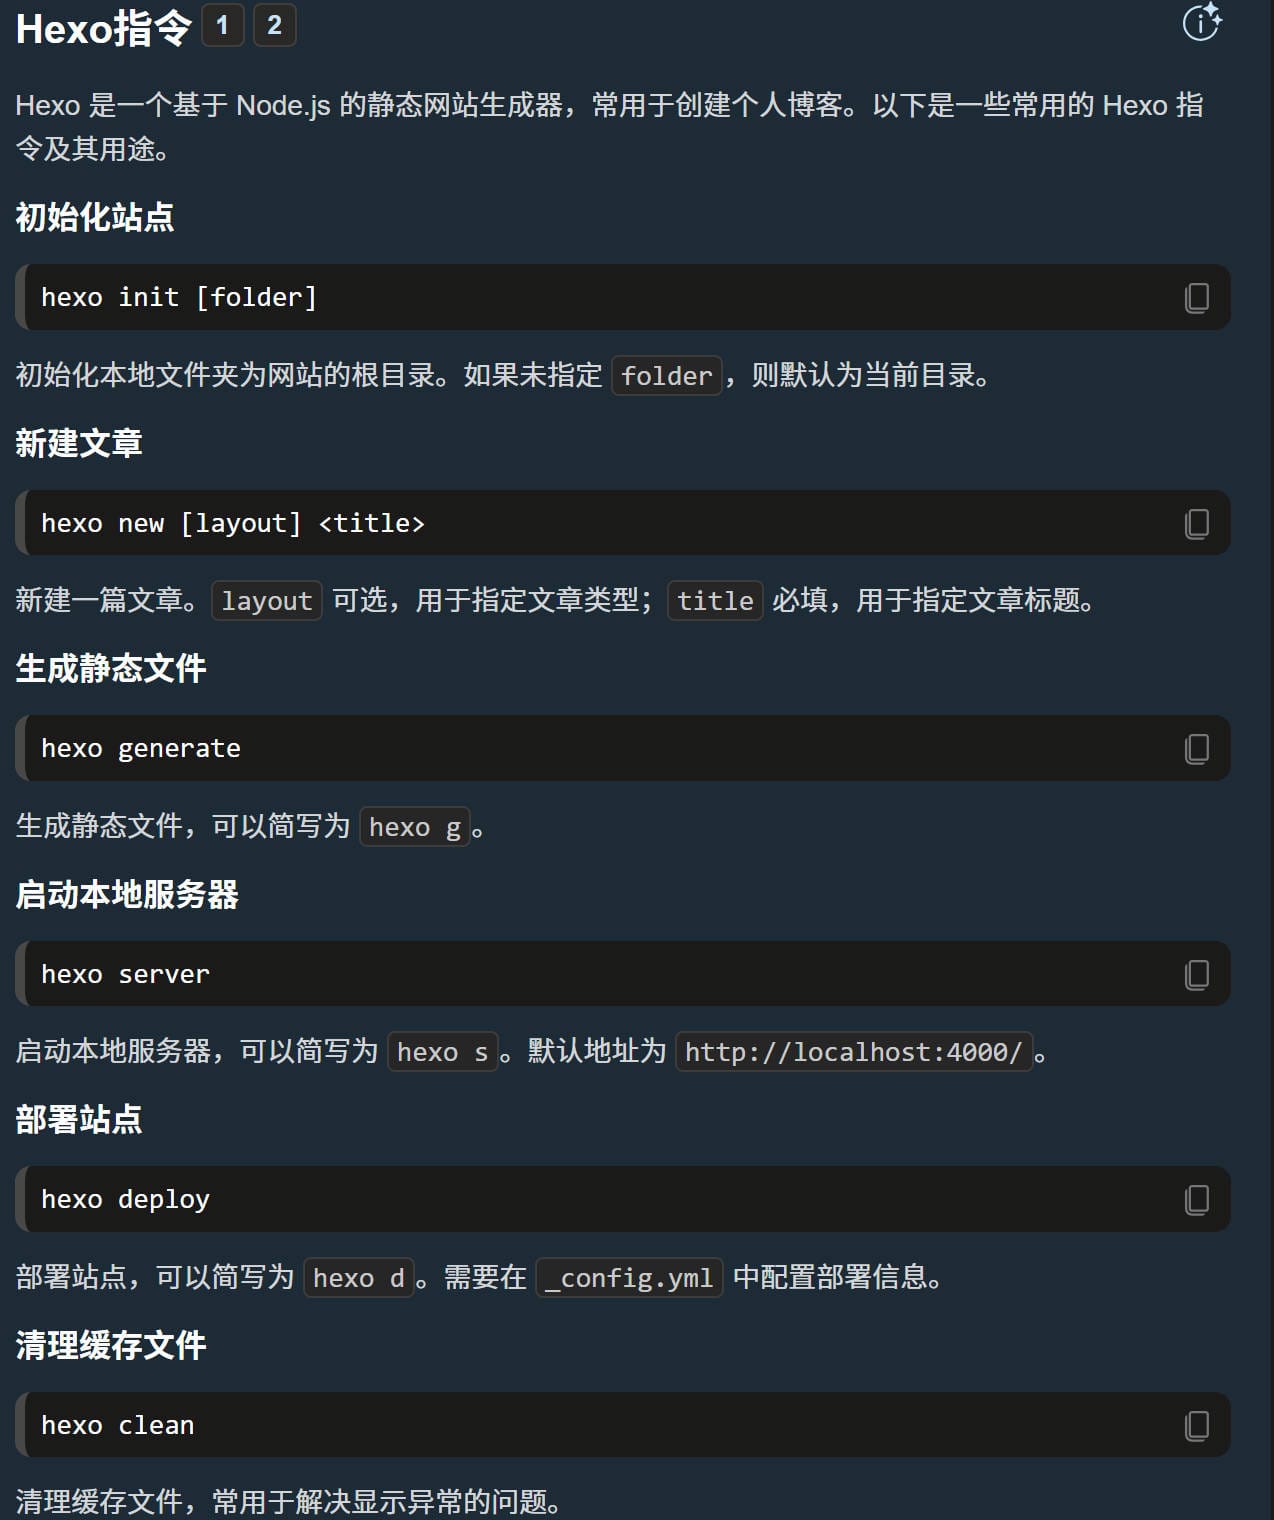
第二步:下载Hexo和主题 这是一些hexo指令,我们先提前了解一下
首先在D盘新建一个文件夹 比如就叫 Blog
在nidejs控制台输入
进入文件夹路径
然后再输入
然后没出错的话就检查一下,输入hexo -v即可查看是否安装成功,只要显示hexo的版本号就行了
出错了的话,把报错信息丢给 ChatGPT Gemini Grok Claude 豆包 DeepSeek Kimi 不要问我哦,因为我也不知道你错哪了 ヽ( ≧ □ ≦ )ノ
没问题那就执行这个
出现这个即可
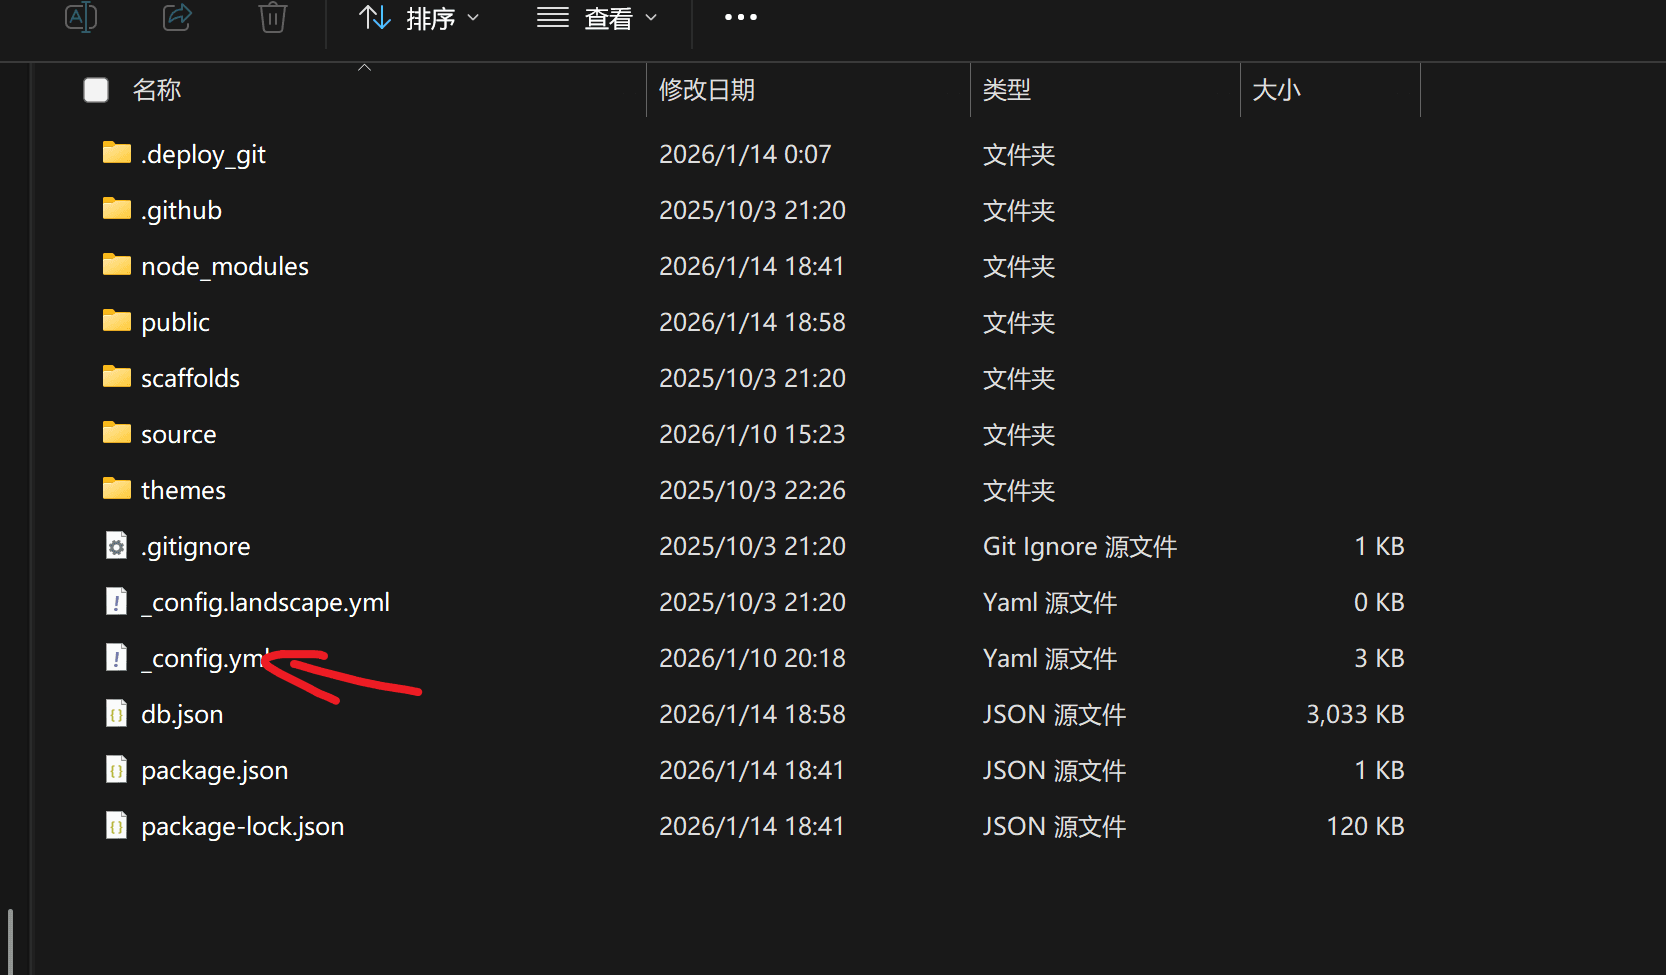
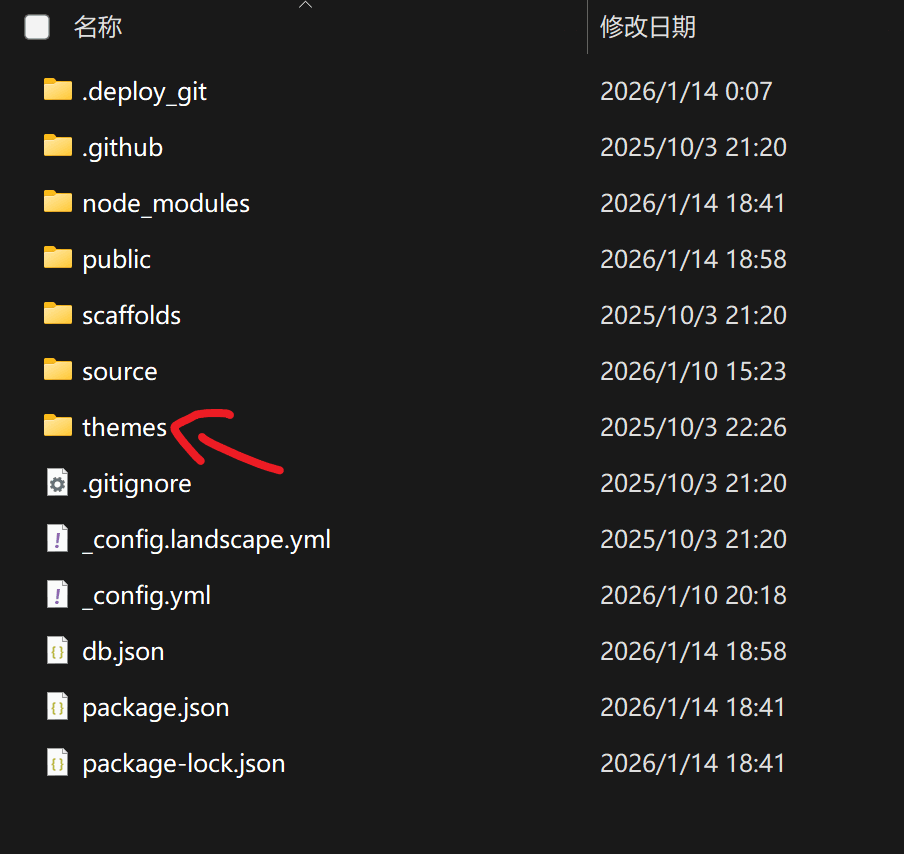
1 2 3 4 5 6 7 8 . ├── _config.yml ├── package.json ├── scaffolds ├── source | ├── _drafts | └── _posts └── themes
我们先不要执行 hexo g 和 hexo s 命令
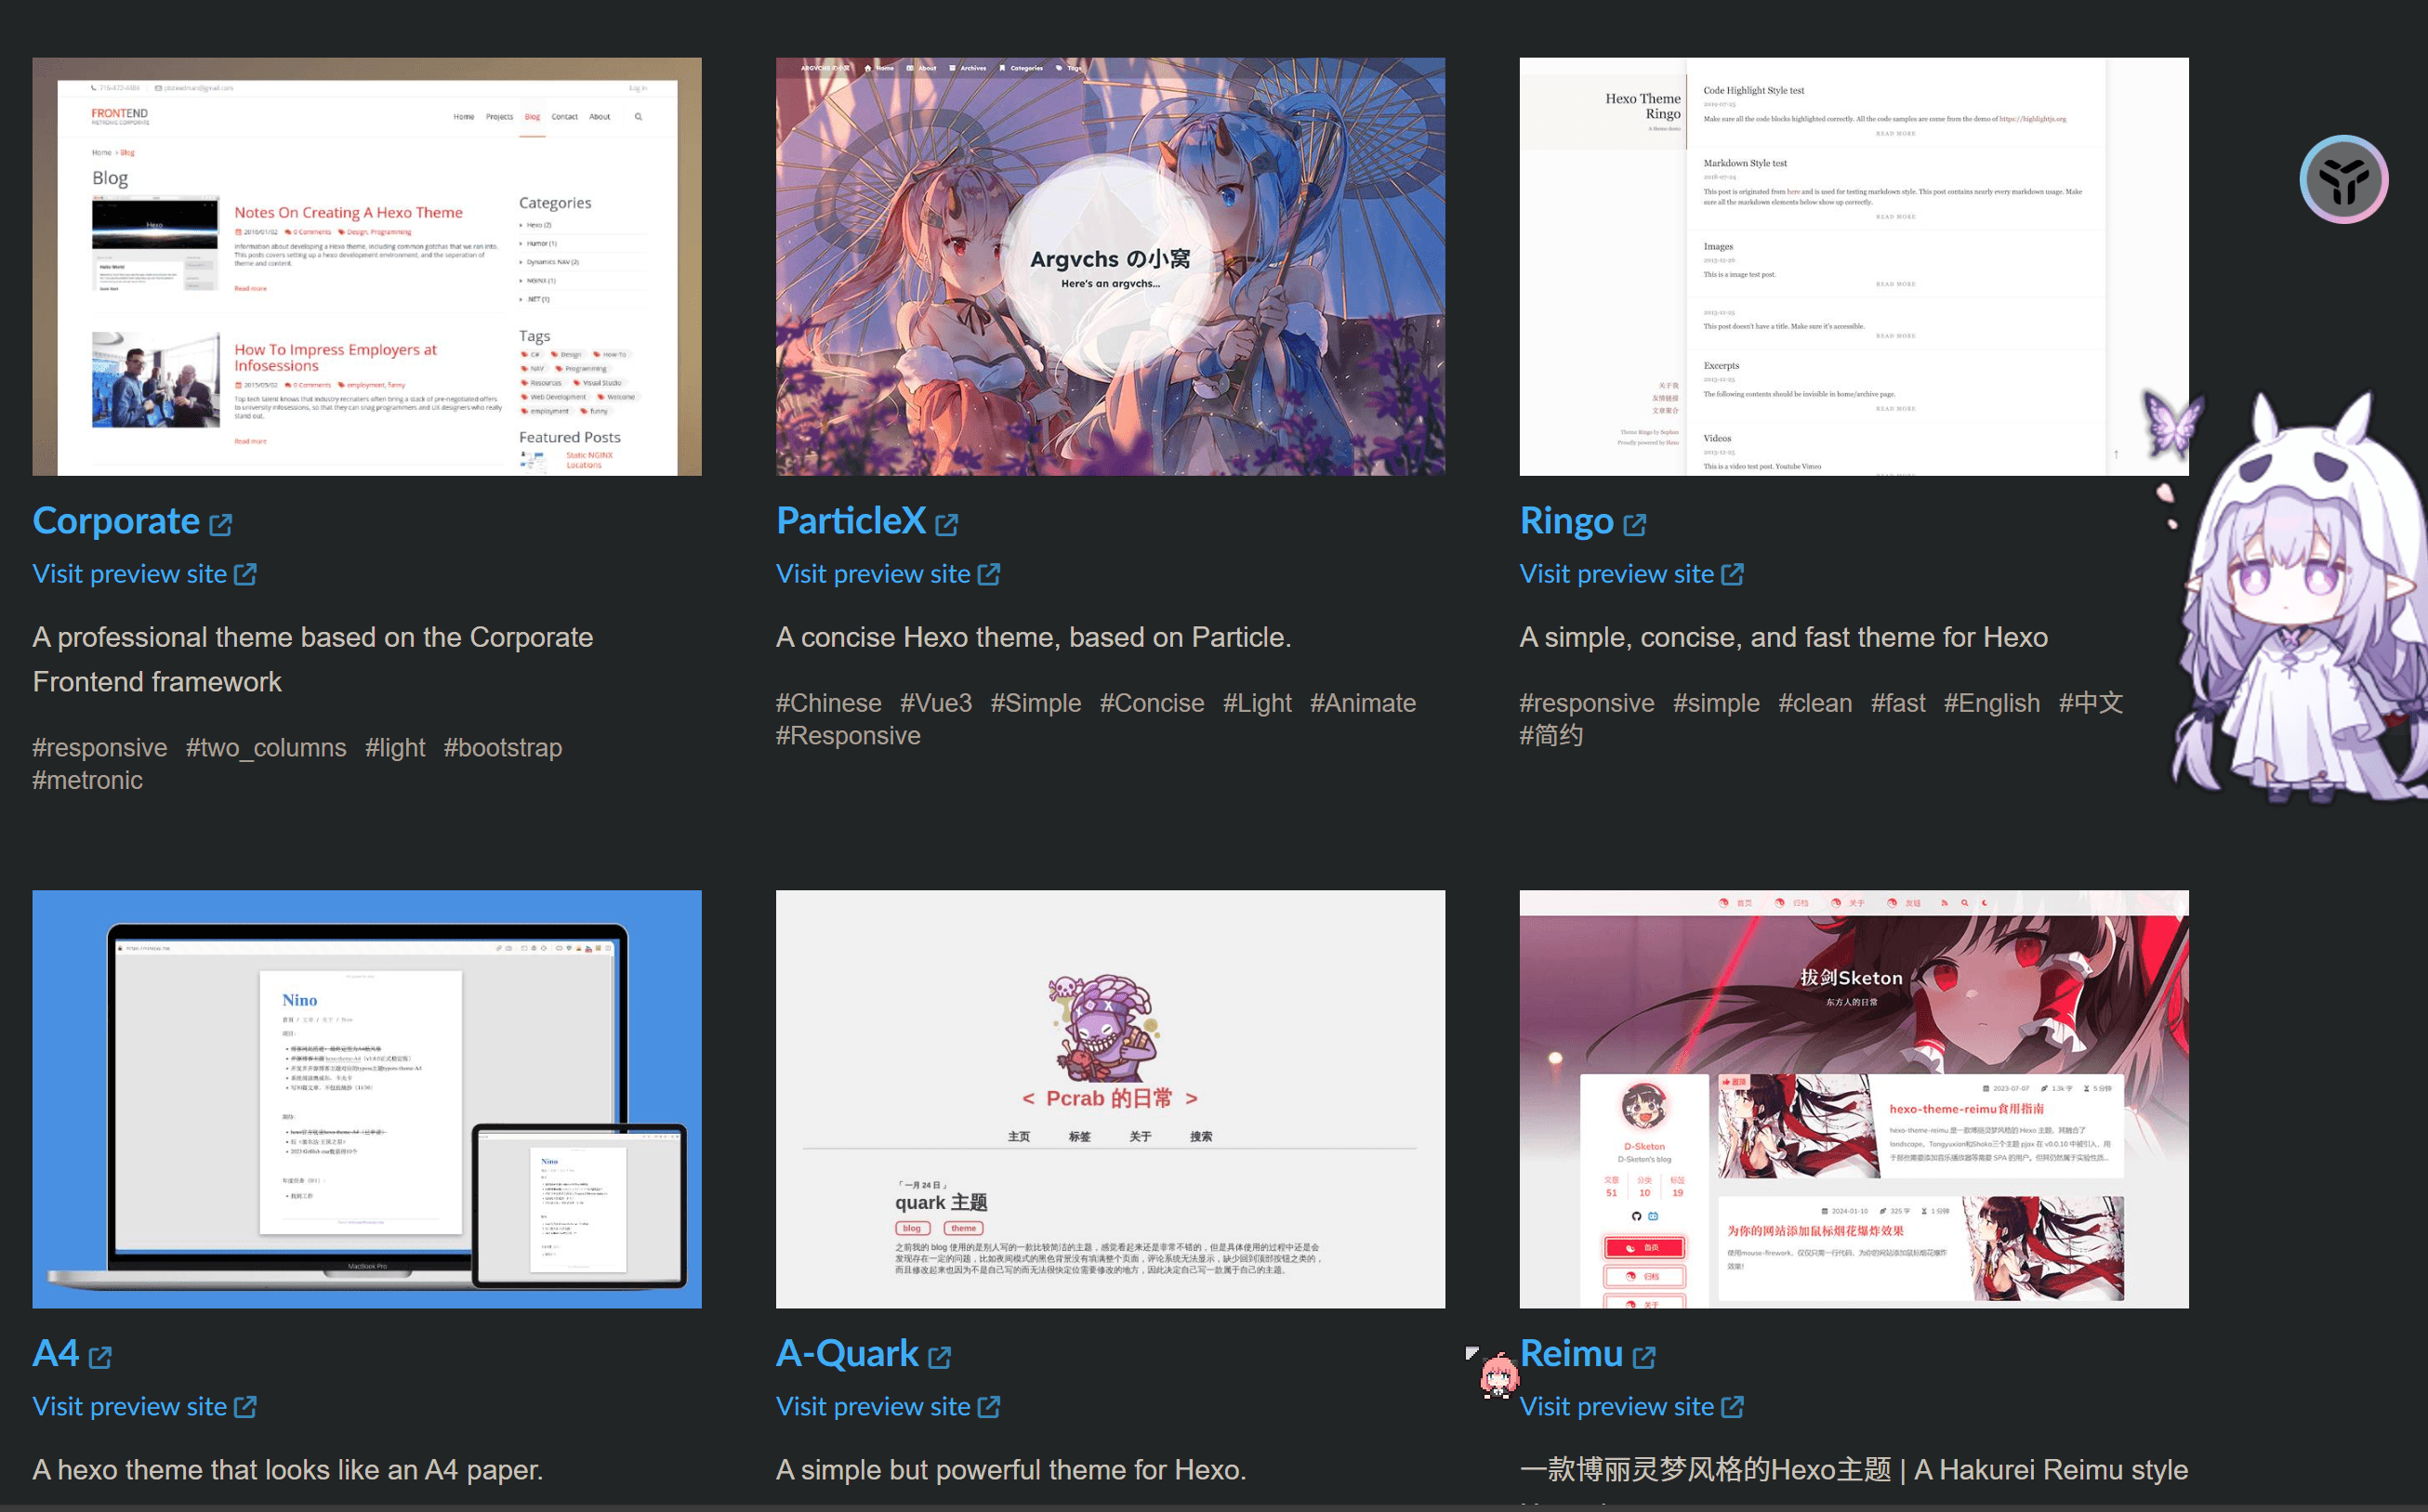
先去下载主题 Hexo主题官网
需要梯子才能进入到这个官网 , 挑选你喜欢的主题
这里我们就用forever218大佬的 Hexo magzine主题
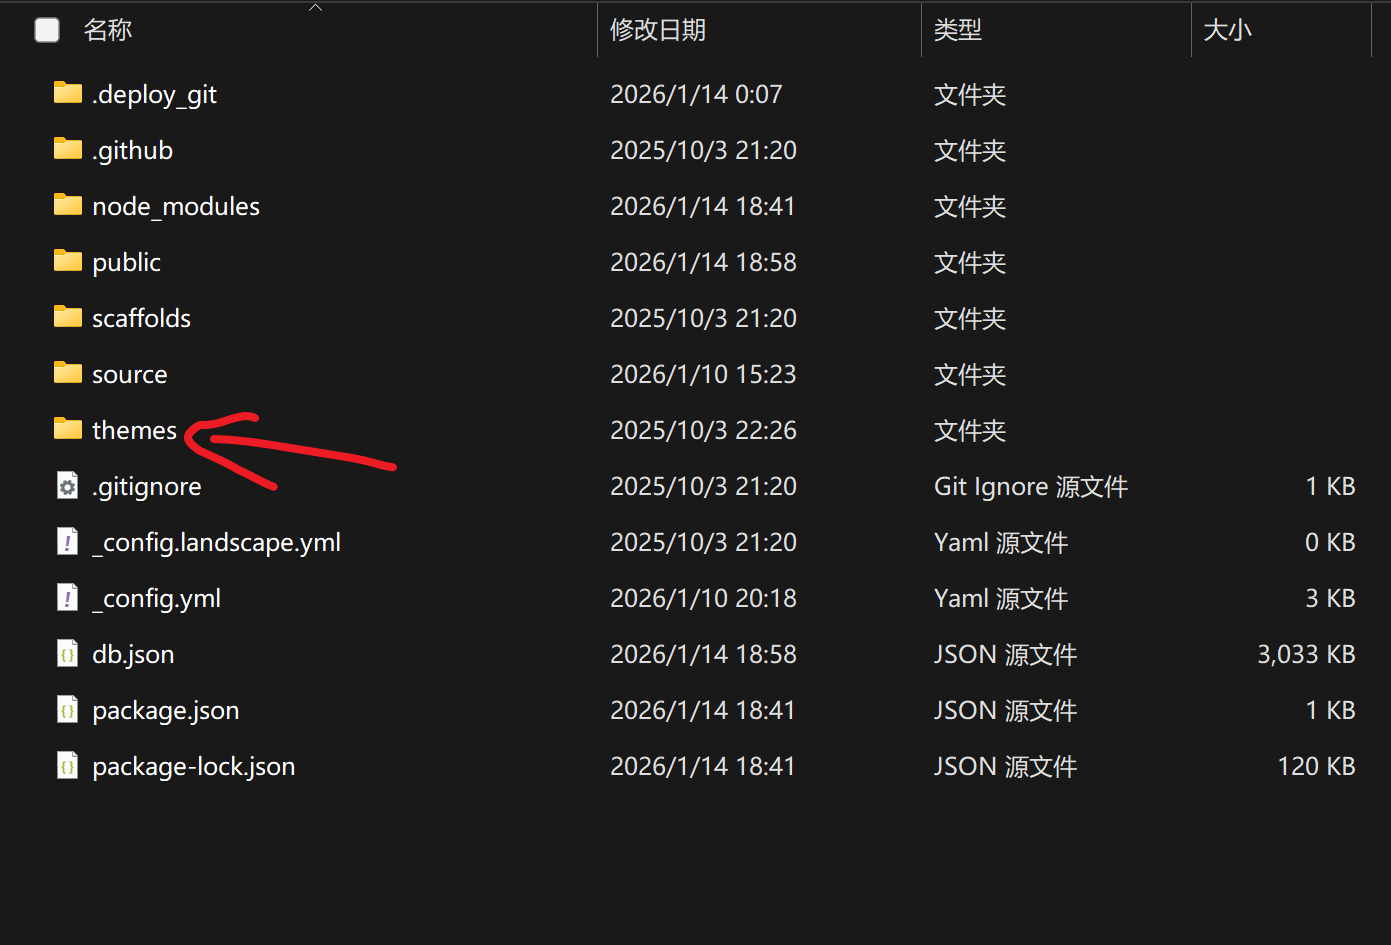
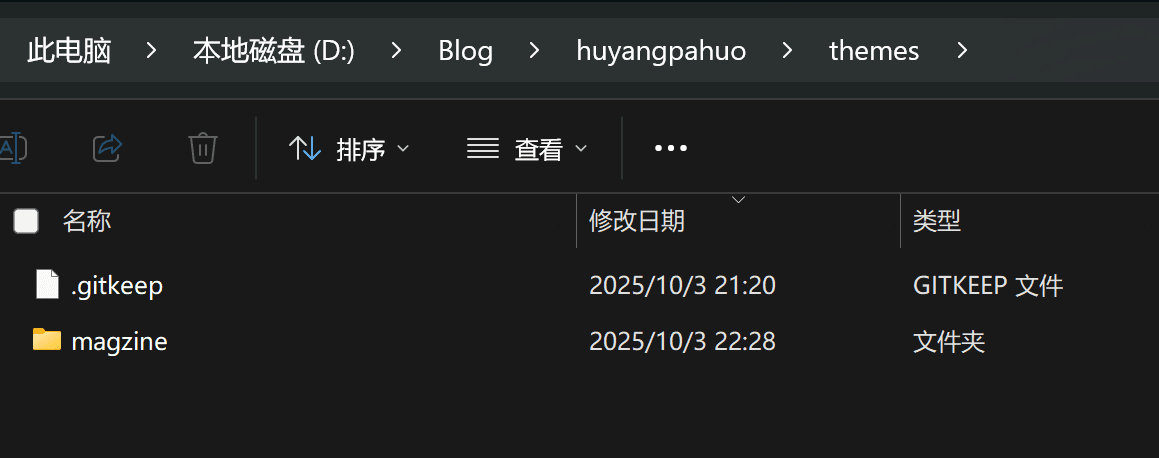
下载之后把这个 magzine 文件夹复制到 themes 文件夹
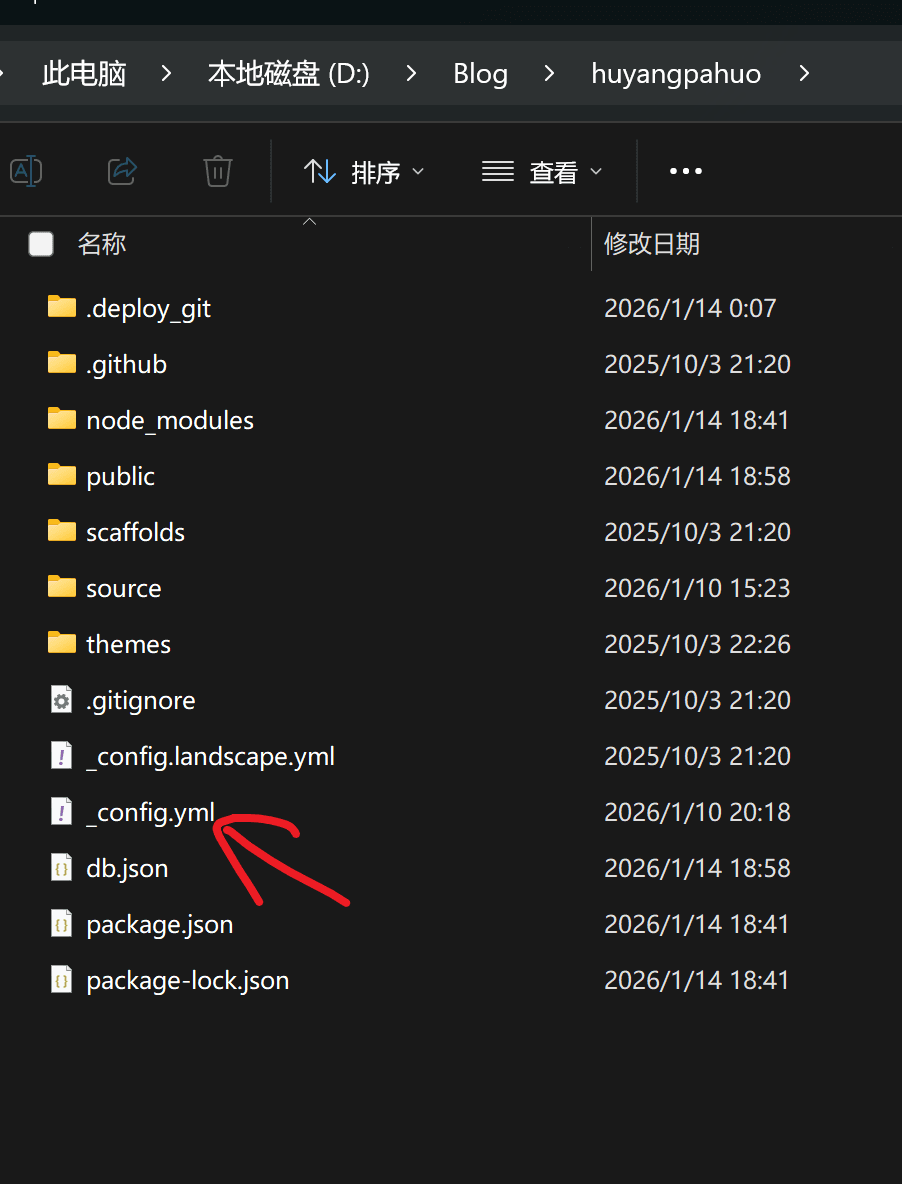
然后找到这个 _comfig.yml 文件(不是magzine里面的那个!!! 不要点错了)
把 theme 后面的改成主题的名字比如我们的 magzine , 其他主题也是一样的
然后还在刚才的那个nodejs的控制台里输入(你不会已经反手就关了吧? 要是关了需要重新进入Blog文件夹路径和刚才一样)
现在我们可以来使用我们的主题了!
① 预览和部署
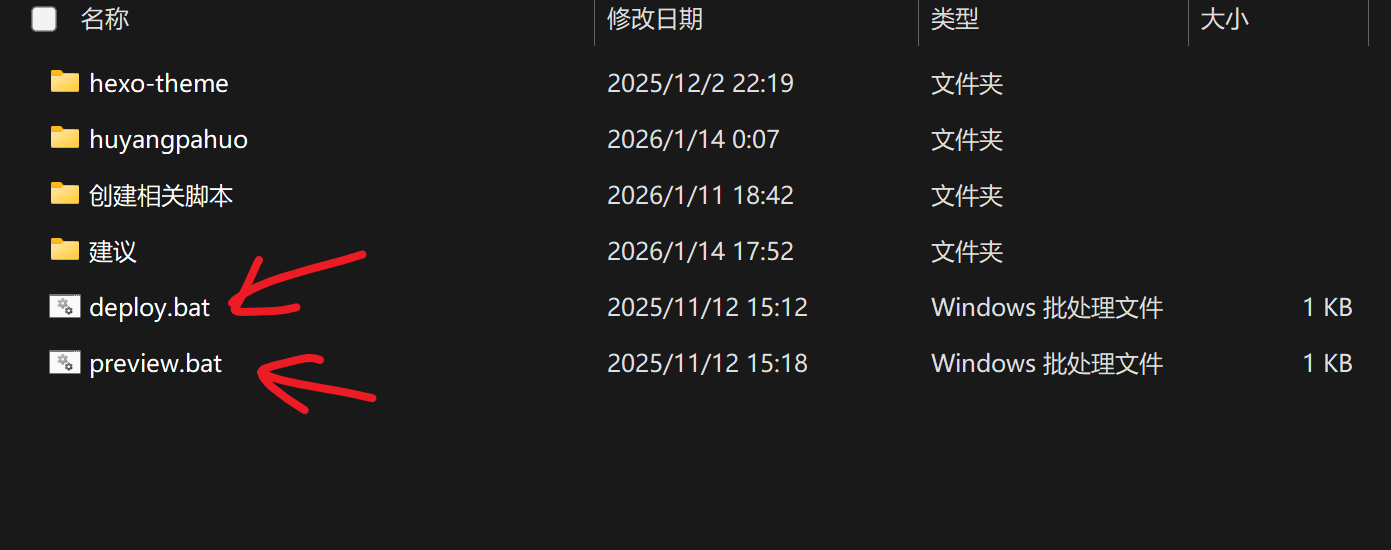
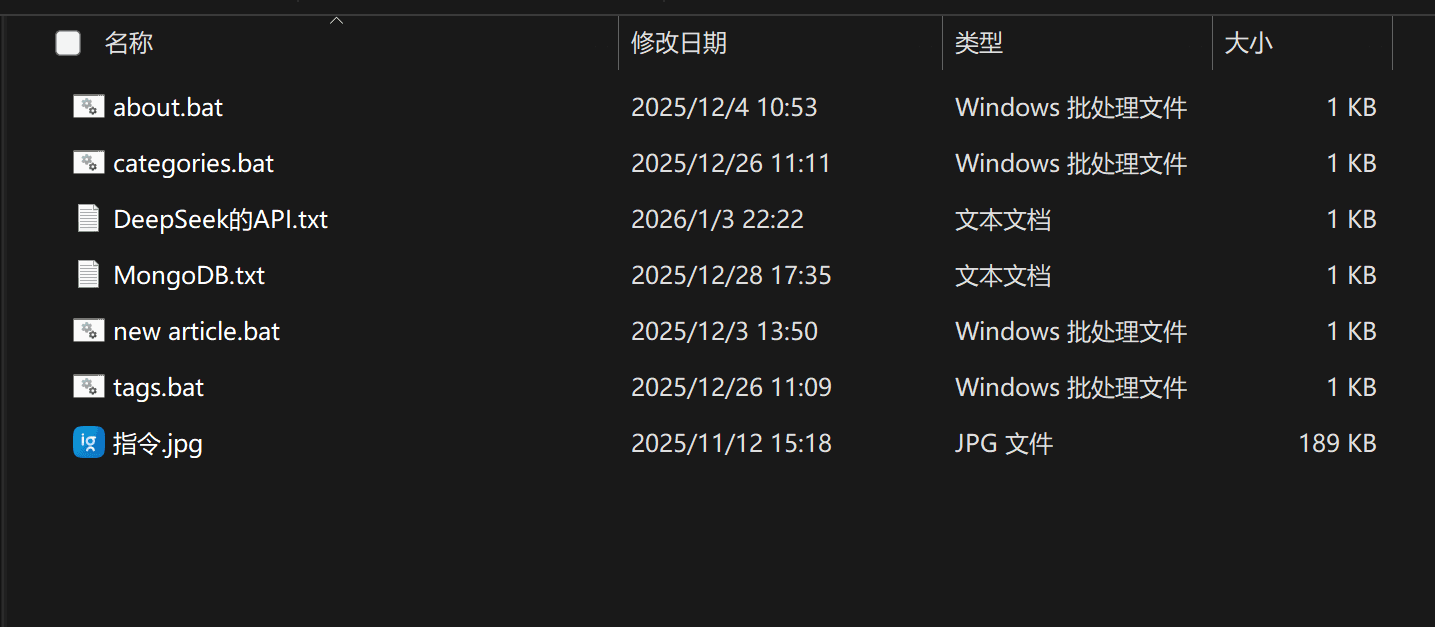
因为我比较懒,所以我选择使用bat自启动脚本
什么是bat启动脚本,就是把txt文件格式改为bat,然后在里面写命令,点击就会自动执行命令
预览(preview) 一个是hexo自带的预览,也就是本地服务器,也就是 preview.bat
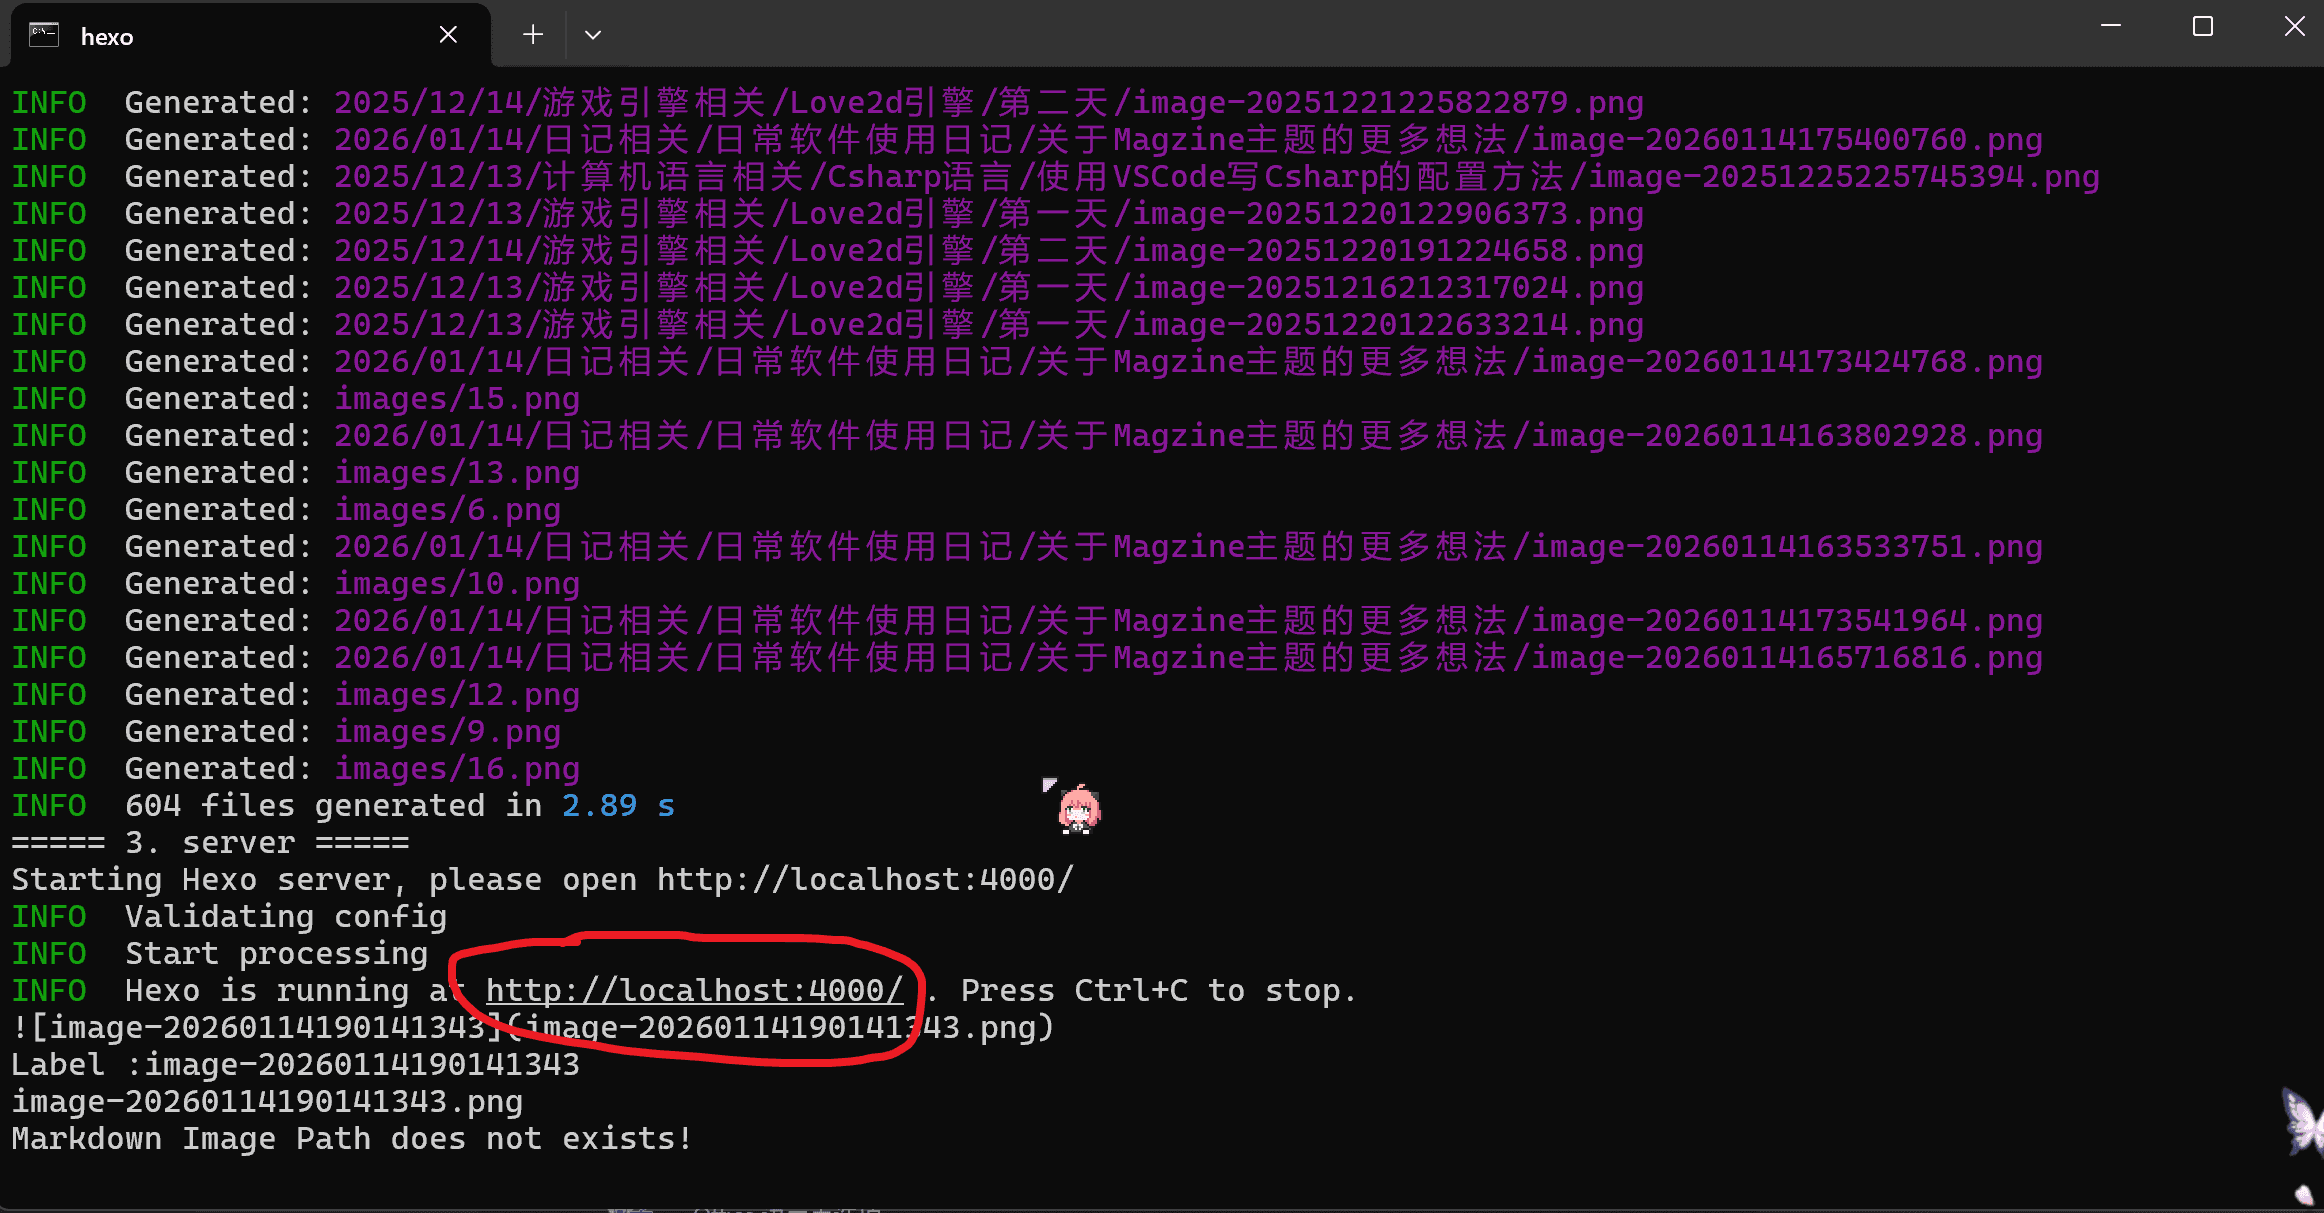
1 2 3 4 5 6 7 8 9 10 11 12 13 14 @echo off cd /d "D:\Blog\huyangpahuo" //把这个替换为本地网站资源的文件夹位置,替换完后删除你看到的这句中文 echo ===== 1. clean ===== call hexo clean if errorlevel 1 pause & goto :eof echo ===== 2. generate ===== call hexo generate if errorlevel 1 pause & goto :eof echo ===== 3. server ===== echo Starting Hexo server, please open http://localhost:4000/ hexo server
出现这个http://localhost:4000/之后成功了
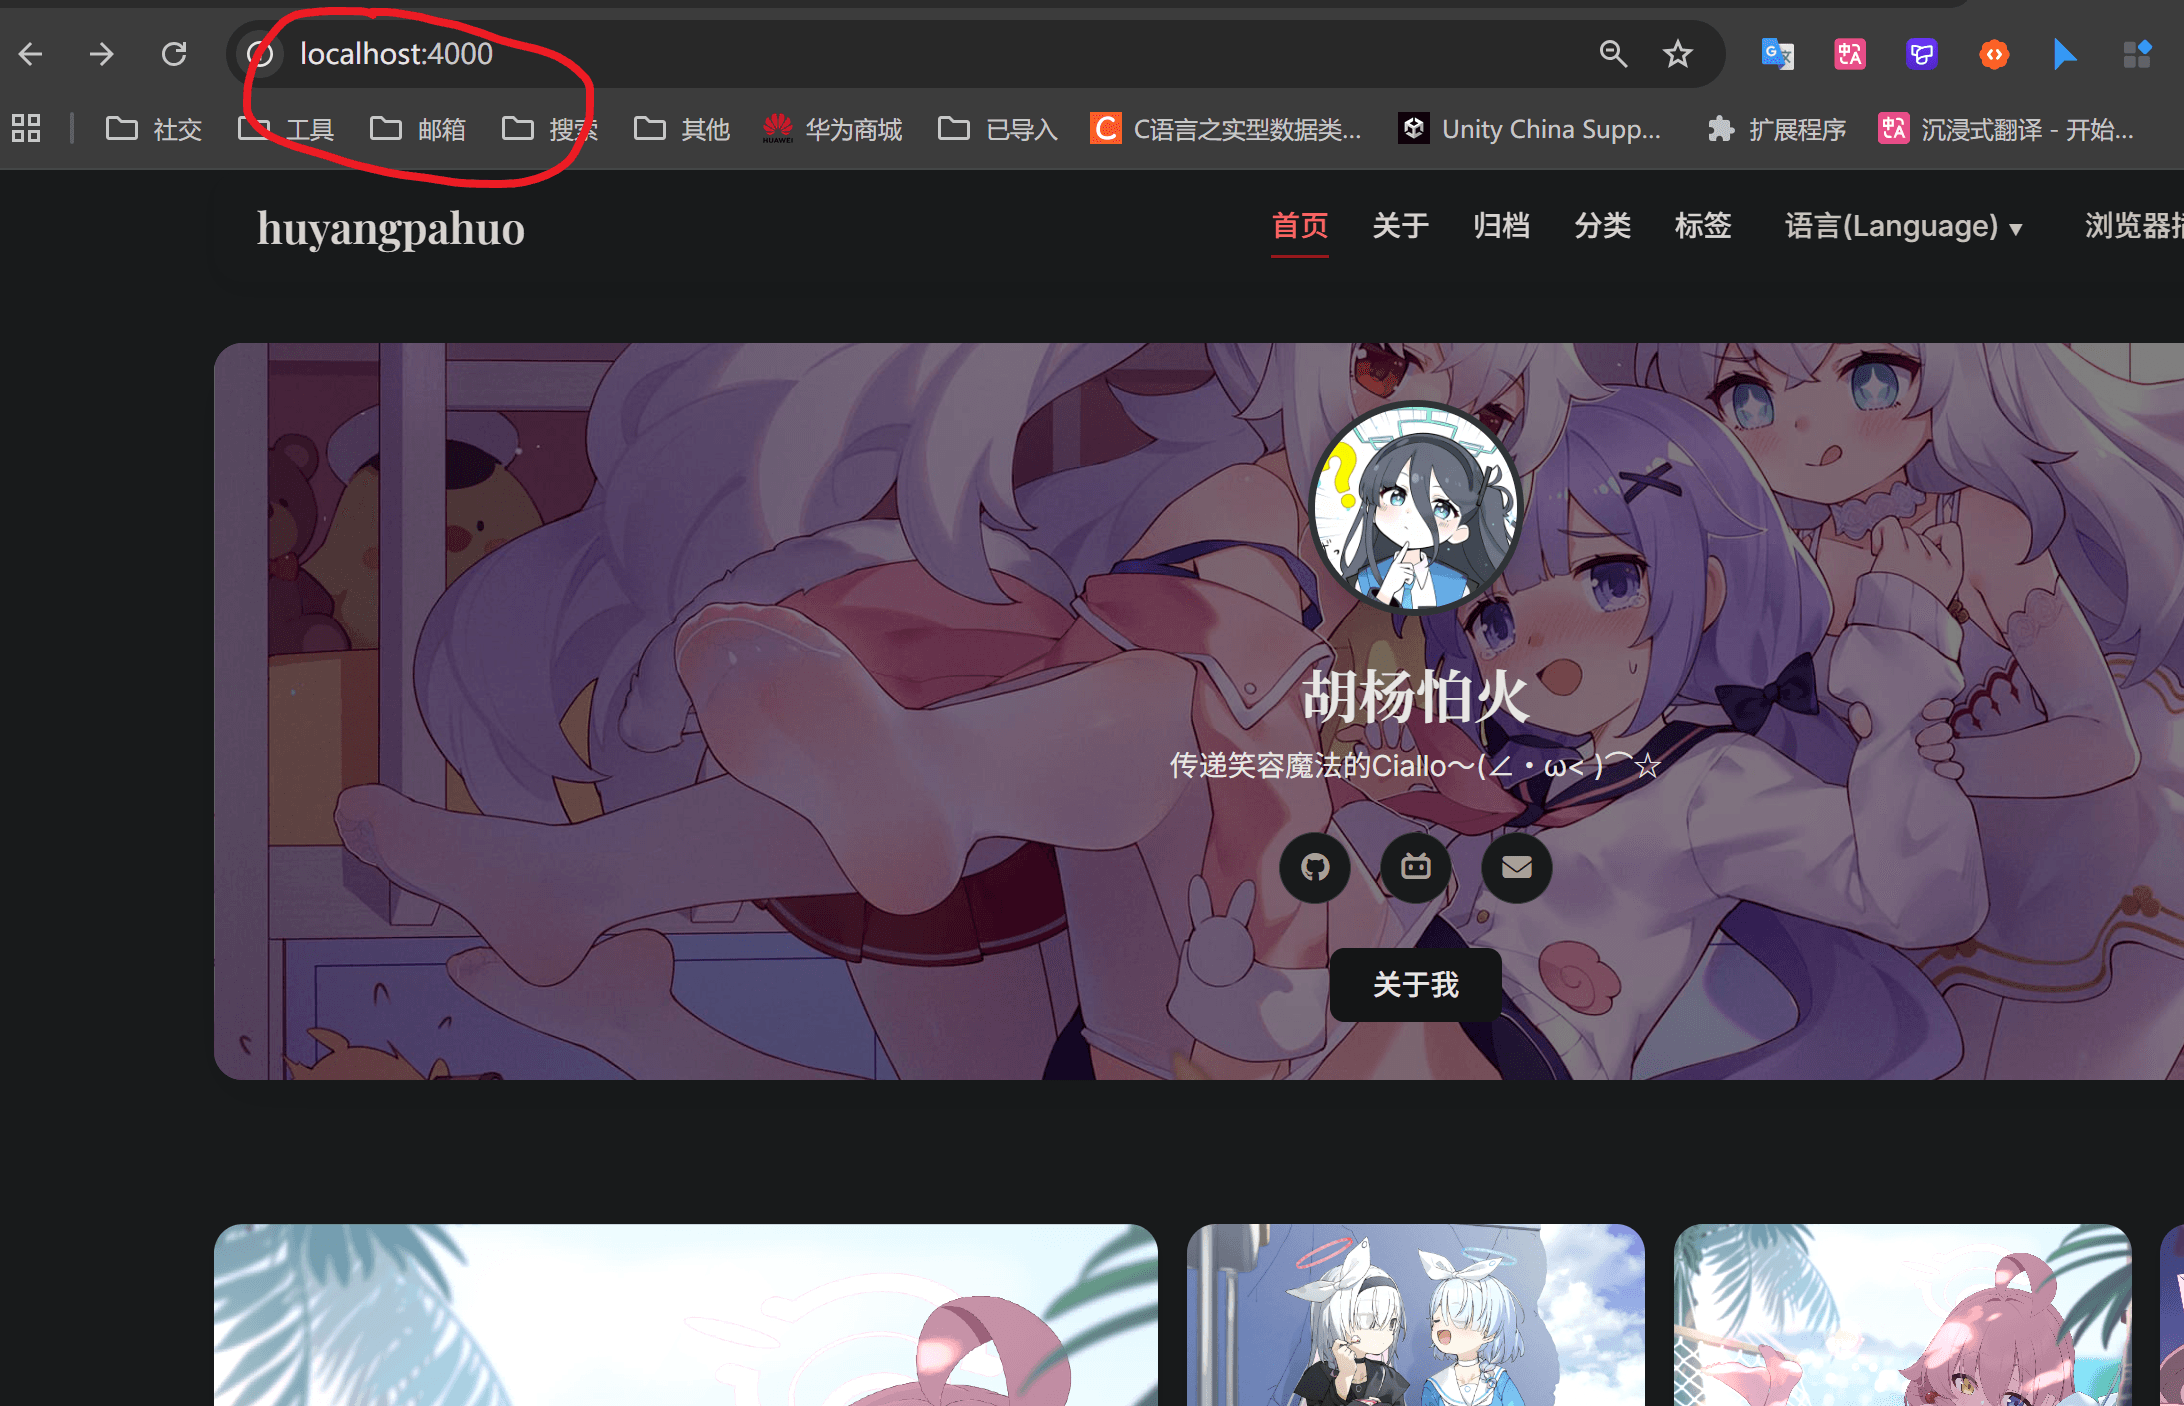
我们在浏览器粘贴进去之后(你不要反手就把这个黑色窗口关了,这个窗口相当于是后台,关了之后是用不了这个预览功能的)
就可以看到我们的网站了
部署(deploy) 这个是 deploy.bat 脚本
一个是hexo的git部署 这个我就不演示了 和上面的那个一模一样 但是你们先不要部署 因为我们还没有搞github的仓库
先听我说完全部内容最后再部署 狗头狗头狗头
1 2 3 4 5 6 7 8 9 10 11 12 13 14 15 16 17 18 19 @echo off cd /d "D:\Blog\huyangpahuo" //把这个替换为本地网站资源的文件夹位置,替换完后删除你看到的这句中文 echo ===== 1. clean ===== call hexo clean if errorlevel 1 pause & goto :eof echo ===== 2. generate ===== call hexo generate if errorlevel 1 pause & goto :eof echo ===== 3. deploy ===== echo Deploying to GitHub Pages... call hexo deploy if errorlevel 1 pause & goto :eof echo ===== Finished! ===== echo Your site should be live soon at https://funingna-wakawaka.github.io //替换为自己的github.io网址 pause
在原本的_config.yml文件最下面添加这几句
1 2 3 4 5 6 # Deployment ## Docs: https://hexo.io/docs/one-command-deployment deploy: type: git repository: branch: master
怎么放到Github里 我不想讲了,我已经写了几千字了不想再写了 ┭┮﹏┭┮
你们直接看这个大佬的文章吧 点击查看大佬文章
对了,你们要是嫌github.io速度慢可以自己买域名,这个我就不说了,自己在B站上找
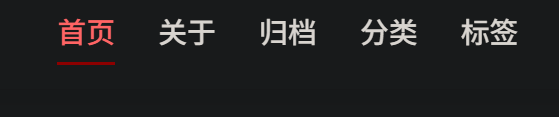
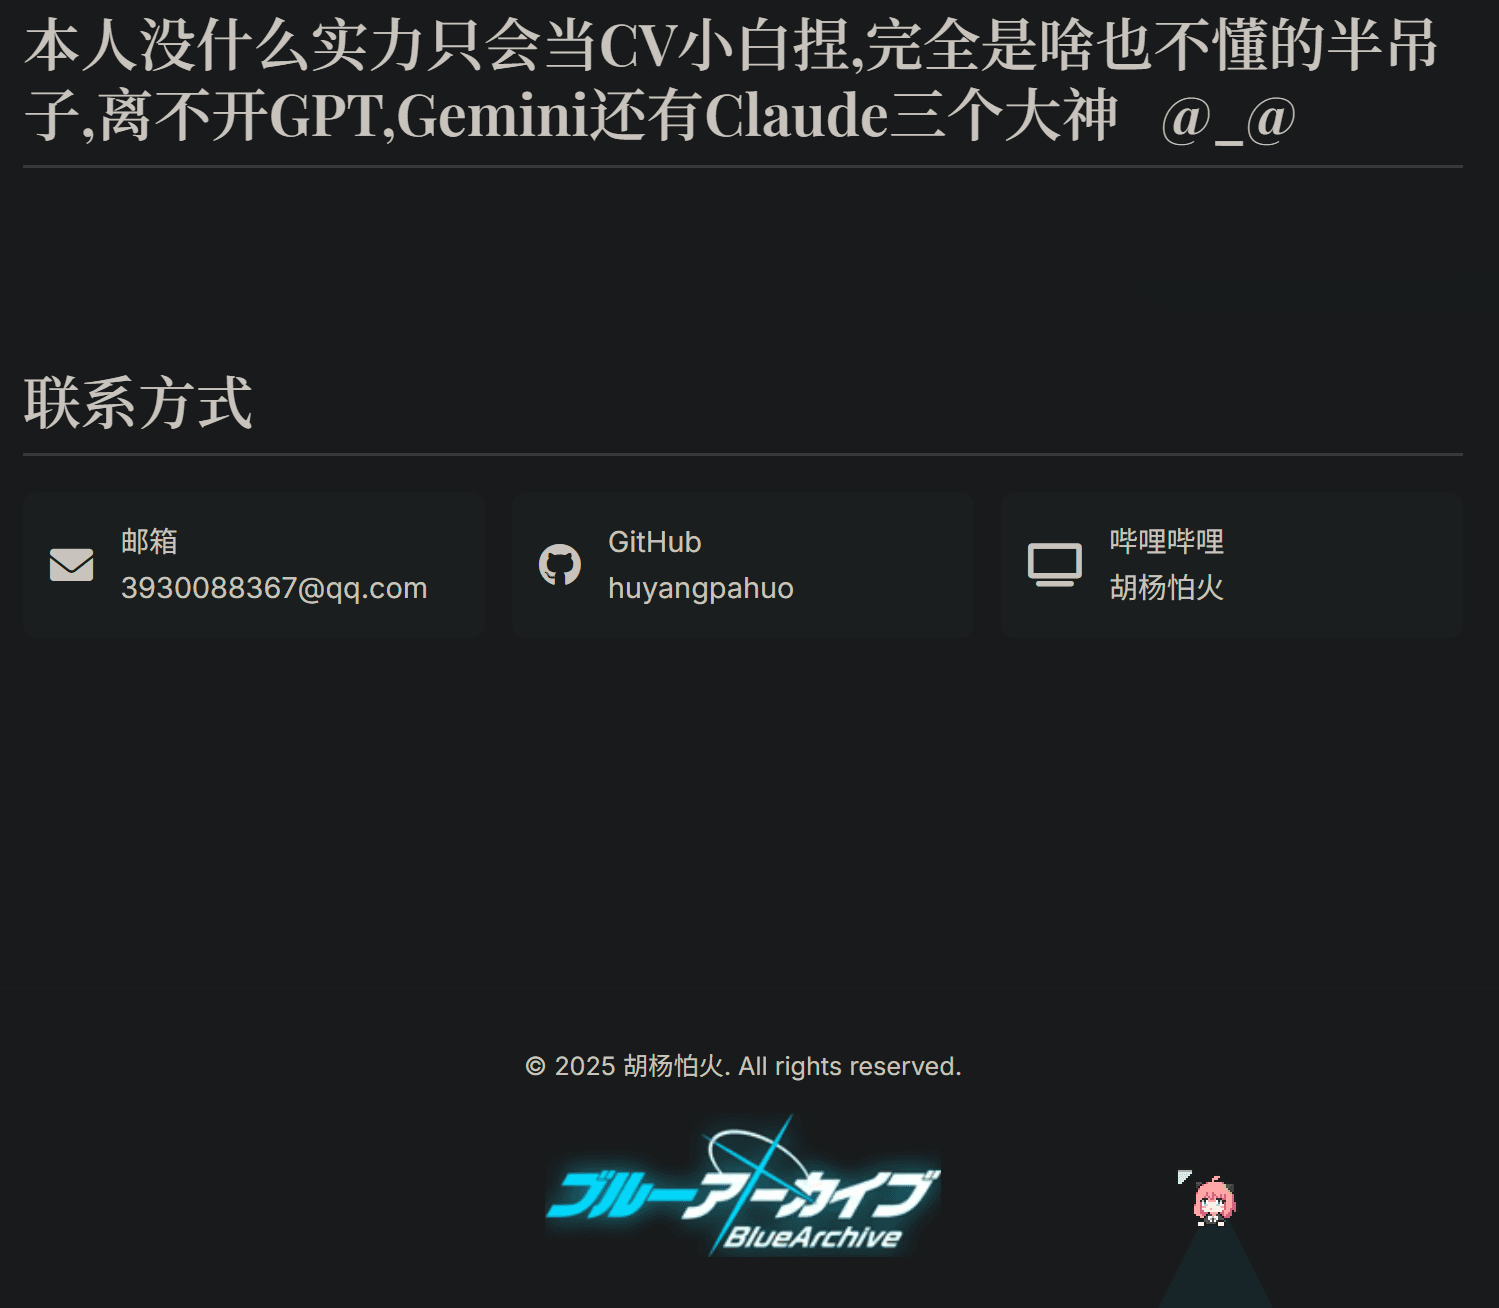
② about (关于) 比如那个 “ 关于 ” 还有“ 分类 ” “标签 ” 以及“ 友链 ”包括 搜索 功能,一开始就是点击只会显示 404 not found
我们仍然使用 bat 启动脚本 ,不过你们也可以自己建文件夹,取名字和我的一致,里面放一个名为“index.md”的文件
首先制作about.bat脚本
1 cmd /k "cd /d D:\Blog && hexo new page "about"" //把这个路径替换为本地网站资源的文件夹位置,替换完后删除你看到的这句中文,并点击脚本启动
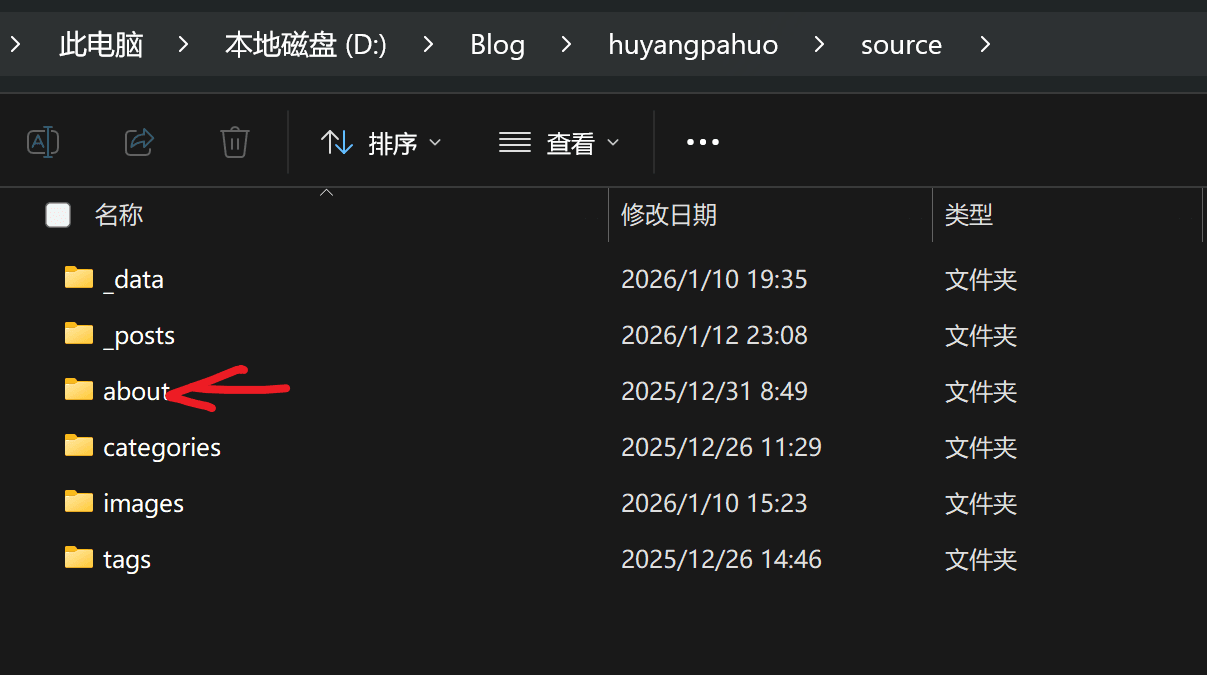
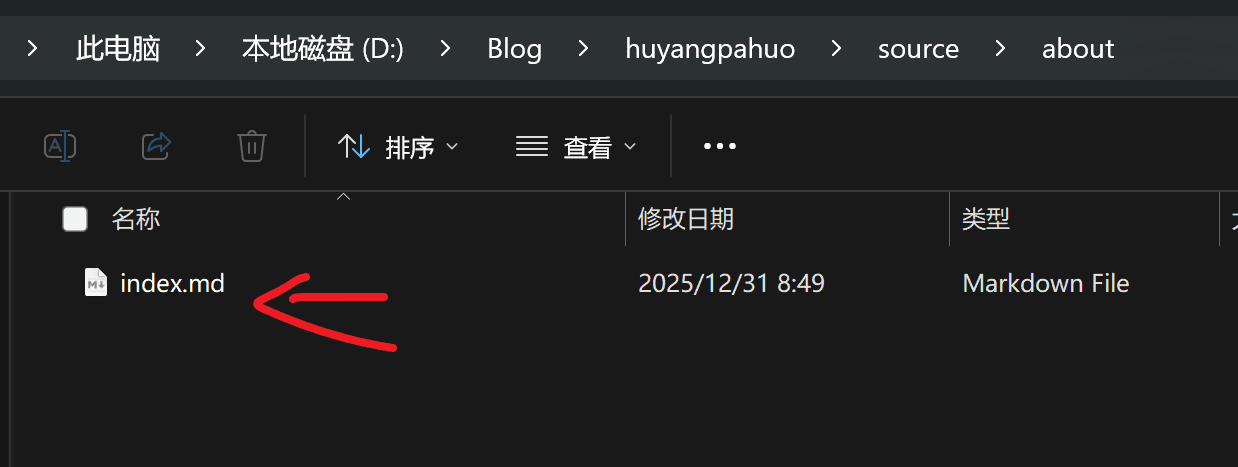
然后你可以看到这个about文件夹就出现了,里面还多了一个md空文档 其他几个文件夹
对应hexo官网描述
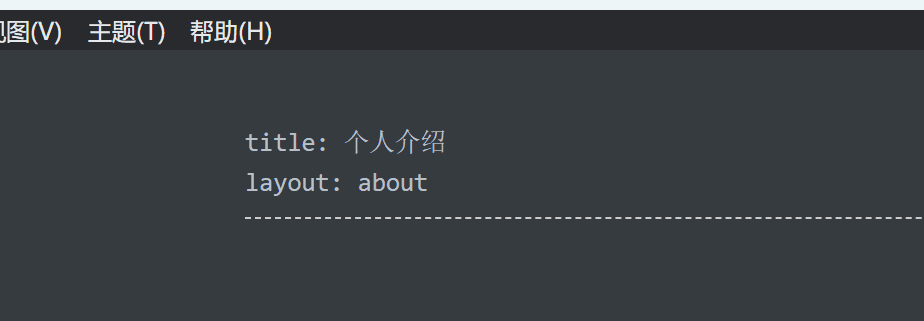
在md(就是这个文件夹里面的index.md ) 里插入YAML写
1 2 title: 个人介绍 layout: about
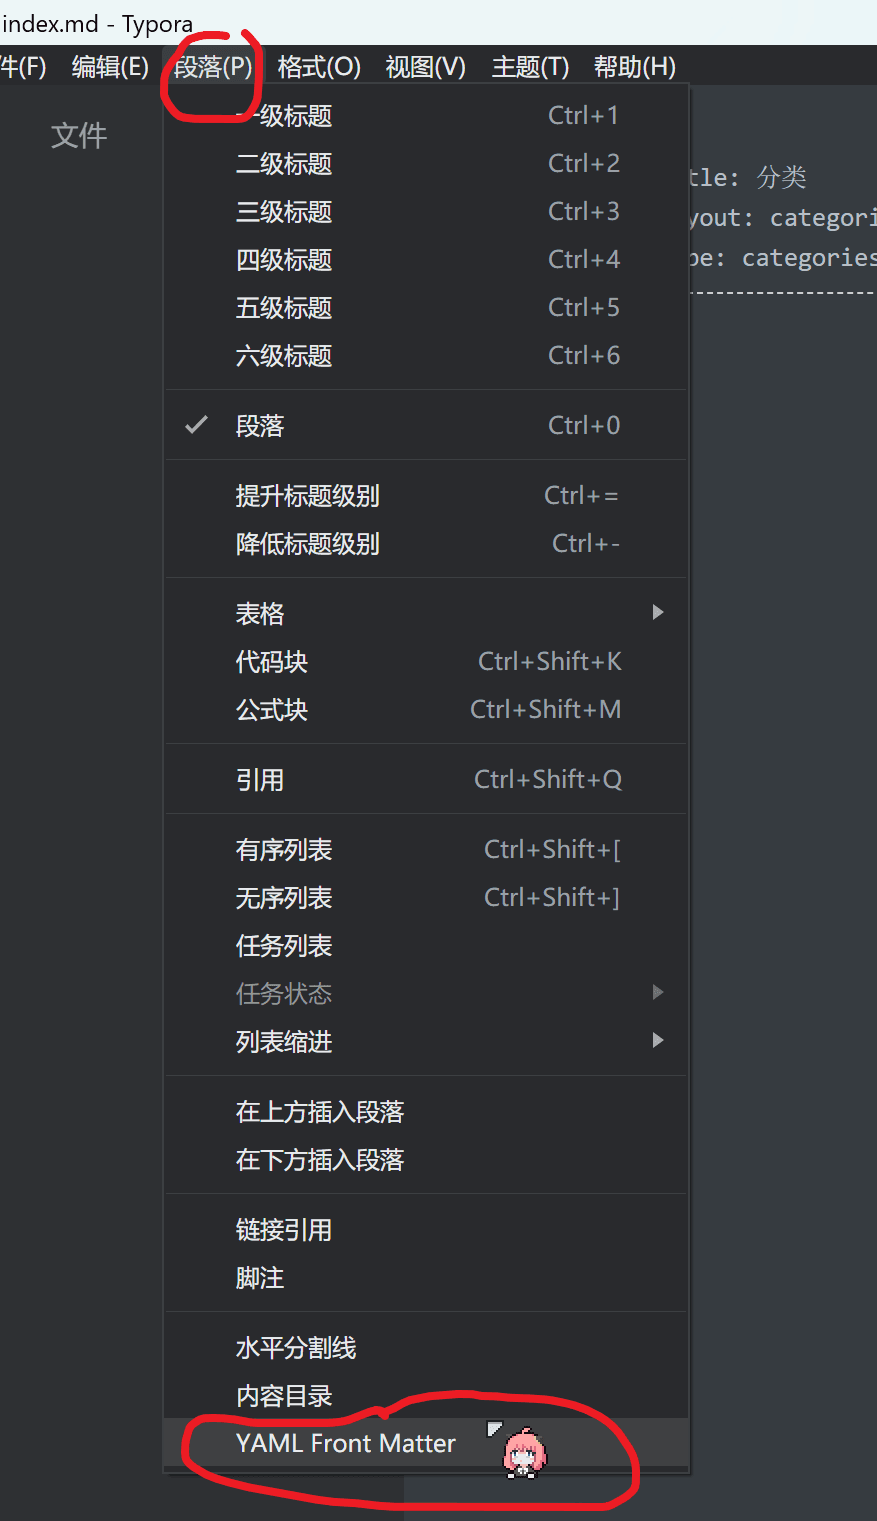
什么.你不会插入YAML,假如你有Typora软件的话
在虚线上面写这些就行了
创建了之后大家可能不知道怎么改 没关系,大家可以在里面写一些自我介绍
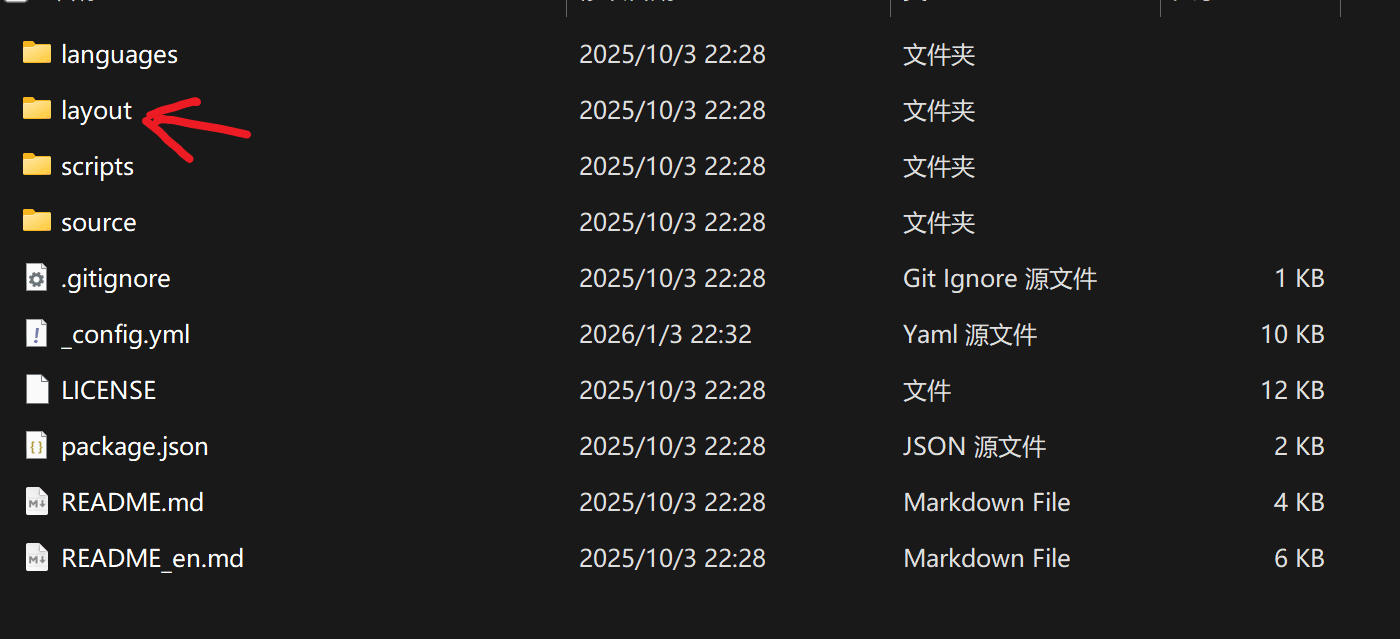
magizne文件夹这个地方找到这个脚本
我没有学过pug 第一次我使用的时候about.pug不是现在这个样子,这个我原先让AI改成我自己的信息了,也删改了部分代码
包括以下所有文件的代码,都是AI修改后的,改完之后我就给大佬写信反馈了一些小bug和小建议 大佬真的接受了并更新了这个项目
( * ^ ▽ ^ * )好耶
你们可以改成你们自己的身份信息哦 不会改的话可以把自己的github网址,哔哩哔哩网址,邮箱发给AI让他给你改,但是注意,其他的任何代码都不要改,只改中文部分
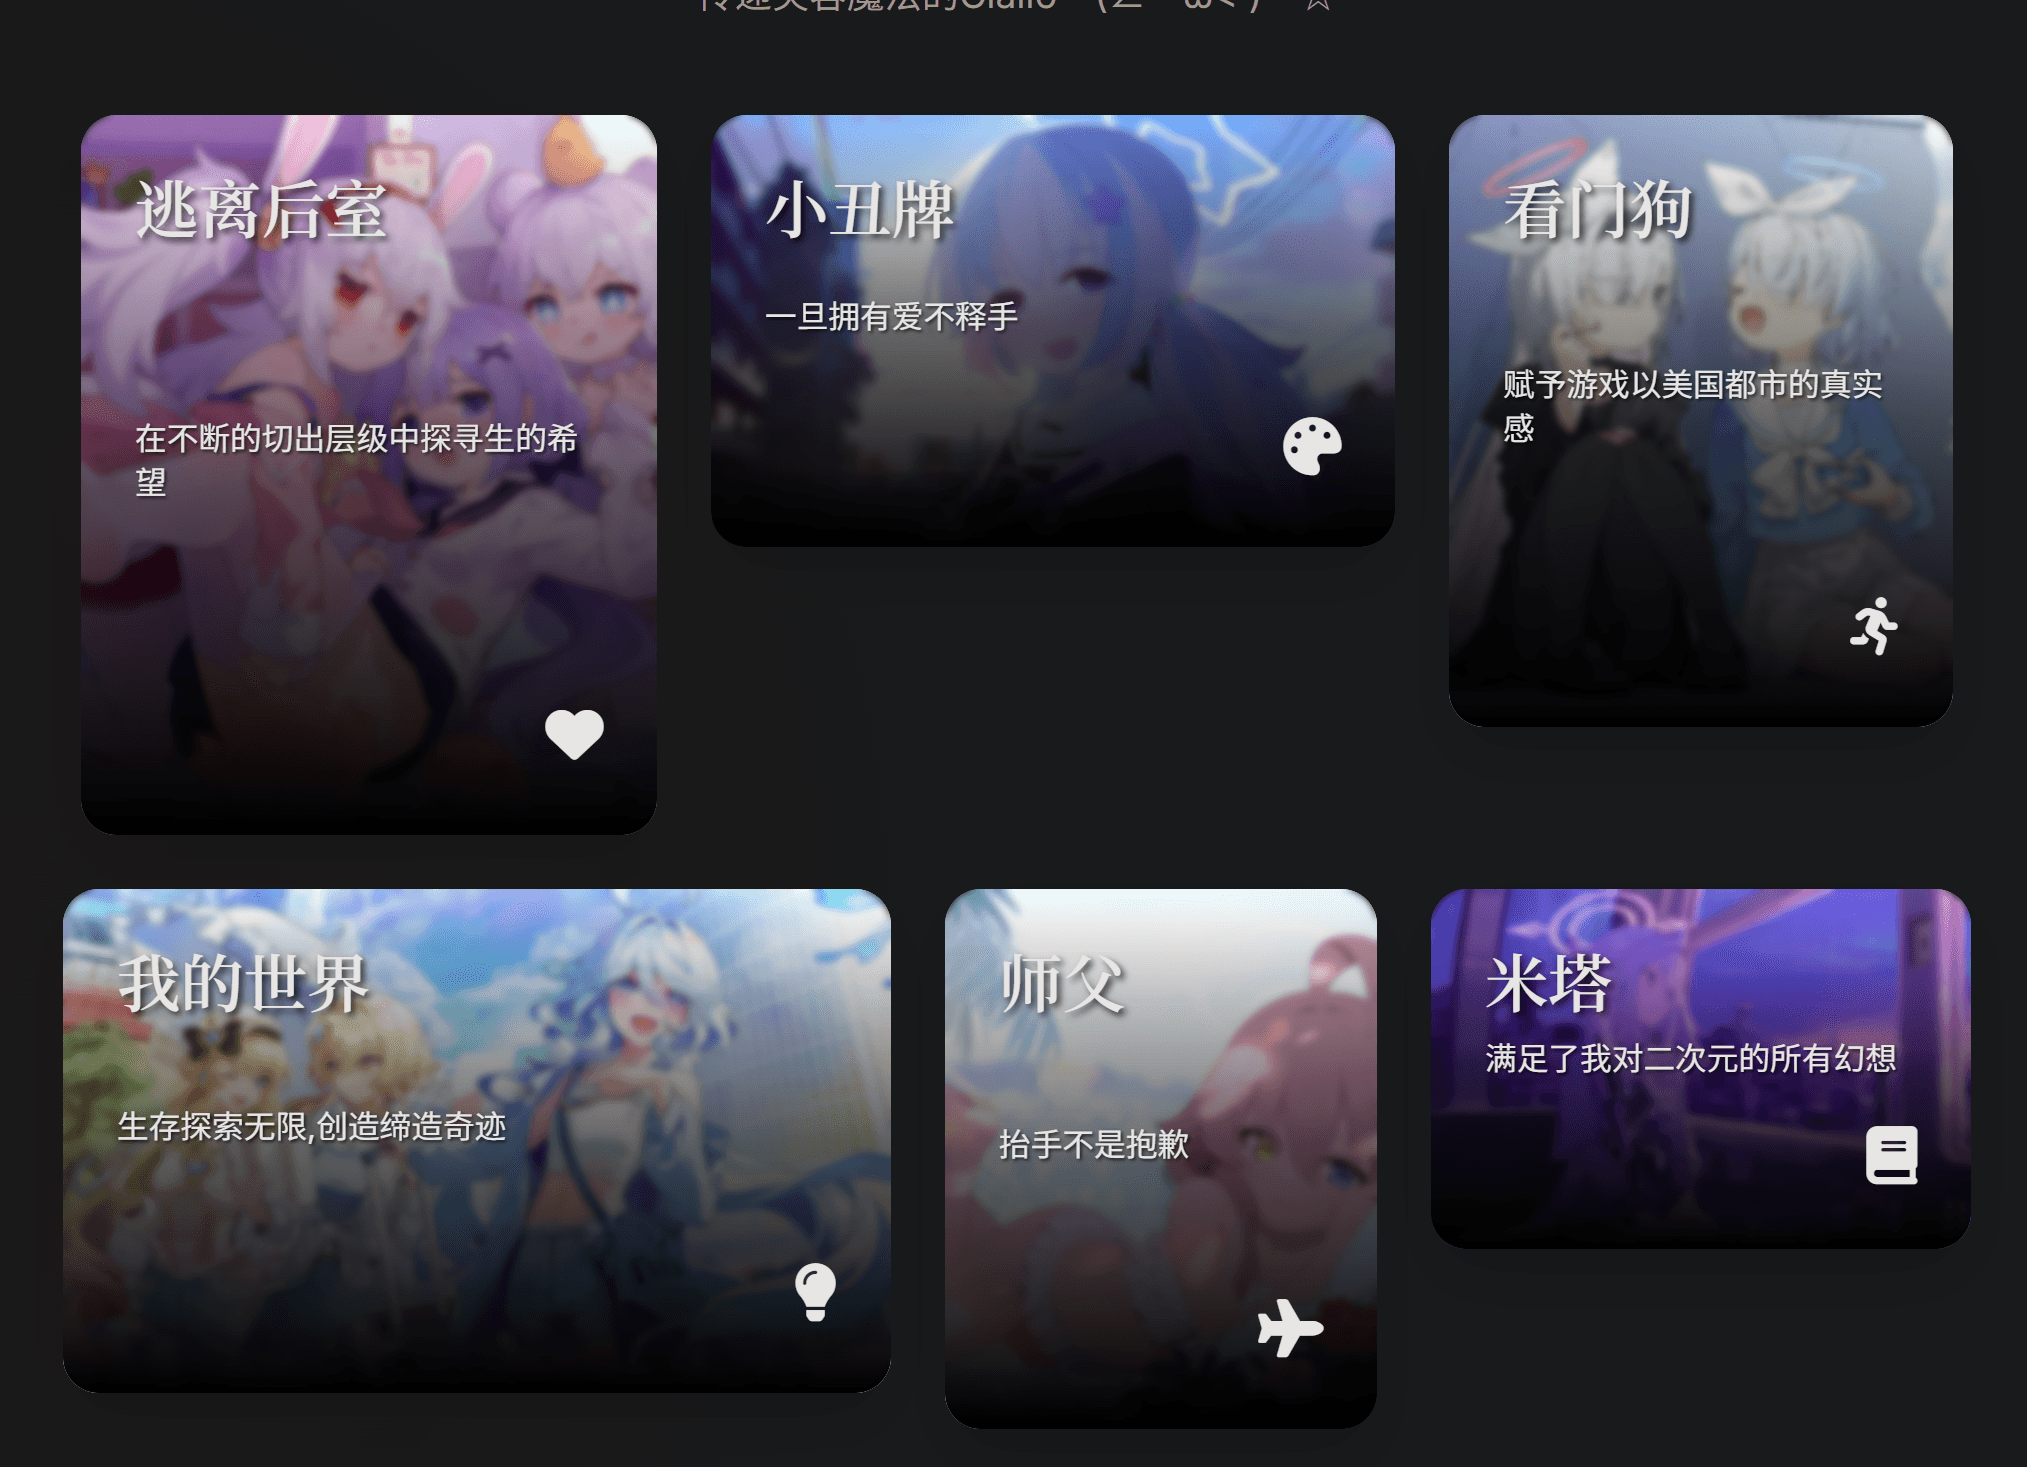
1 2 3 4 5 6 7 8 9 10 11 12 13 14 15 16 17 18 19 20 21 22 23 24 25 26 27 28 29 30 31 32 33 34 35 36 37 38 39 40 41 42 43 44 45 46 47 48 49 50 51 52 53 54 55 56 57 58 59 60 61 62 63 64 65 66 67 68 69 70 71 72 73 74 75 76 77 78 79 80 81 82 83 84 85 86 87 88 89 90 91 92 93 94 95 96 97 98 99 100 101 102 103 104 105 106 107 108 109 110 111 112 113 114 115 116 117 118 119 120 121 122 123 124 125 126 127 128 129 130 131 132 133 134 135 136 doctype html html(lang=config.language) head meta(charset='UTF-8') title= (page.title || '关于我') + ' | ' + config.title link(rel='stylesheet', href=url_for('/css/about.css')) link(rel='stylesheet', href='https://cdnjs.cloudflare.com/ajax/libs/font-awesome/6.0.0/css/all.min.css') body main.about-page .about-container .about-header .about-avatar img(src=url_for(theme.author_card && theme.author_card.avatar ? theme.author_card.avatar : '/img/avatar.png'), alt="Avatar") h1.about-name= theme.author_card && theme.author_card.name ? theme.author_card.name : 'Your Name' p.about-bio= theme.author_card && theme.author_card.bio ? theme.author_card.bio : 'Your Bio' .interests-showcase if site.data.about && site.data.about.cards each card in site.data.about.cards - var cardClass = 'interest-card' - if (card.layout) cardClass += ' card-' + card.layout - if (card.size) cardClass += ' card-' + card.size a(class=cardClass, href=card.link || '#', target="_blank") - var bgStyle = card.image ? `background-image: url(${url_for(card.image)});` : `background: ${card.background};` .card-bg(style=`${bgStyle} background-size: cover; background-position: center;`) .card-content h3.card-title= card.title .card-description p= card.description .card-icon i(class=card.icon) .card-hover-content p= card.details else p(style="text-align:center") 暂无数据 .about-details .about-section h2 关于我 .profile-info .profile-item .profile-label 称呼 .profile-value 胡杨怕火 .profile-item .profile-label 年龄 .profile-value 19岁 .profile-item .profile-label 大学 .profile-value 河南师范大学软件工程 .profile-item .profile-label 爱好 .profile-value 做游戏和绘画 .profile-item .profile-label 擅长 .profile-value 吃饱睡睡饱吃 .profile-item .profile-label 身份 .profile-value 二次元爱好者 .about-section h2 我的技能点 .bio-content .skills-list span.skill-tag 摄影和剪辑 span.skill-tag 像素画和二次元绘画 span.skill-tag Logo和矢量图设计 span.skill-tag 各种计算机语言 span.skill-tag Blender建模 span.skill-tag Linux span.skill-tag 计算机图形学 span.skill-tag 微信小程序 span.skill-tag AI span.skill-tag 游戏制作 span.skill-tag 写小说 span.skill-tag 我的世界模组制作 span.skill-tag 英语 span.skill-tag 日语 span.skill-tag 前端和数据库 span.skill-tag 安卓应用制作 .about-section h2 碎碎念 .bio-content(style="white-space: pre-wrap;") != page.content .about-section h2 联系方式 .contact-info a.contact-item(href="mailto:3930088367@qq.com") i.fas.fa-envelope div .contact-label 邮箱 .contact-value 3930088367@qq.com a.contact-item(href="https://github.com/huyangpahuo") i.fab.fa-github div .contact-label GitHub .contact-value huyangpahuo a.contact-item(href="https://space.bilibili.com/3546621941910044") i.fas.fa-tv div .contact-label 哔哩哔哩 .contact-value 胡杨怕火 //- 【JS 修改】降低灵敏度 + 增加角度限制 script. document.addEventListener('DOMContentLoaded', function() { const cards = document.querySelectorAll('.interest-card'); cards.forEach(card => { card.addEventListener('mousemove', function(e) { const rect = card.getBoundingClientRect(); const x = e.clientX - rect.left - rect.width / 2; const y = e.clientY - rect.top - rect.height / 2; // 【修正 1】降低灵敏度:除数从 20 改为 60,动效更微小细腻 let rotateY = x / 60; let rotateX = -y / 60; // 【修正 2】角度限制:限制在 ±8 度以内,防止太歪 rotateY = Math.max(-8, Math.min(8, rotateY)); rotateX = Math.max(-8, Math.min(8, rotateX)); // 保持上浮 -16px card.style.transform = `perspective(1000px) rotateX(${rotateX}deg) rotateY(${rotateY}deg) scale3d(1.02, 1.02, 1.02) translateY(-16px)`; }); card.addEventListener('mouseleave', function() { // 复原 card.style.transform = 'perspective(1000px) rotateX(0) rotateY(0) scale3d(1, 1, 1) translateY(0)'; }); }); });
还有一个就是这个 about.yml文件
这个其实就是这里
1 2 3 4 5 6 7 8 9 10 11 12 13 14 15 16 17 18 19 20 21 22 23 24 25 26 27 28 29 30 31 32 33 34 35 36 37 38 39 40 41 42 43 44 45 46 47 48 49 50 51 52 53 54 55 56 57 58 59 60 cards: - title: "逃离后室" image: "/images/13.jpg" link: "https://store.steampowered.com/app/1943950/Escape_the_Backrooms/" background: "linear-gradient(135deg, #ff9a9e 0%, #fad0c4 50%, #ffecd2 100%)" description: "在不断的切出层级中探寻生的希望" details: "下次窃皮者来的时候不要堵门你尔朵隆吗" icon: "fas fa-heart" layout: "portrait" size: "large" - title: "小丑牌" image: "/images/14.png" link: "https://store.steampowered.com/app/2379780/Balatro/" background: "linear-gradient(135deg, #a1c4fd 0%, #c2e9fb 50%, #a6c0fe 100%)" description: "一旦拥有爱不释手" details: "结果就是玩上瘾了" icon: "fas fa-palette" layout: "landscape" size: "medium" - title: "看门狗" image: "/images/15.png" link: "https://store.steampowered.com/app/2239550/Watch_Dogs_Legion/" background: "linear-gradient(135deg, #84fab0 0%, #8fd3f4 50%, #a8e6cf 100%)" description: "赋予游戏以美国都市的真实感" details: "没错,我是嘉豪" icon: "fas fa-running" layout: "portrait" size: "medium" - title: "我的世界" image: "/images/16.png" link: "https://www.minecraft.net/zh-hans" background: "linear-gradient(135deg, #d4fc79 0%, #96e6a1 50%, #c2e59c 100%)" description: "生存探索无限,创造缔造奇迹" details: "准备好进服务器偷别人家了吗孩子们" icon: "fas fa-lightbulb" layout: "landscape" size: "large" - title: "师父" image: "/images/10.png" link: "https://store.steampowered.com/app/2138710/Sifu/" background: "linear-gradient(135deg, #ffecd2 0%, #fcb69f 100%)" description: "抬手不是抱歉" details: "这,即是武德.jpg" icon: "fas fa-plane" layout: "portrait" size: "small" - title: "米塔" image: "/images/7.png" link: "https://store.steampowered.com/app/2527500/_MiSide/" background: "linear-gradient(135deg, #a8edea 0%, #fed6e3 100%)" description: "满足了我对二次元的所有幻想" details: "幻想死了 狗头狗头狗头" icon: "fas fa-book" layout: "landscape" size: "small"
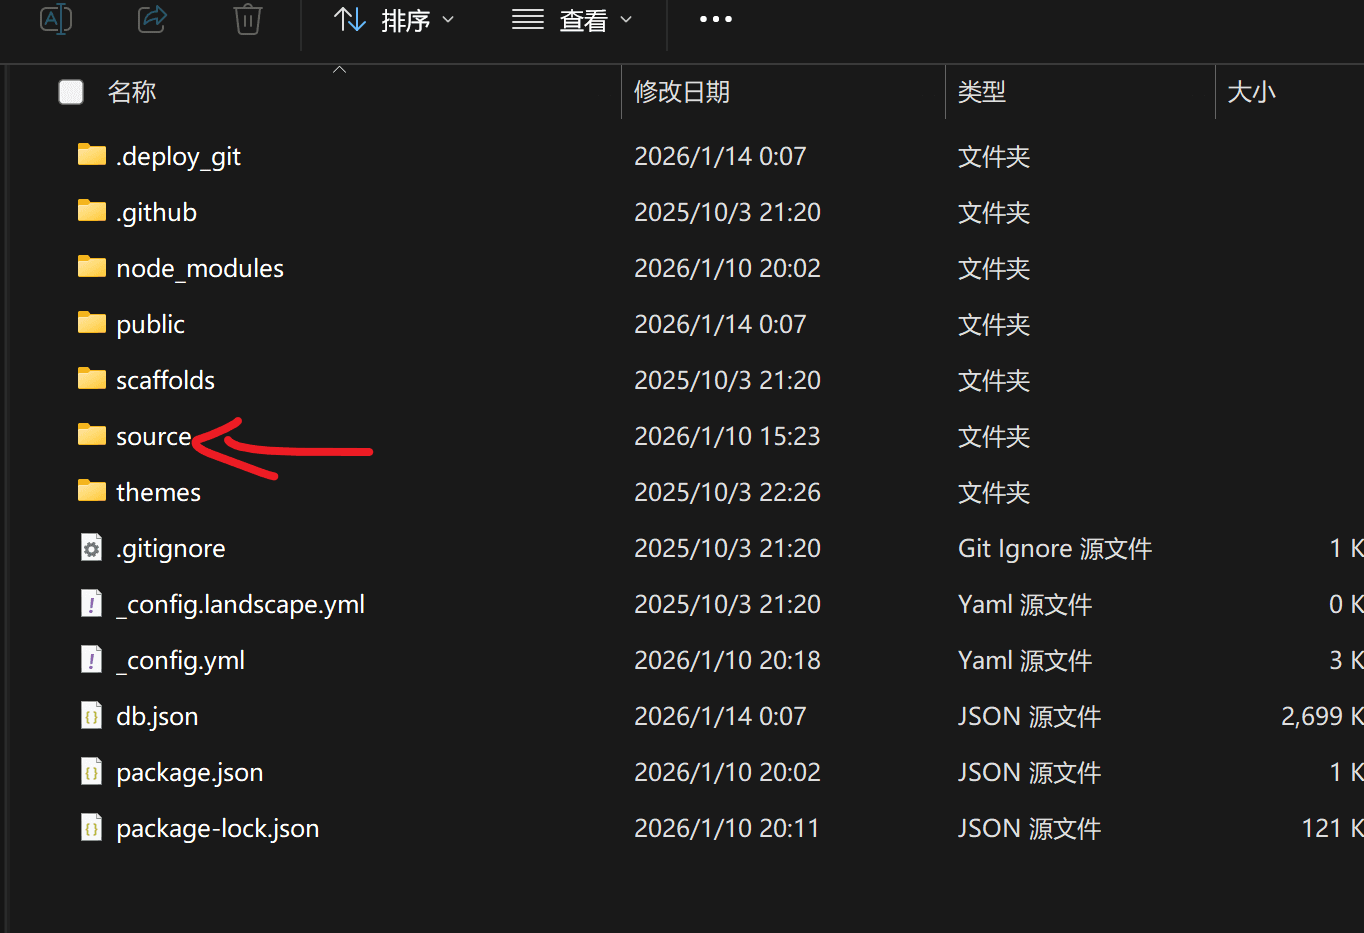
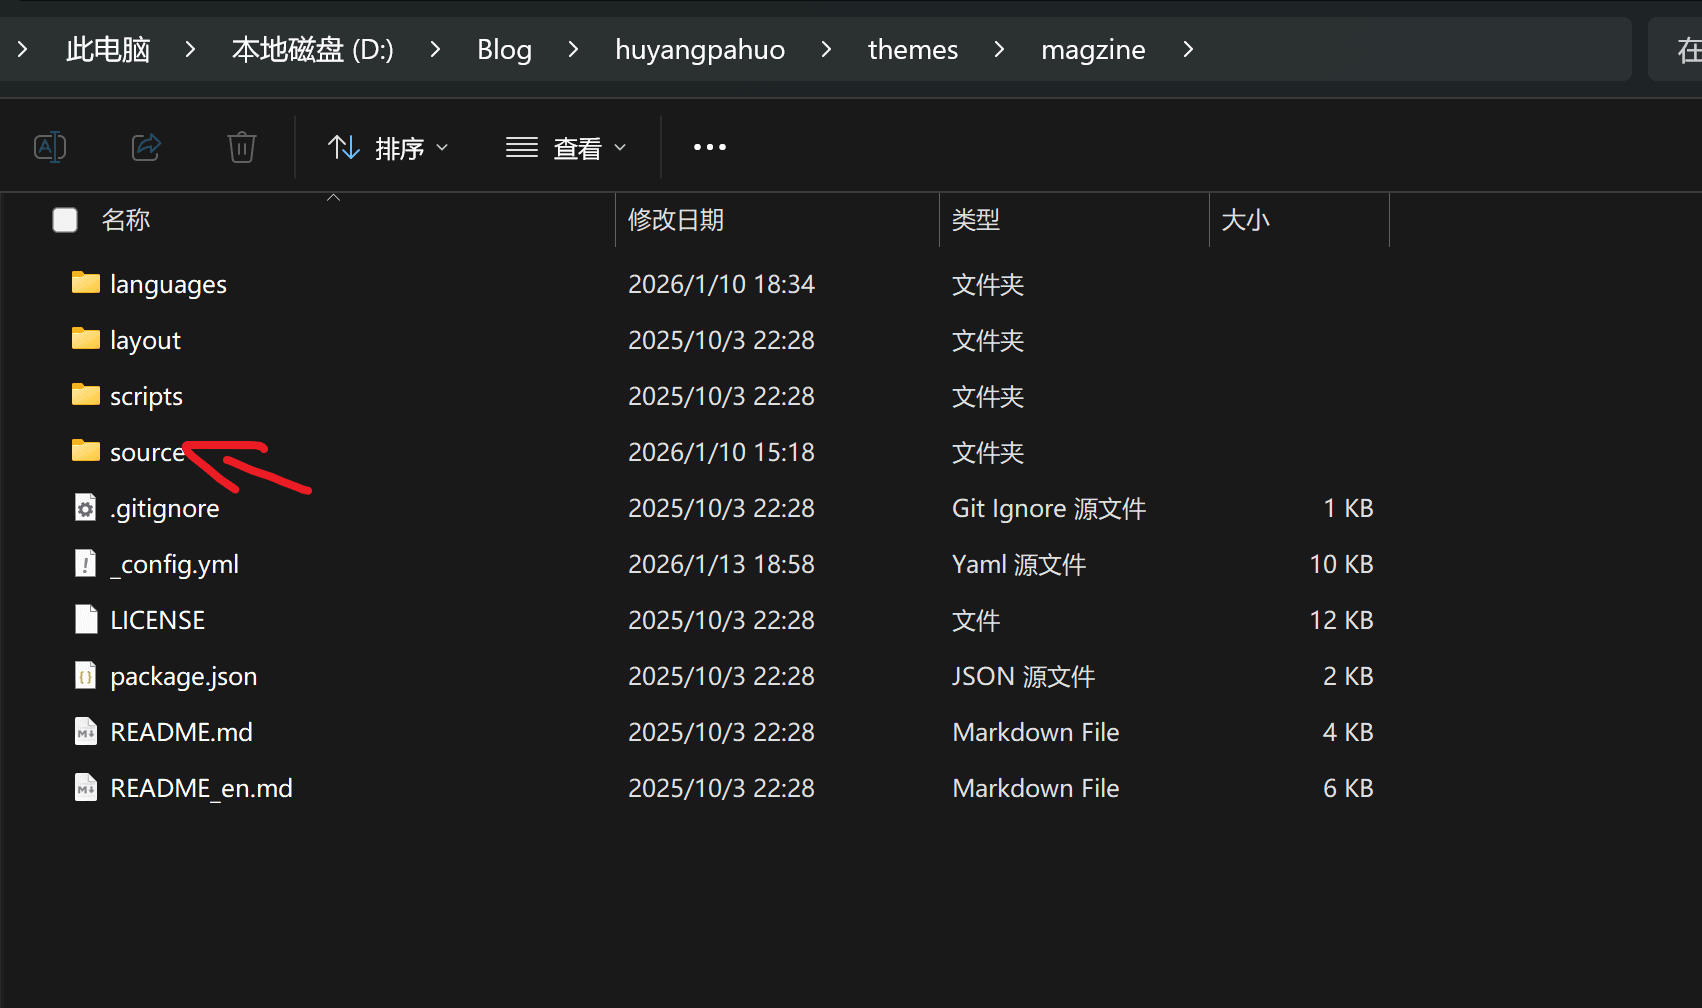
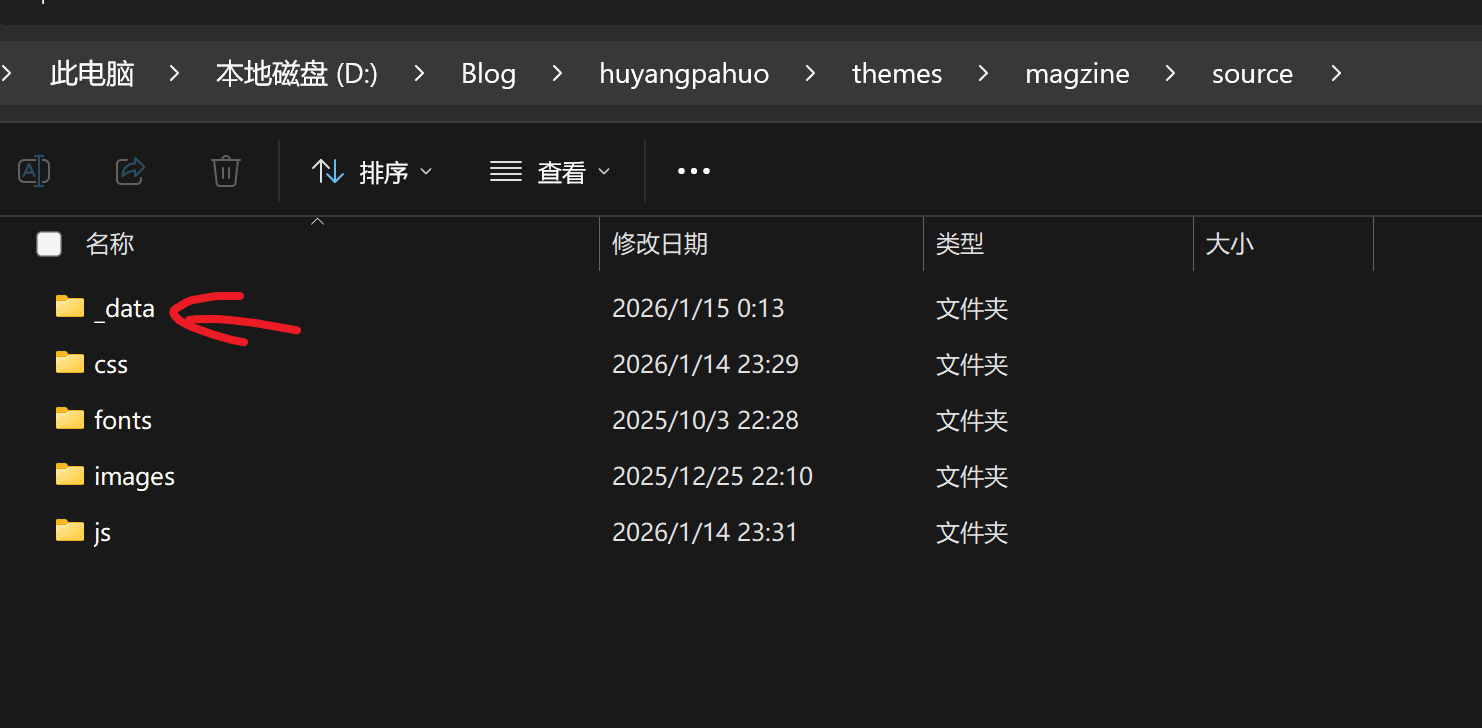
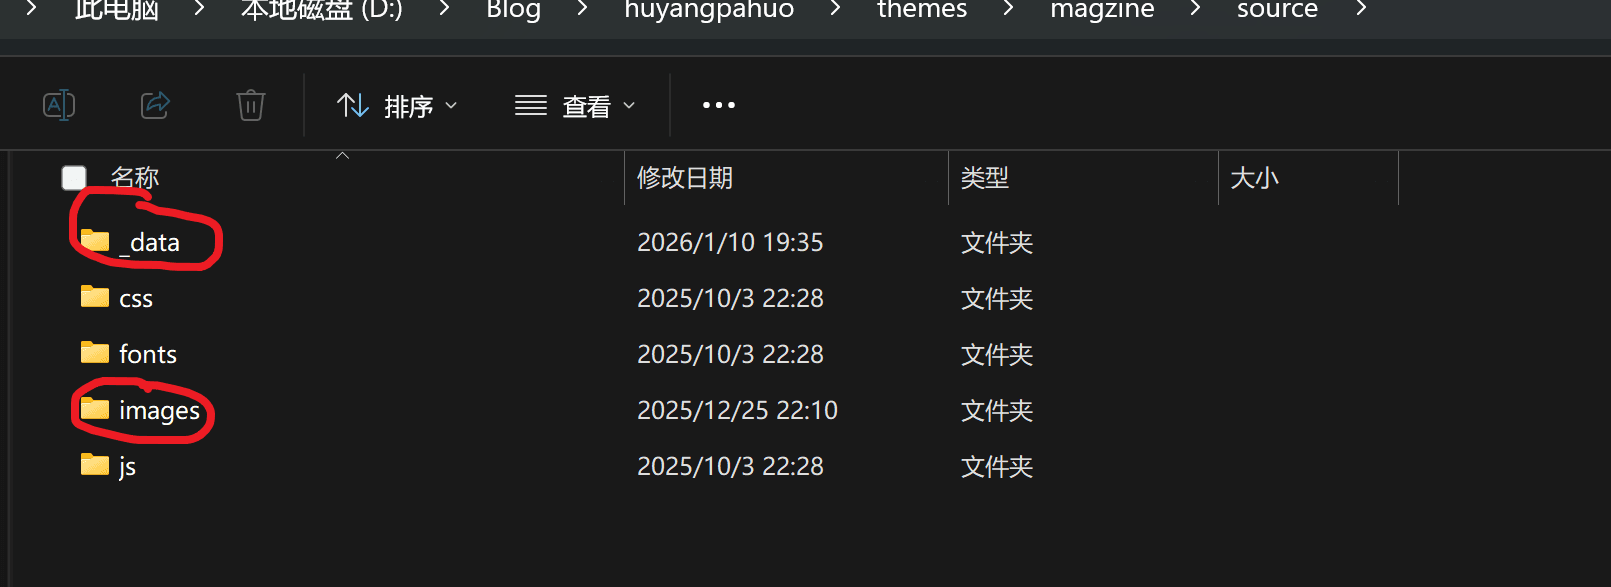
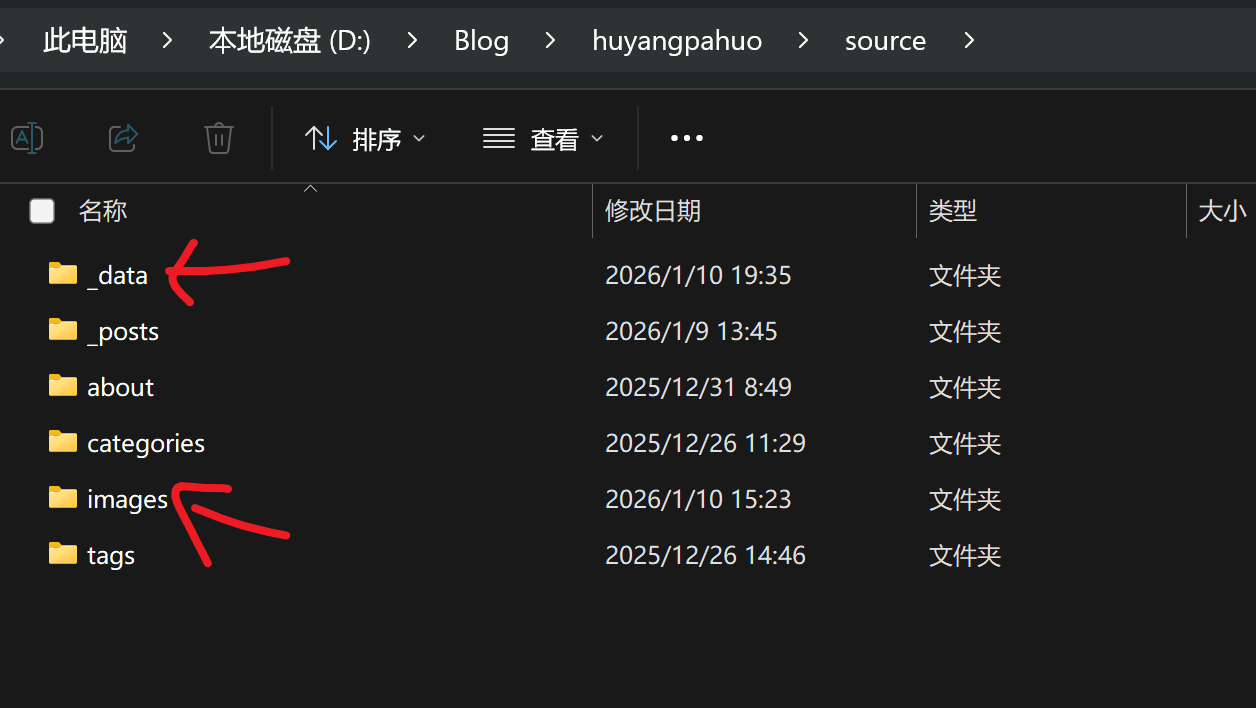
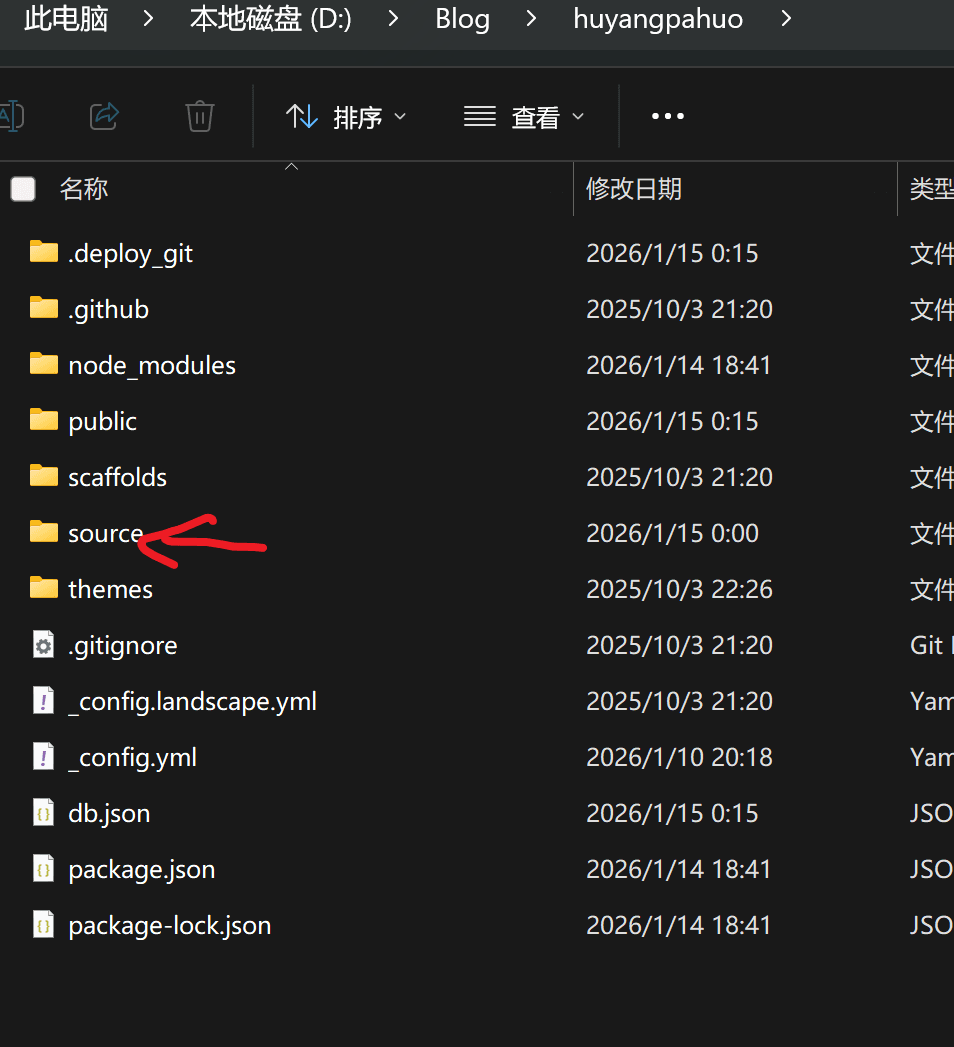
修改过后, 我不知道为什么就是必须把这两个文件夹给复制到 hexo自带的source文件夹才能生效
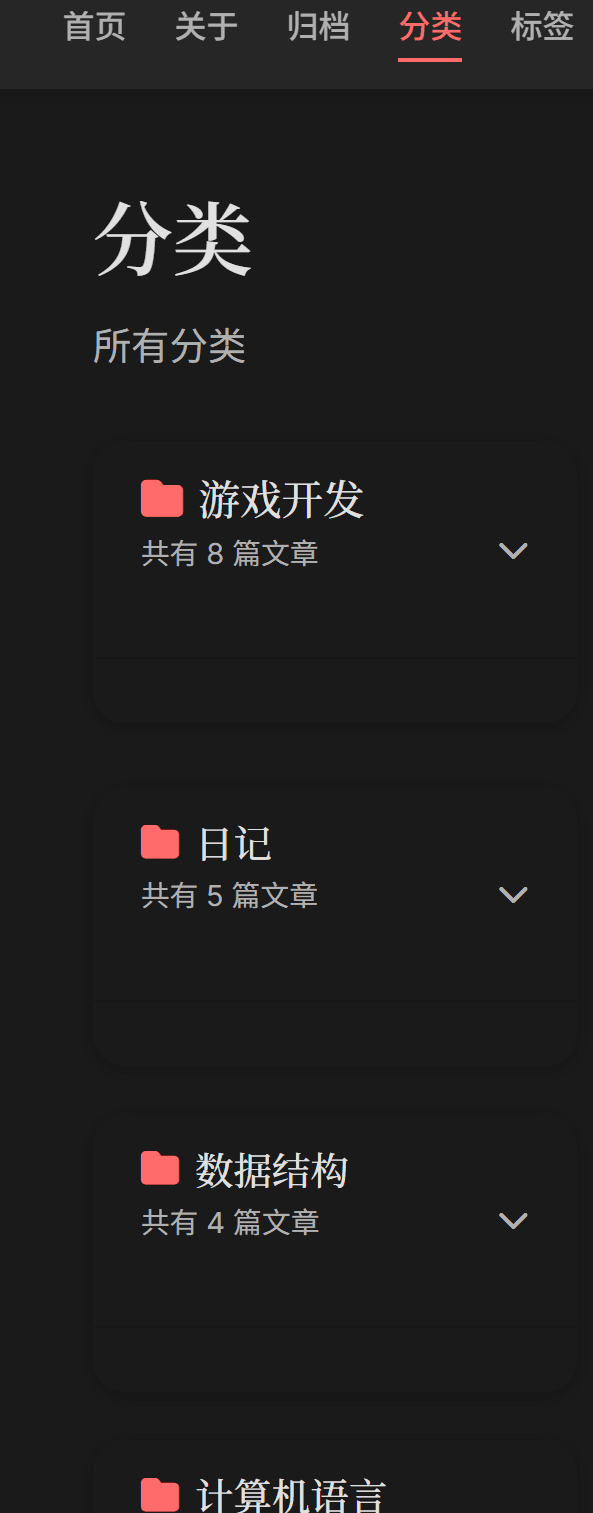
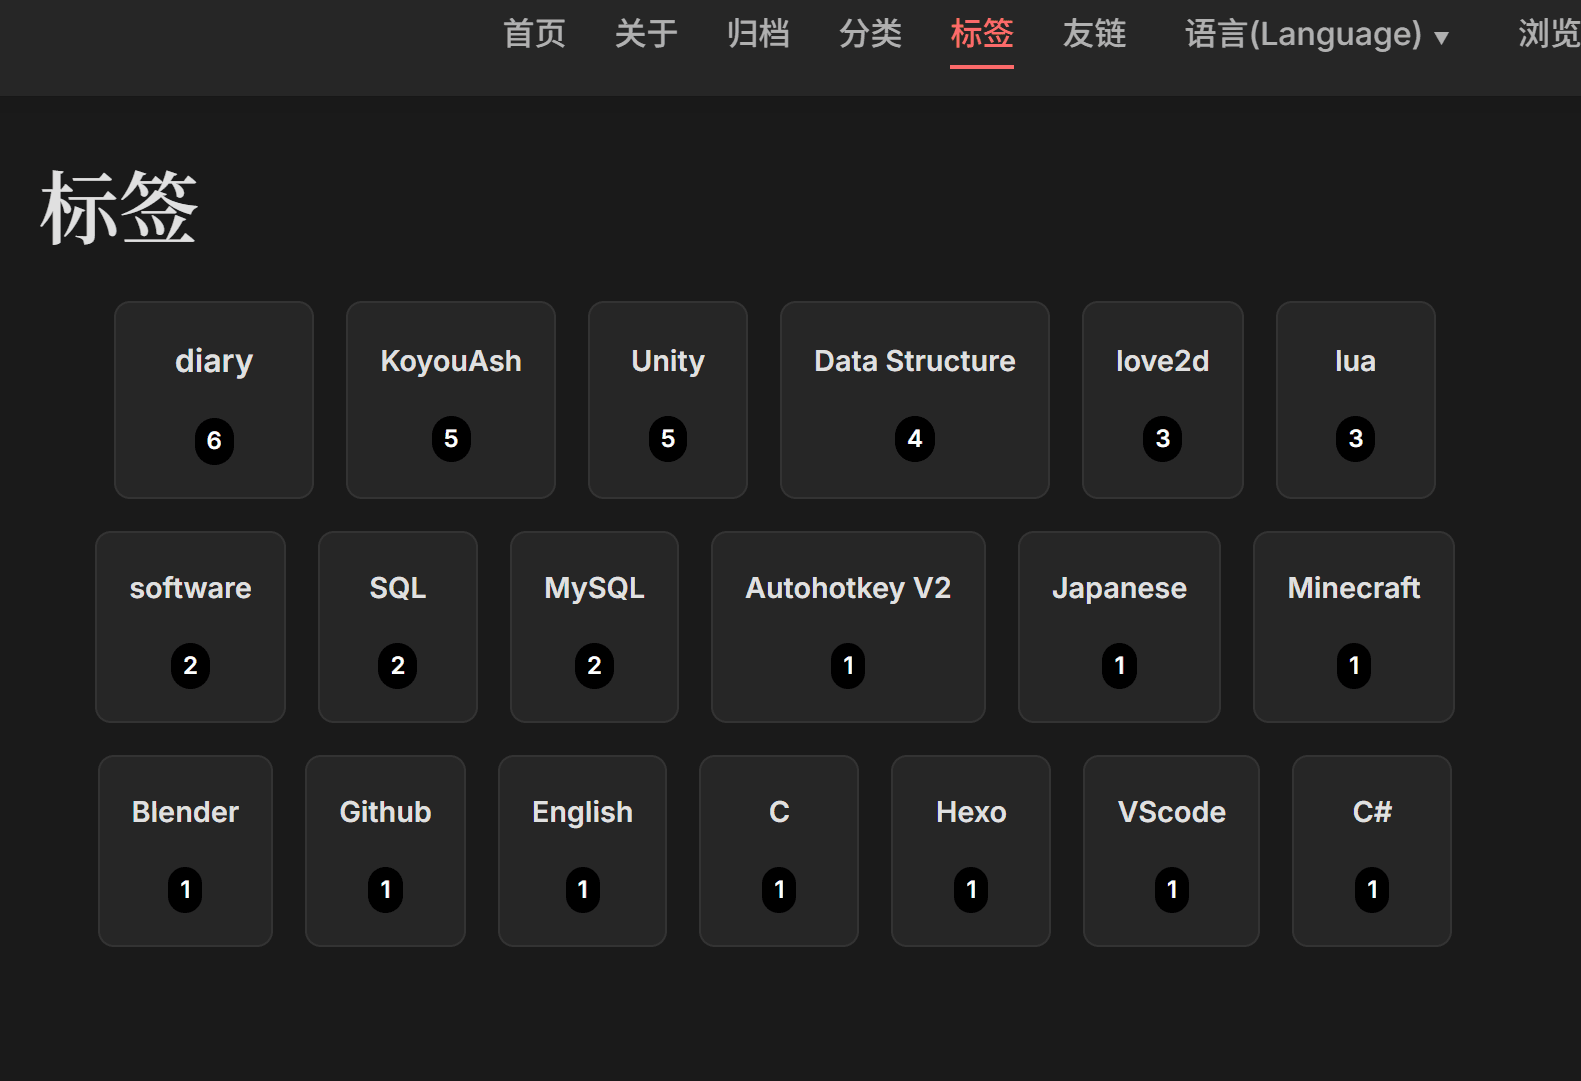
③ categories (分类)和 tag (标签) 我同样也是用的是bat 脚本
1 cmd /k "cd /d D:\Blog && hexo new page categories" //把这个路径替换为本地网站资源的文件夹位置,替换完后删除你看到的这句中文,并点击脚本启动
1 cmd /k "cd /d D:\Blog && hexo new page tags" //把这个路径替换为本地网站资源的文件夹位置,替换完后删除你看到的这句中文,并点击脚本启动
然后这两个md文档里插入YAML并分别改成
1 2 3 title: 分类 layout: categories type: categories
1 2 3 title: 标签 type: tags layout: tag
然后那就可以看到
还有
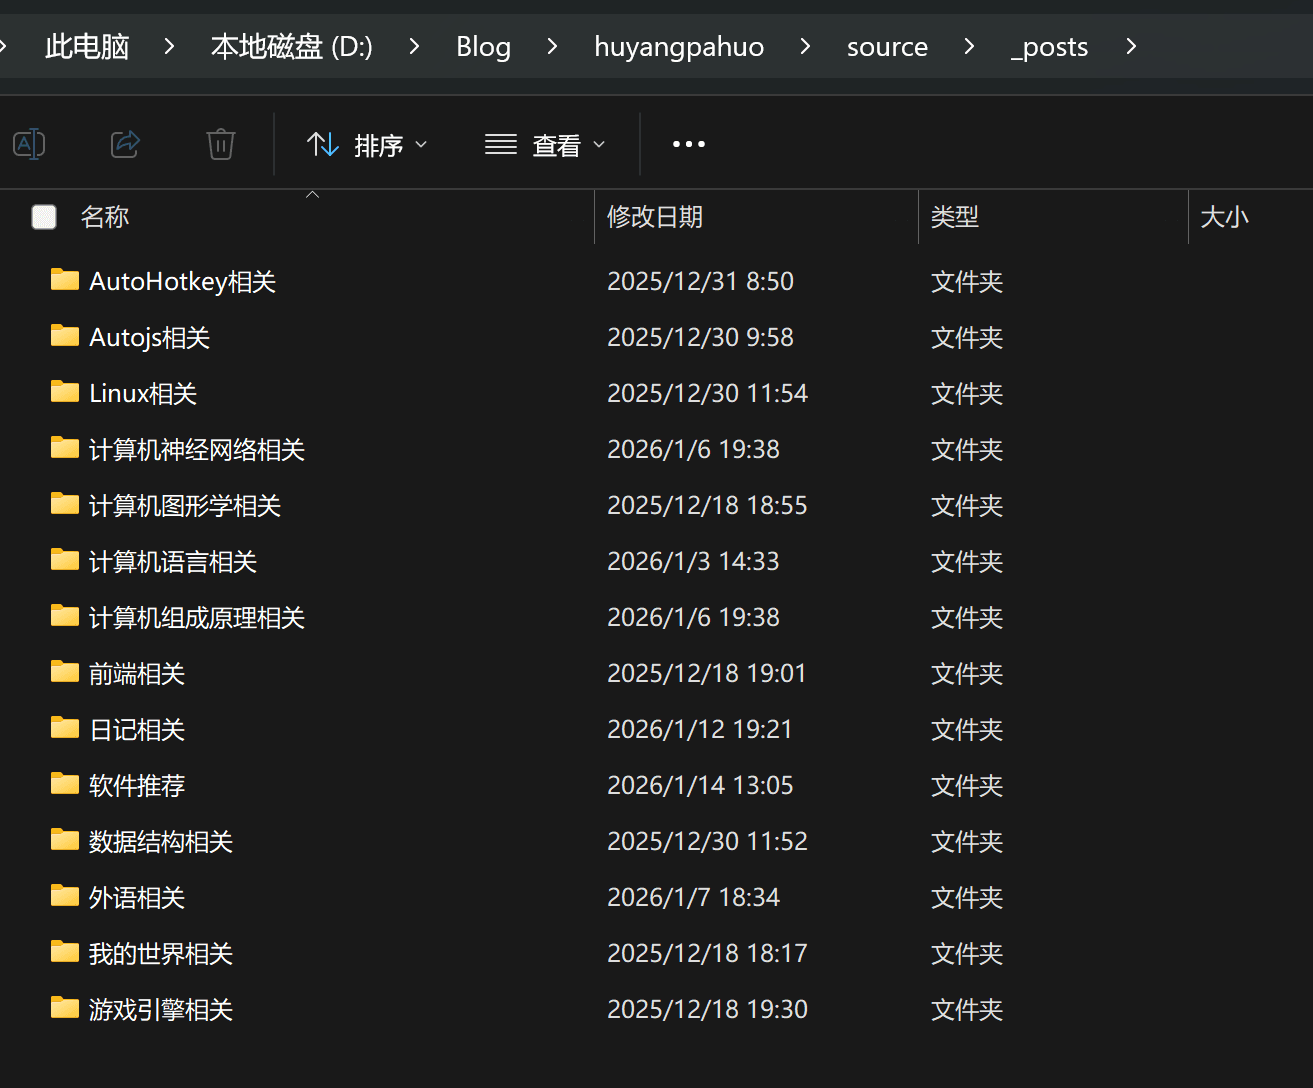
④ 创建新文章 1 cmd /k "cd /d D:\Blog\huyangpahuo && hexo new post "Your Article Title"" //把这个路径替换为本地网站资源的文件夹位置,替换完后删除你看到的这句中文,文章的名字自己随便写,并点击脚本启动
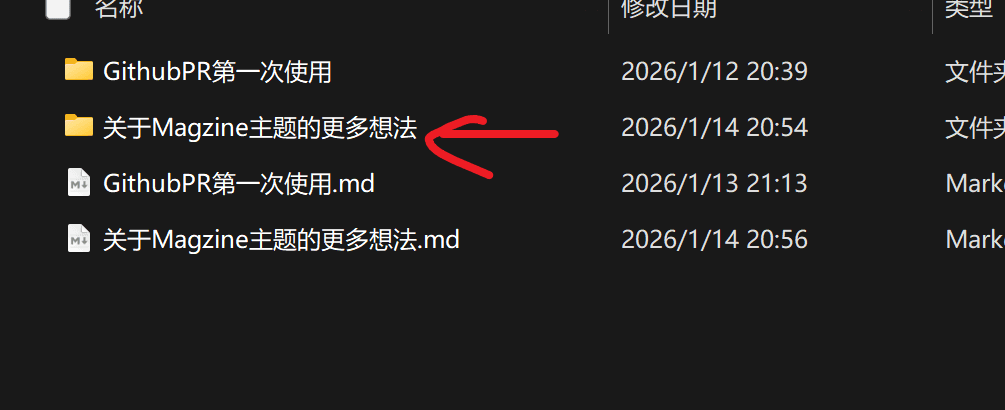
然后移动到_posts文件夹里
可以看到 创建的文章和 其同名文件夹(等会儿说为什么是这个样子)
大家第一次使用的话可能不知道文章封面上的标题和日期怎么来的,也不知道咋换封面和标签
参考我写的这个 注意空格还有“ - ”符号
1 2 3 4 5 6 7 8 9 title: FontColorChange脚本软件的使用方法的详细说明 date: 2025-12-15 18:52:27 tags: - Autohotkey V2 - 脚本 categories: - AutohotkeyScript - 代码 cover: /images/8.png
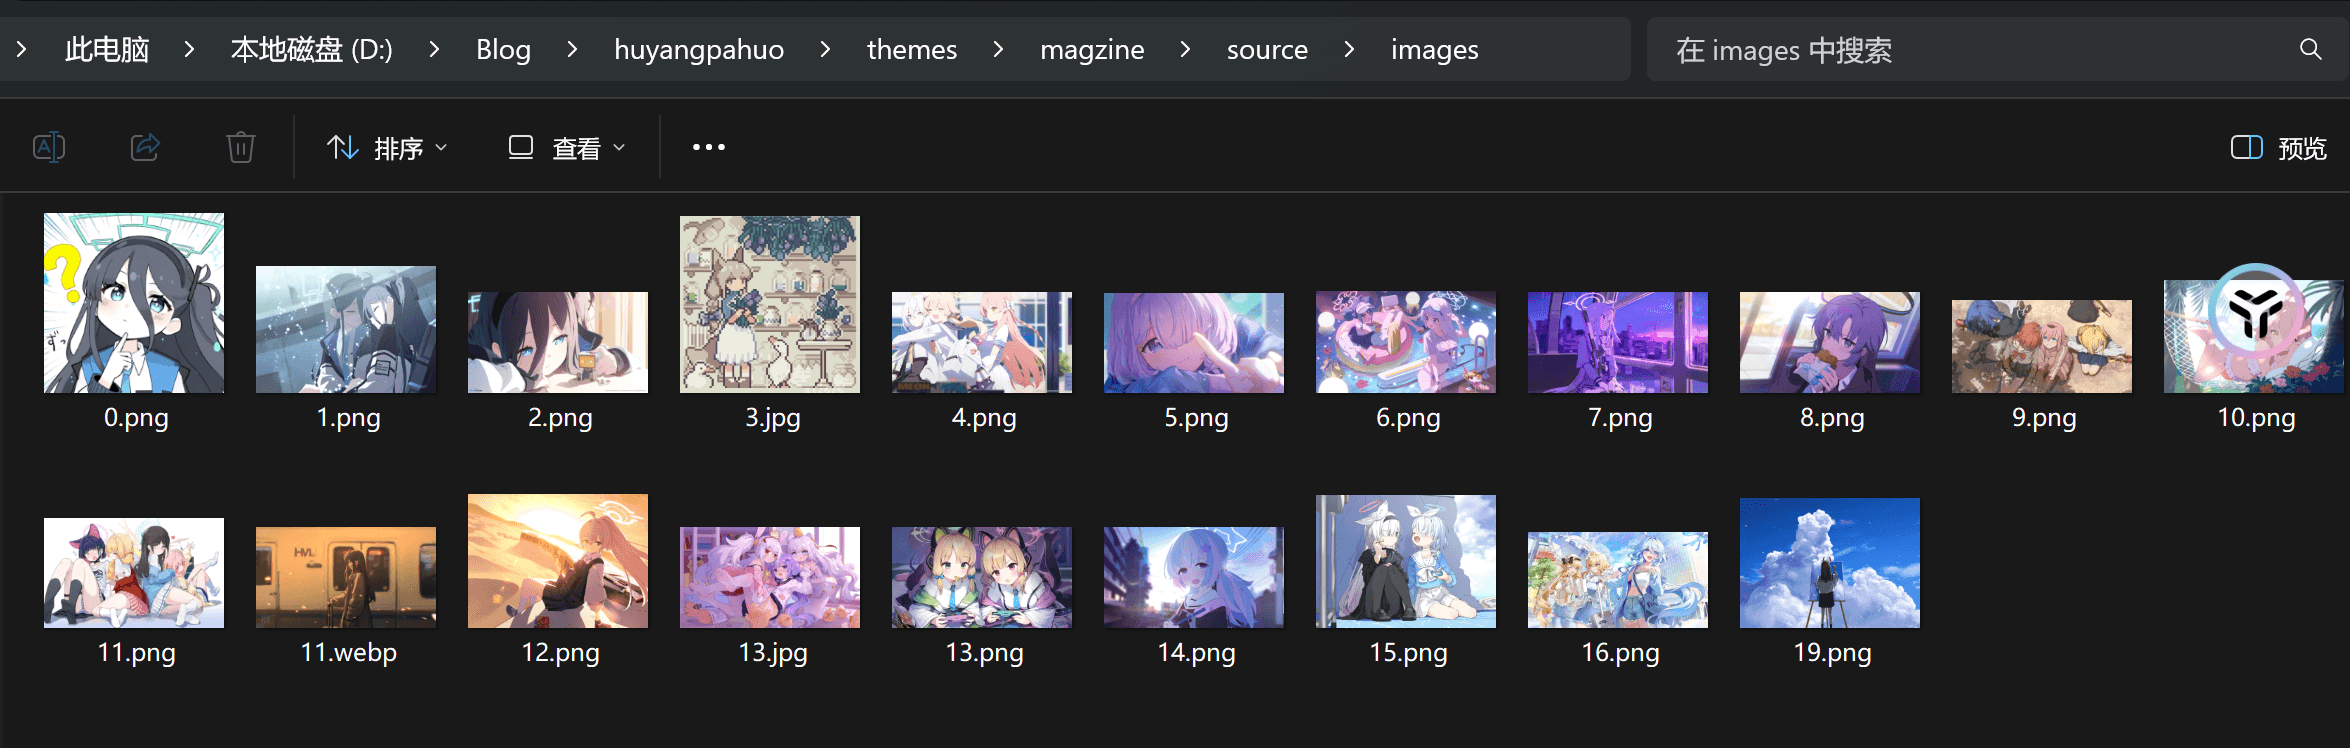
这个封面的路径就是
⑤ 插入图片 大家估计会好奇Blog文章怎么插入图片
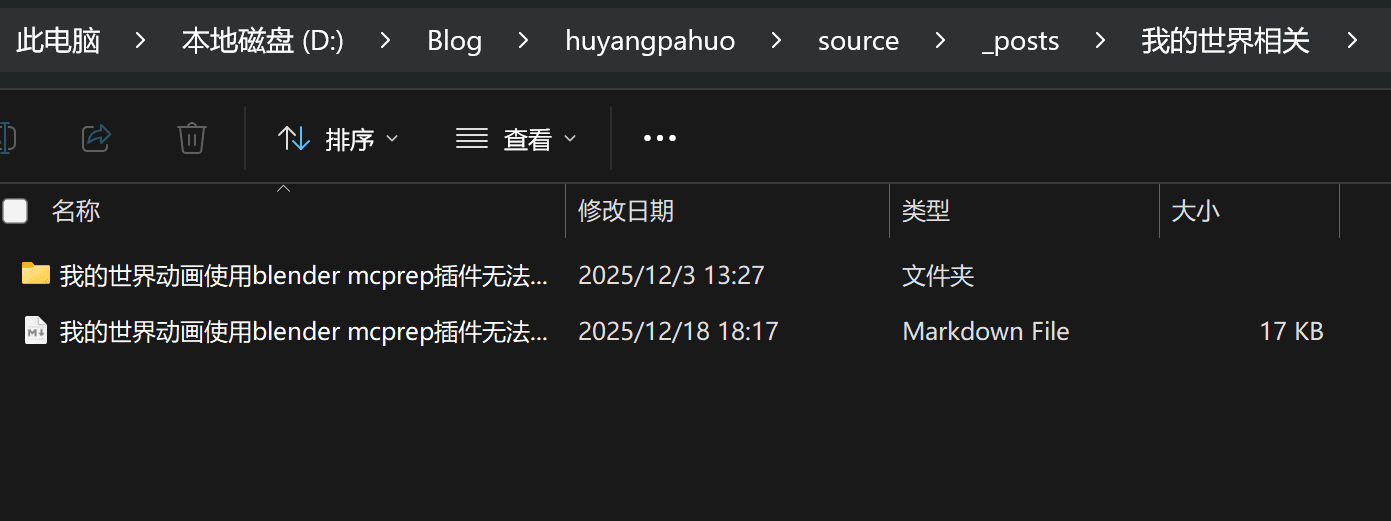
刚才我们说了这个文件名和文件夹必须保持一致 md有自己的图片语法格式 也就是这个格式
但是这个格式不能自由控制缩放,我也是被网上的人误导了很多次
1 
对应我们的这个文件夹
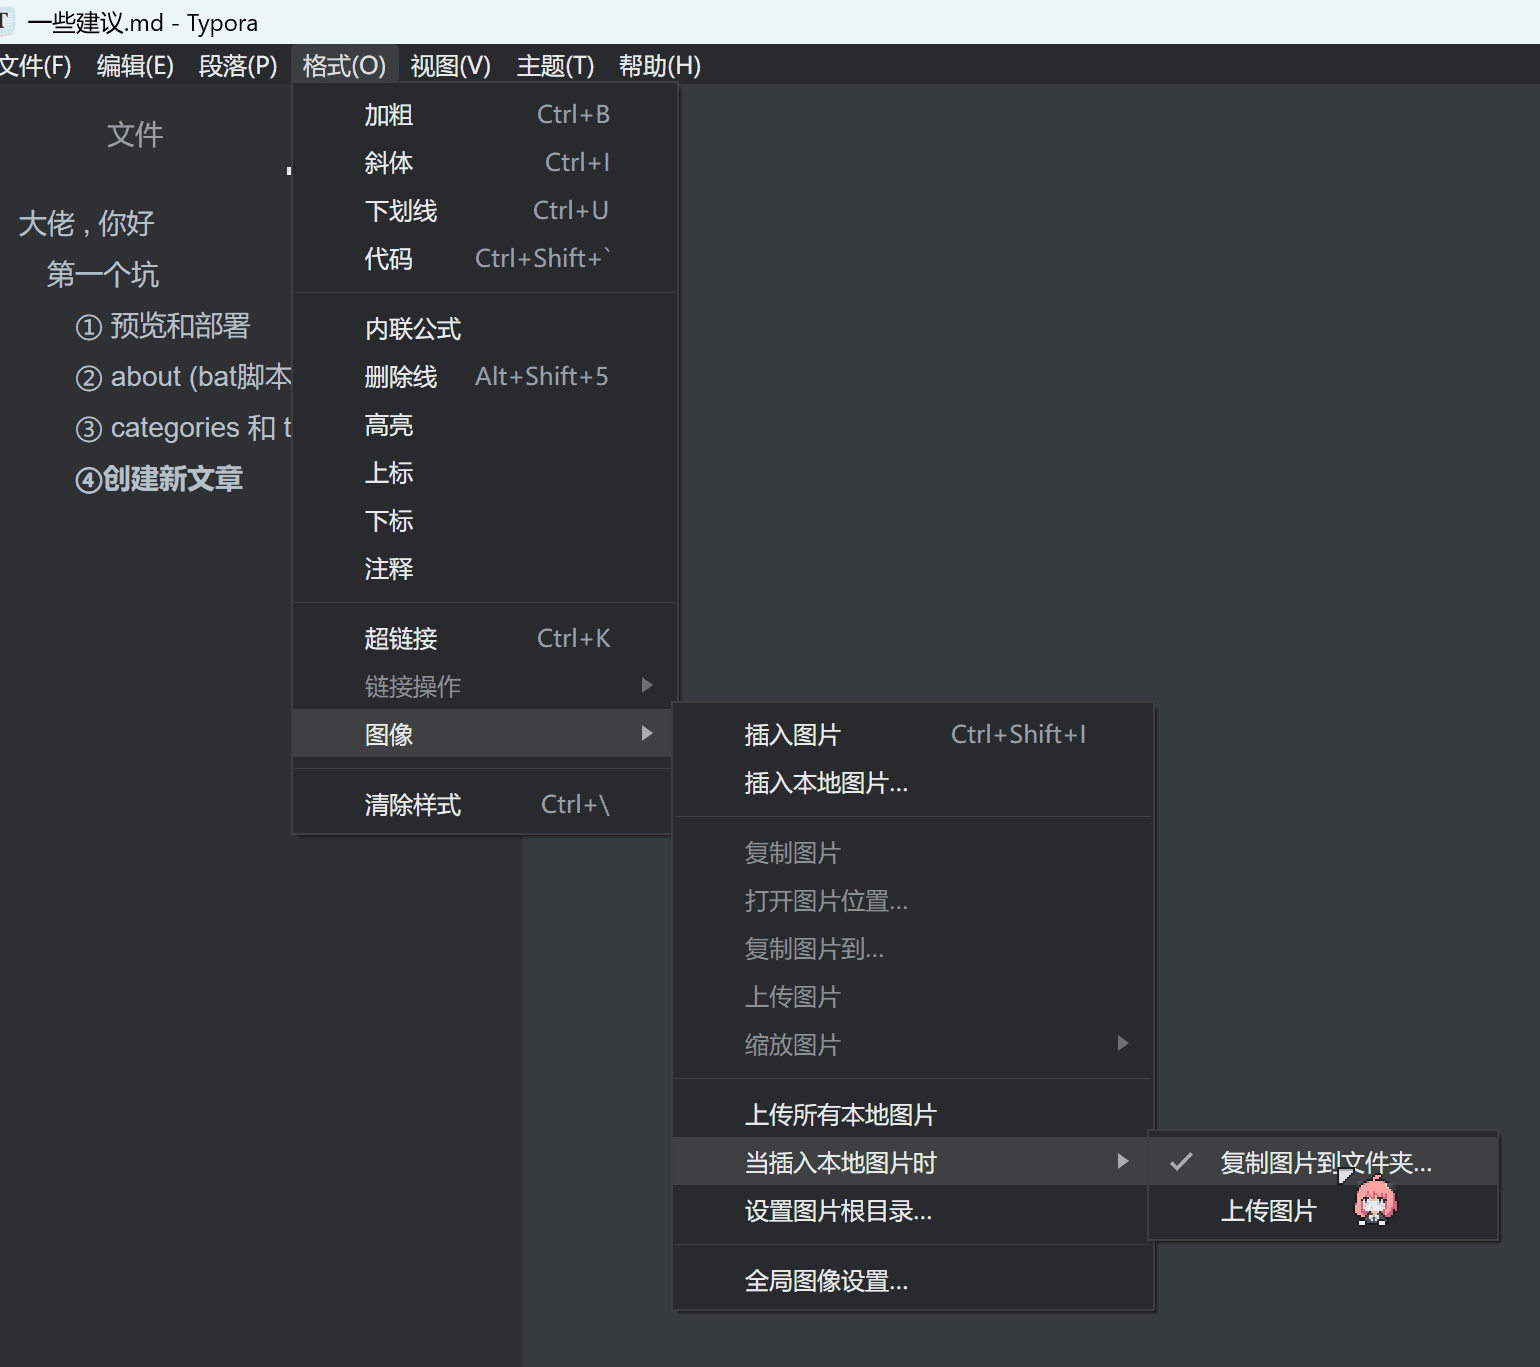
然后在typora里把这个文件夹指定为存图片的文件夹
这样就只需要把图片粘贴到typora里就会把图片自动保存在这个文件夹了
而且记得在typora里鼠标右键
将图片大小缩小一点(即把格式转换为< img >格式)
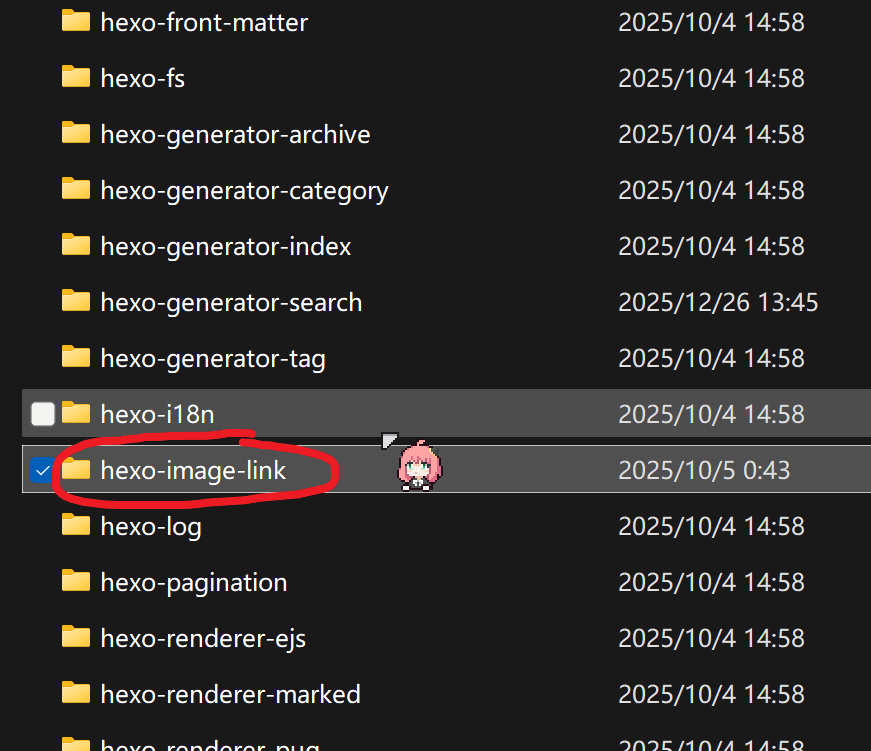
最后下载两个hexo插件 ,用这个可以用< img >格式缩放图片, 也可以在hexo里显示图片,还是在我们刚才的那个nodejs控制台进入文件夹路径输入
1 npm install hexo-asset-img --save //nodejs的控制台进入本地网站资源文件夹路径输入
1 npm install hexo-image-link --save //nodejs的控制台进入本地网站资源文件夹路径输入
还有
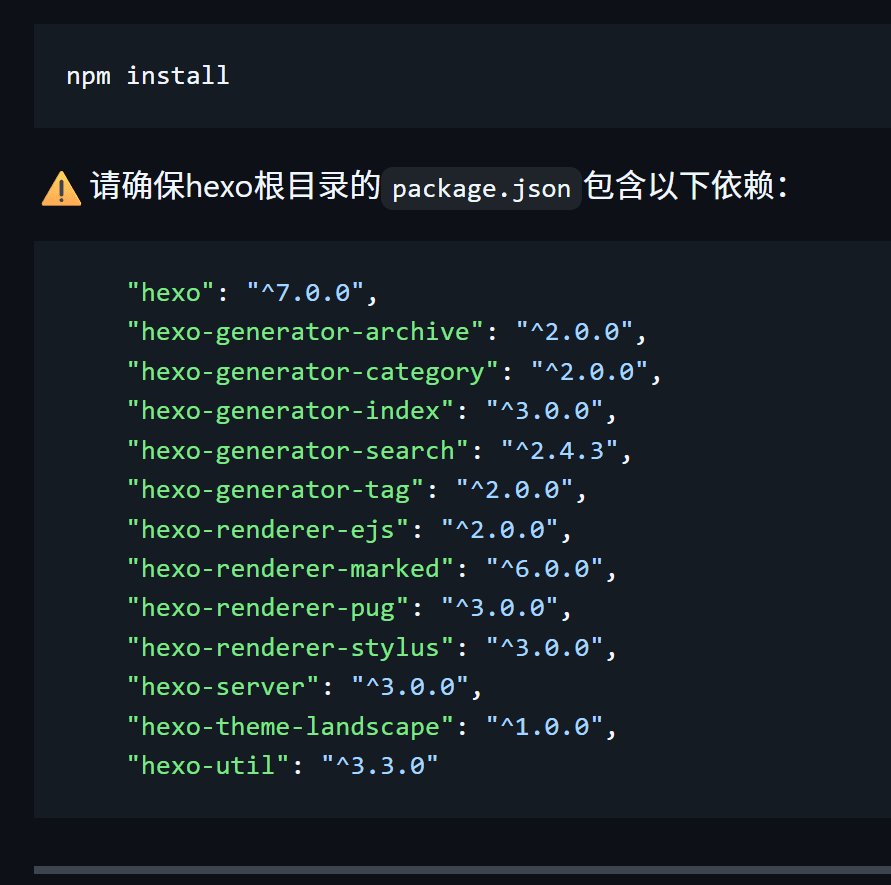
然而我们之前输入这个命令 来下载依赖的同时
1 npm install //nodejs的控制台进入本地网站资源文件夹路径输入
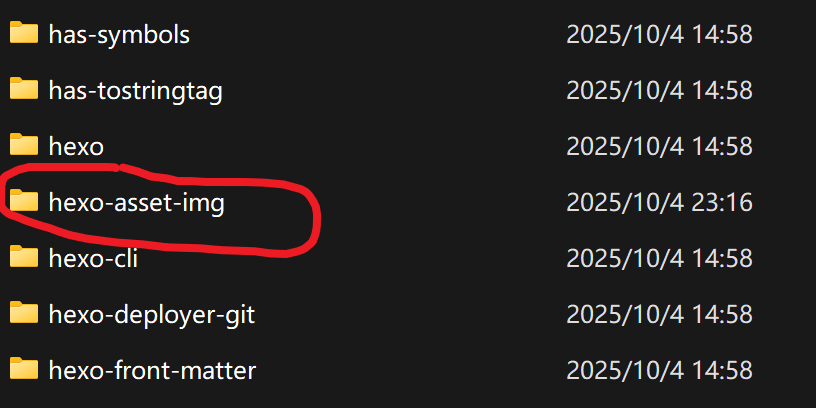
还默认自带下载了一个东西叫 hexo-asset-image (罪魁祸首)
但是开始我以为这个 hexo-asset-image 和上面这个 hexo-asset-img 一样,最后的最后发现只要这个hexo-asset-image一存在图片就显示不出来,当时花了一天时间找原因(最后才知道这个插件年久失修不兼容),找到原因后快把我气死了
删除的方法:(注意不要直接删除文件夹,用命令行才能删干净)
1 npm uninstall hexo-asset-image //nodejs的控制台进入本地网站资源文件夹路径输入
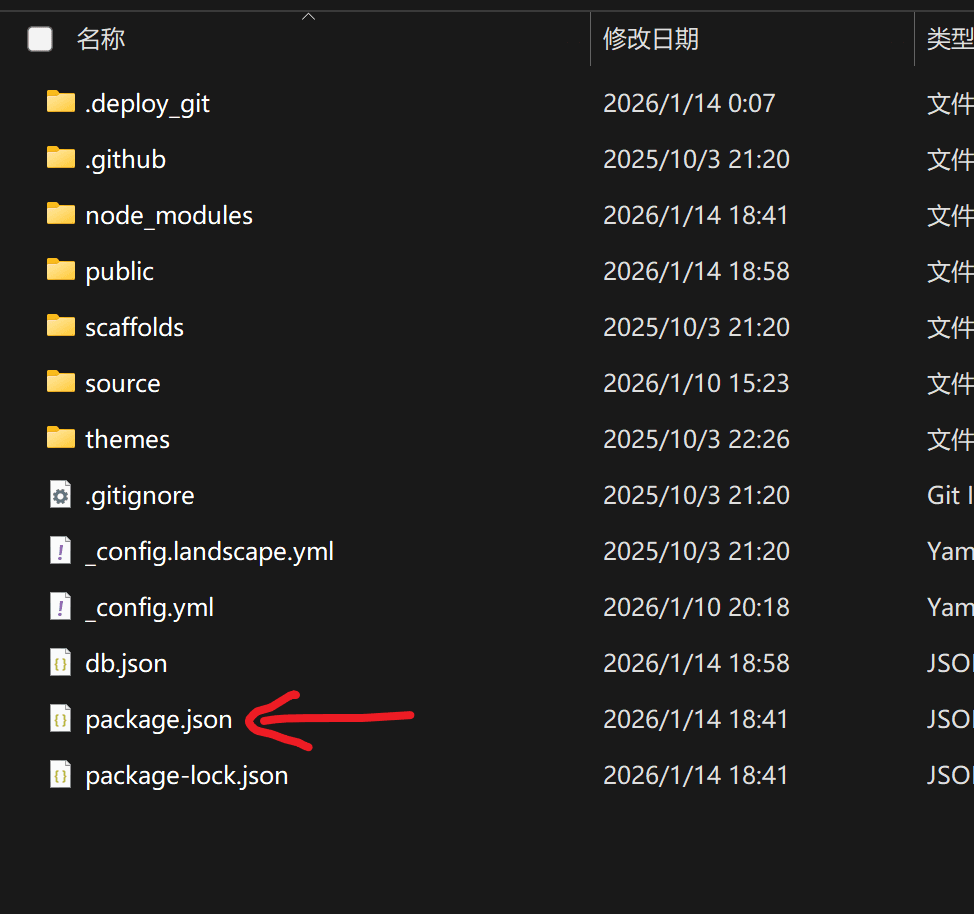
⑥ 搜索 search 功能 如下是要求的必须有的一些依赖
查看你的package.json文件夹是不是和我这个差不多
1 2 3 4 5 6 7 8 9 10 11 12 13 14 15 16 17 18 19 20 21 22 23 24 25 26 27 28 29 30 31 32 33 34 35 { "name" : "hexo-site" , "version" : "0.0.0" , "private" : true , "scripts" : { "build" : "hexo generate" , "clean" : "hexo clean" , "deploy" : "hexo deploy" , "server" : "hexo server" } , "hexo" : { "version" : "8.0.0" } , "dependencies" : { "hexo" : "^8.0.0" , "hexo-asset-img" : "^1.2.0" , "hexo-deployer-git" : "^4.0.0" , "hexo-generator-archive" : "^2.0.0" , "hexo-generator-category" : "^2.0.0" , "hexo-generator-index" : "^4.0.0" , "hexo-generator-search" : "^2.4.3" , "hexo-generator-tag" : "^2.0.0" , "hexo-image-link" : "^0.0.6" , "hexo-renderer-ejs" : "^2.0.0" , "hexo-renderer-marked" : "^7.0.0" , "hexo-renderer-pug" : "^3.0.0" , "hexo-renderer-stylus" : "^3.0.1" , "hexo-server" : "^3.0.0" , "hexo-theme-fluid" : "^1.9.8" , "hexo-theme-landscape" : "^1.0.0" , "hexo-theme-solitude" : "^3.0.21" , "save" : "^2.9.0" } }
然后这些依赖里面,刚开始的时候默认下载是可能没有这个 “hexo-generator-search”: “^2.4.3”的
我们可以输入这个来下载
1 npm install hexo-generator-search@^2.4.3 --save //nodejs的控制台进入本地网站资源文件夹路径输入
你可以参考我的这个主题设置,自己摸索几遍就知道了
1 2 3 4 5 6 7 8 9 10 11 12 13 14 15 16 17 18 19 20 21 22 23 24 25 26 27 28 29 30 31 32 33 34 35 36 37 38 39 40 41 42 43 44 45 46 47 48 49 50 51 52 53 54 55 56 57 58 59 60 61 62 63 64 65 66 67 68 69 70 71 72 73 74 75 76 77 78 79 80 81 82 83 84 85 86 87 88 89 90 91 92 93 94 95 96 97 98 99 100 101 102 103 104 105 106 107 108 109 110 111 112 113 114 115 116 117 118 119 120 121 122 123 124 125 126 127 128 129 130 131 132 133 134 135 136 137 138 139 140 141 142 143 144 145 146 147 148 149 150 151 152 153 154 155 156 157 158 159 160 161 162 163 164 165 166 167 168 169 170 171 172 173 174 175 176 177 178 179 180 181 182 183 184 185 186 187 188 189 190 191 192 193 194 195 196 197 198 199 200 201 202 203 204 205 206 207 208 209 210 211 212 213 214 215 216 217 218 219 220 221 222 223 224 225 226 227 228 229 230 231 232 233 234 235 236 237 favicon: logo: /images/0.png hero: enable: false background_image: /images/11.webp typing_text: Where there's a will there's a way kind of beautiful typing_speed: 100 delete_speed: 50 pause_duration: 2000 scroll_hint: 向下滚动探索更多 article_list: card_size: normal colors: primary: '#1a1a1a' secondary: '#666666' accent: '#ff6b6b' background: '#ffffff' text: '#333333' overlay: 'rgba(0, 0, 0, 0.7)' tag_background: '#ffffff' card_background: '#ffffff' fonts: primary: 'Inter, -apple-system, BlinkMacSystemFont, "Segoe UI", Roboto, sans-serif' secondary: 'Playfair Display, Georgia, serif' monospace: 'Fira Code, Monaco, Consolas, monospace' layout: max_width: 1400px sidebar_width: 300px content_padding: 2rem social: github: https://github.com/huyangpahuo email: mailto:3930088367@qq.com bilibili: https://space.bilibili.com/3546621941910044 menu: 首页: / 关于: /about/ 归档: /archives/ 分类: /categories/ 标签: /tags/ 网站: 我的另一个网站: https://huyangpahuo.github.io/ 我的另二个网站(狗头): https://huyangpahuo.vercel.app/ navbar: style: "bubble" footer: copyright: © 2025 胡杨怕火. All rights reserved. custom_html: "" image: enable: true src: "https://github.com/funingna-wakawaka/picx-images-hosting/raw/master/碧蓝档案.3yew7g3xtc.webp" link: "https://bluearchive-cn.com/" alt: "Footer Image" features: dark_mode: true smooth_scroll: true back_to_top: true loading_animation: true code_block: height_limit: 200 enable_folding: true max_height: 300px show_lang: true author_card: enable: true avatar: /images/0.png name: 胡杨怕火 bio: 传递笑容魔法的Ciallo~(∠・ω< )⌒☆ button_text: 关于我 button_link: /about/ background_image: "/images/13.jpg" width: large background_animation: enable: false type: geometric color_scheme: auto interactive: true density: high comments: enable: true type: twikoo shortname: twikoo: envId: '' region: path: window.location.pathname visitor: true option: share: enable: true options: twitter: true facebook: true linkedin: true copy_link: true wechat: true qq: true weibo: true option: theme_config: post: excerpt_length: 200 read_more: "阅读更多" use_default_cover: true default_cover: "/images/19.png" analytics: enabled: false google_analytics_id: "" baidu_analytics_id: "" search: enabled: true provider: "local" algolia_app_id: "" algolia_api_key: "" algolia_index_name: "" performance: lazyload: true minify: true cache: true inject: head: - <link rel="stylesheet" href="https://cdn1.tianli0.top/gh/qxchuckle/Post-Summary-AI/chuckle-post-ai.css"> bottom: - <script src="/js/ai.js"></script> - <script src="/js/postai.js"></script> ai_summary: enable: true api_key: "" summary_directly: false ai_name: "阿罗娜" ai_introduce: "老师好, 我是阿罗娜, 一个基于OpenAI GPT-4o的强大语言模型, 今天有什么可以帮到您? 😊" ai_version: "OpenAI GPT-4o" buttons: - "介绍自己" - "来点灵感" - "生成AI简介" categories: layout: accordion accordion_animation: true show_empty_categories: true toc: empty_toc_behavior: placeholder CDN: internal_provider: local third_party_provider: unpkg version: true custom_format: option:
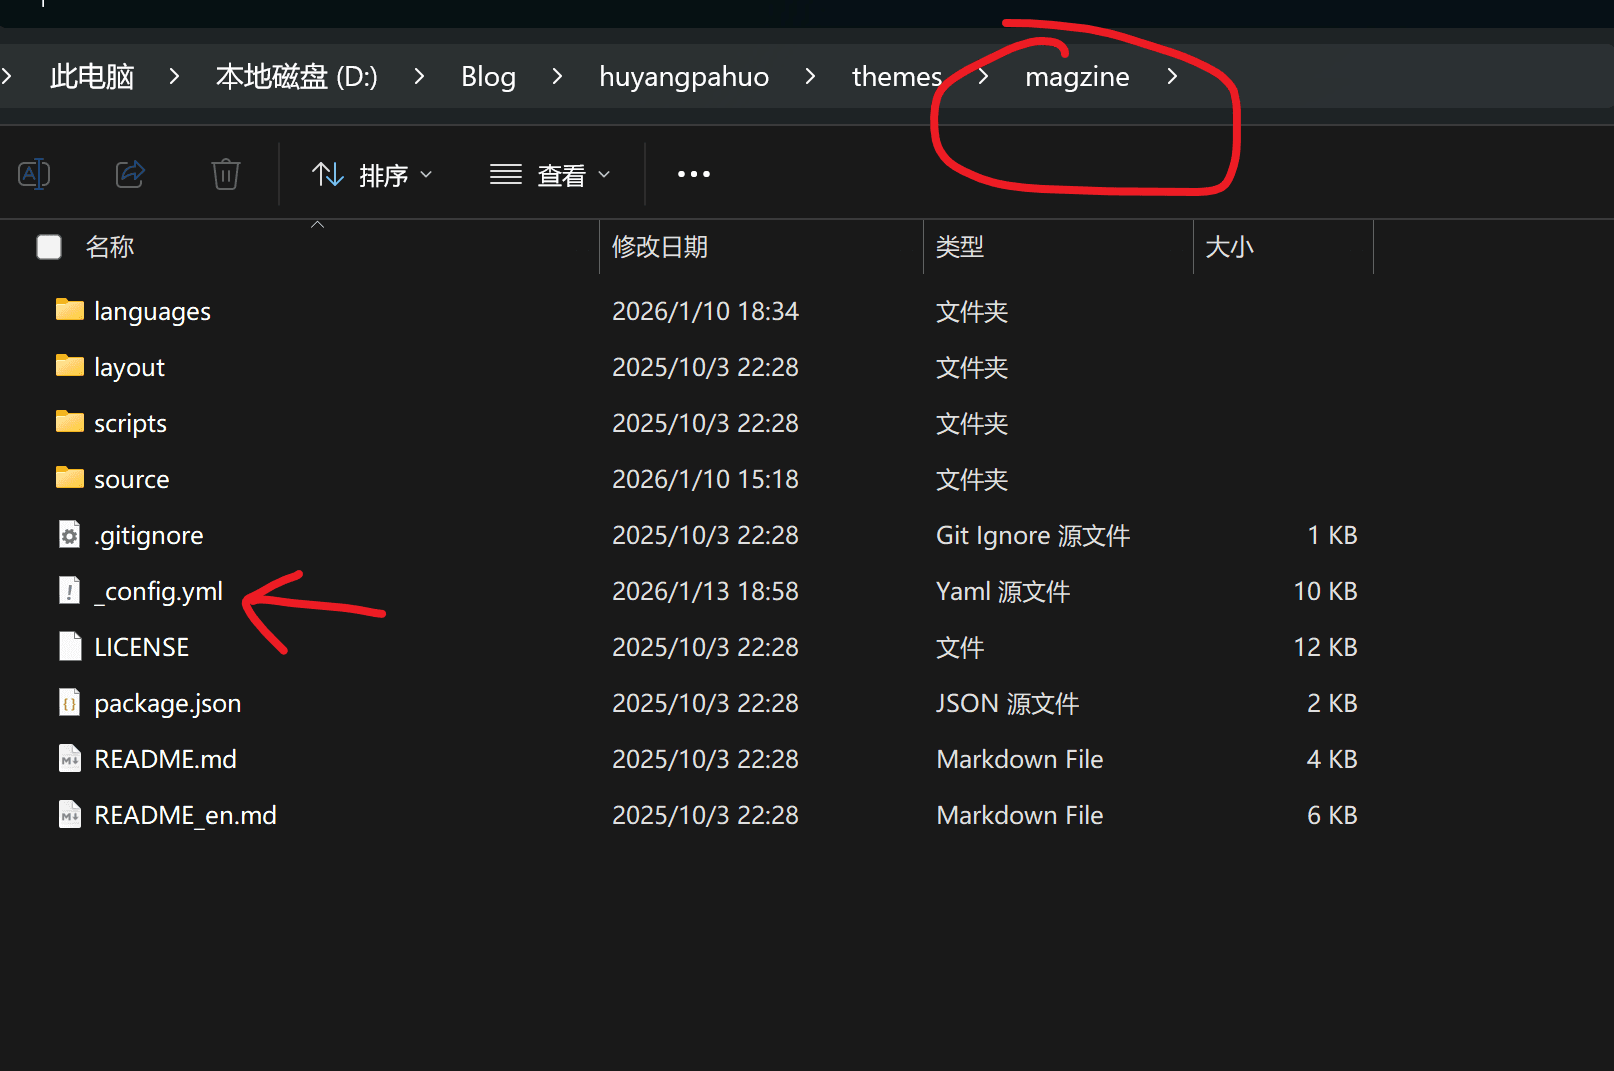
在这个hexo自己的_config.yml里
在代码底部添加这几句
1 2 3 4 5 6 search: path: search.json field: post content: true format: html
找到 magizine 主题里的_config.yml 里的刚才的这一段
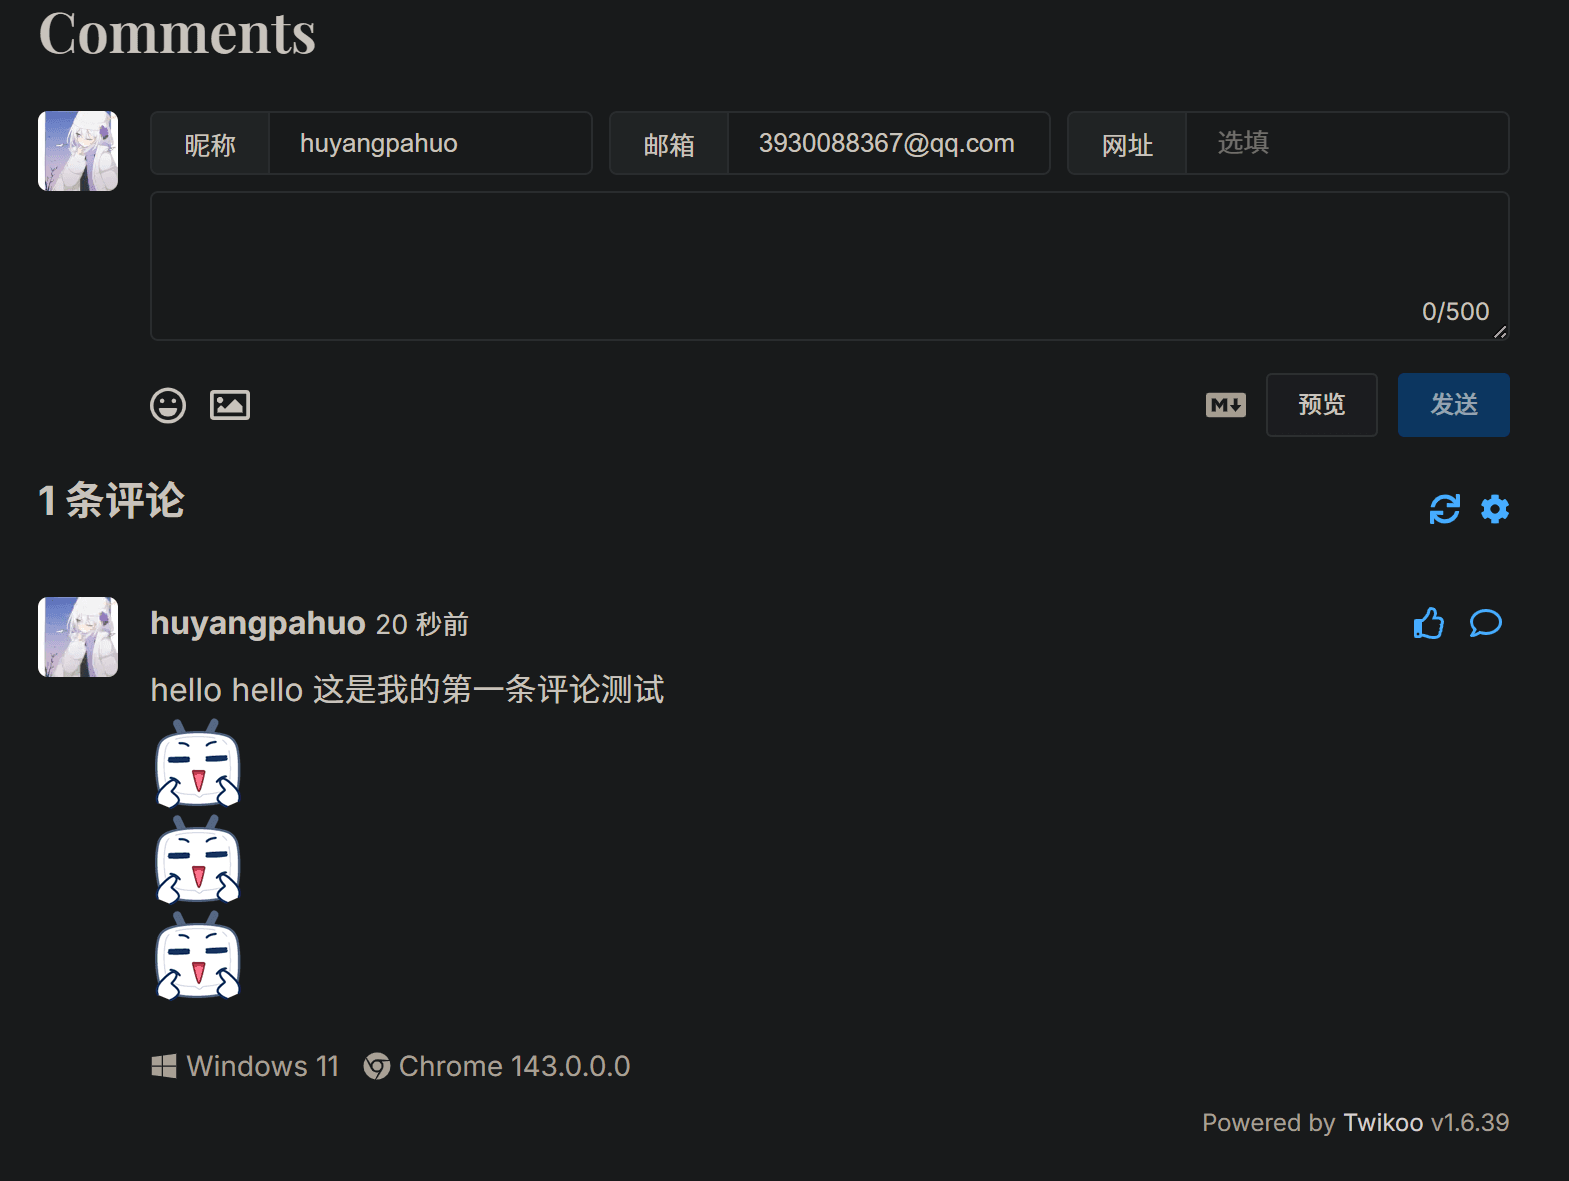
1 2 3 4 5 6 7 8 9 10 11 12 comments: enable: true type: twikoo shortname: twikoo: envId: '' region: path: window.location.pathname visitor: true option:
我写的太多了,现在有点想吐,你们自己看 twikoo的说明书还有别人的教程吧
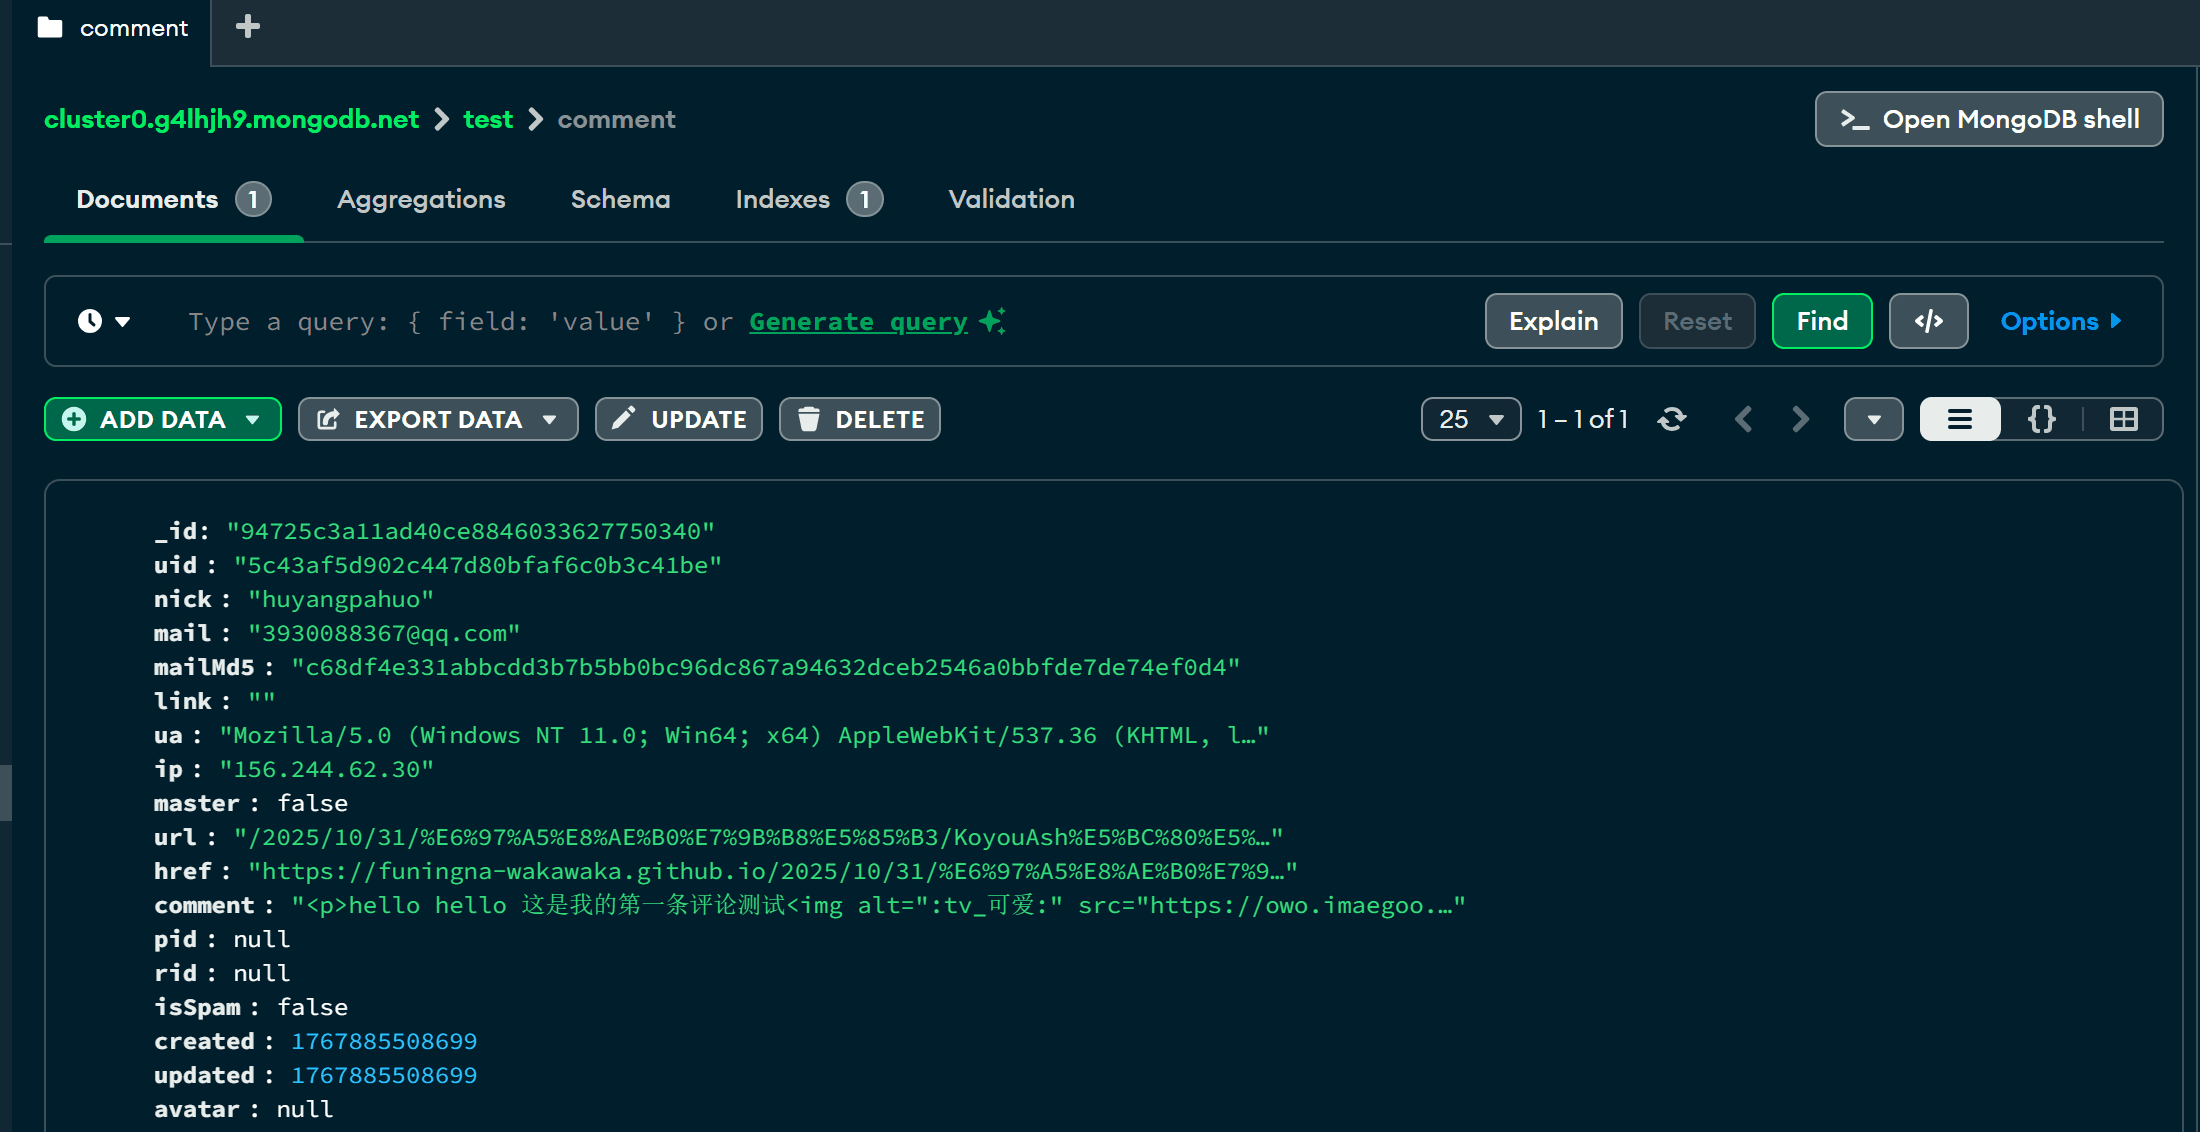
如何使用MongoDB存储twikoo评论(MongoDB Atlas | Twikoo 文档)
⑧ AI评论功能 这个AI评论功能估计你也看到了
1 2 3 4 5 6 7 8 9 10 11 12 13 14 ai_summary: enable: true api_key: "" summary_directly: false ai_name: "阿罗娜" ai_introduce: "老师好, 我是阿罗娜, 一个基于OpenAI GPT-4o的强大语言模型, 今天有什么可以帮到您? 😊" ai_version: "OpenAI GPT-4o" buttons: - "介绍自己" - "来点灵感" - "生成AI简介"
deekseek的API可以自己去申请
DeepSeek 开放平台
但是不要直接粘贴进去,否则你的API泄露, 充值的钱钱被 低调的黑客 偷光 狗头狗头狗头
请看作者的紧急处理方式 点击这里
我因为暂时不需要这个功能就不用了
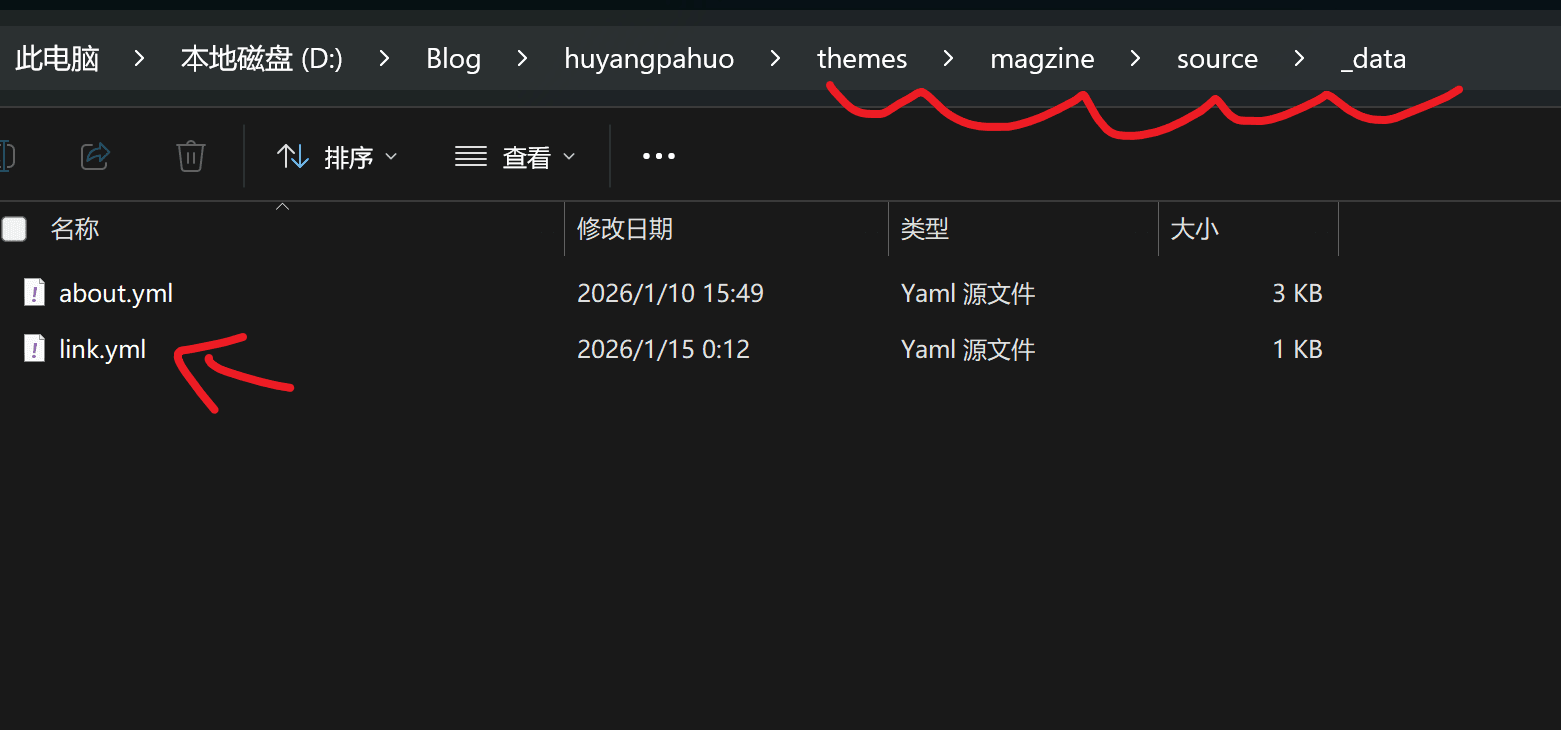
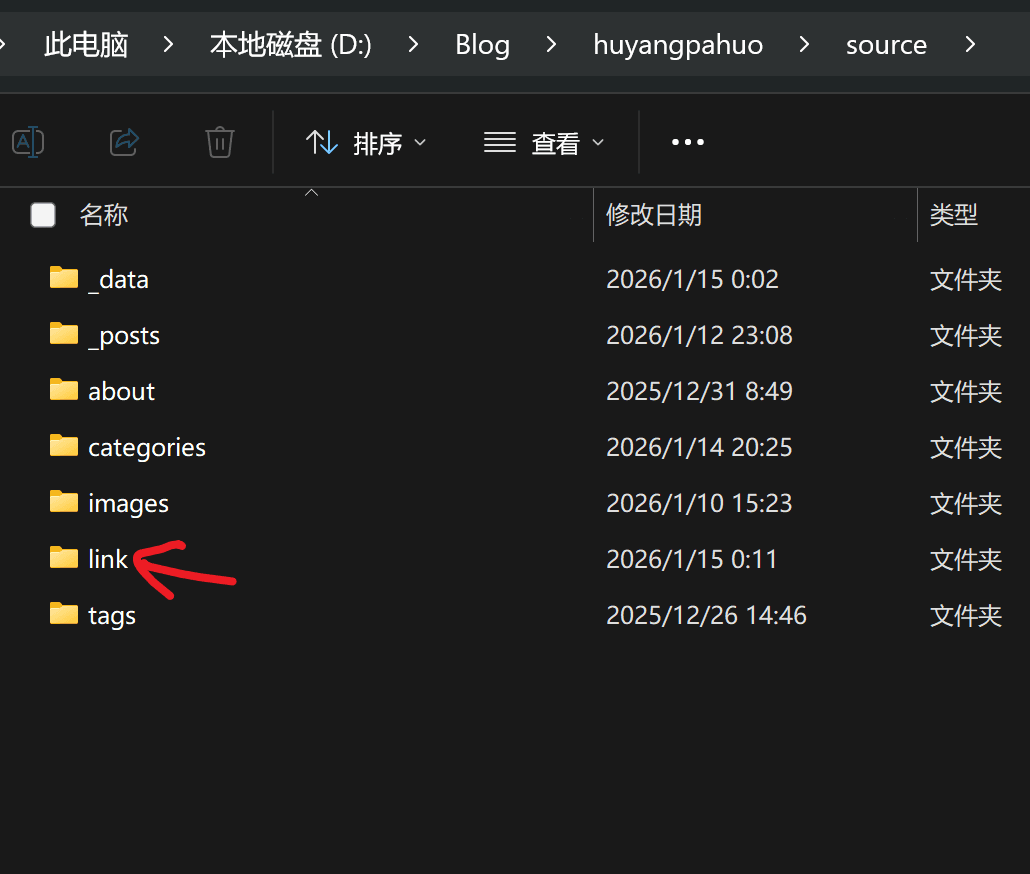
⑨ link (友链) 这个其实和刚才的about.yml异曲同工
我们需要创建一个link.yml的文件
在里面写上自己的或者别人的信息,像我这样就行
1 2 3 4 - name: 胡杨怕火 link: https://funingna-wakawaka.github.io/ avatar: https://funingna-wakawaka.github.io/images/0.png description: 传递笑容魔法的Ciallo~(∠・ω< )⌒☆
然后在这里
创建一个名为 link 的文件夹
在里面创建一个名为 index.md的文件
并在YAML里写
1 2 3 title: 友链 type: link layout: link
你们要是嫌麻烦仍然可以使用这个bat脚本
1 cmd /k "cd /d D:\Blog && hexo new page "link"" //把这个路径替换为本地网站资源的文件夹位置,替换完后删除你看到的这句中文,并点击脚本启动
⑩ 插入视频(独创功能) 这里原本的hexo插入视频的方式如果要是支持响应式的话就必须这么写
1 2 3 4 5 6 7 8 <div class="video-container"> <iframe src="//player.bilibili.com/player.html?bvid=BVxxxx" scrolling="no" frameborder="no" allowfullscreen> </iframe> </div>
但是这种方式具有非常大的弊端,就是你不可能总是记得这个插入视频的语法,而且每个视频平台的格式并不是太一样
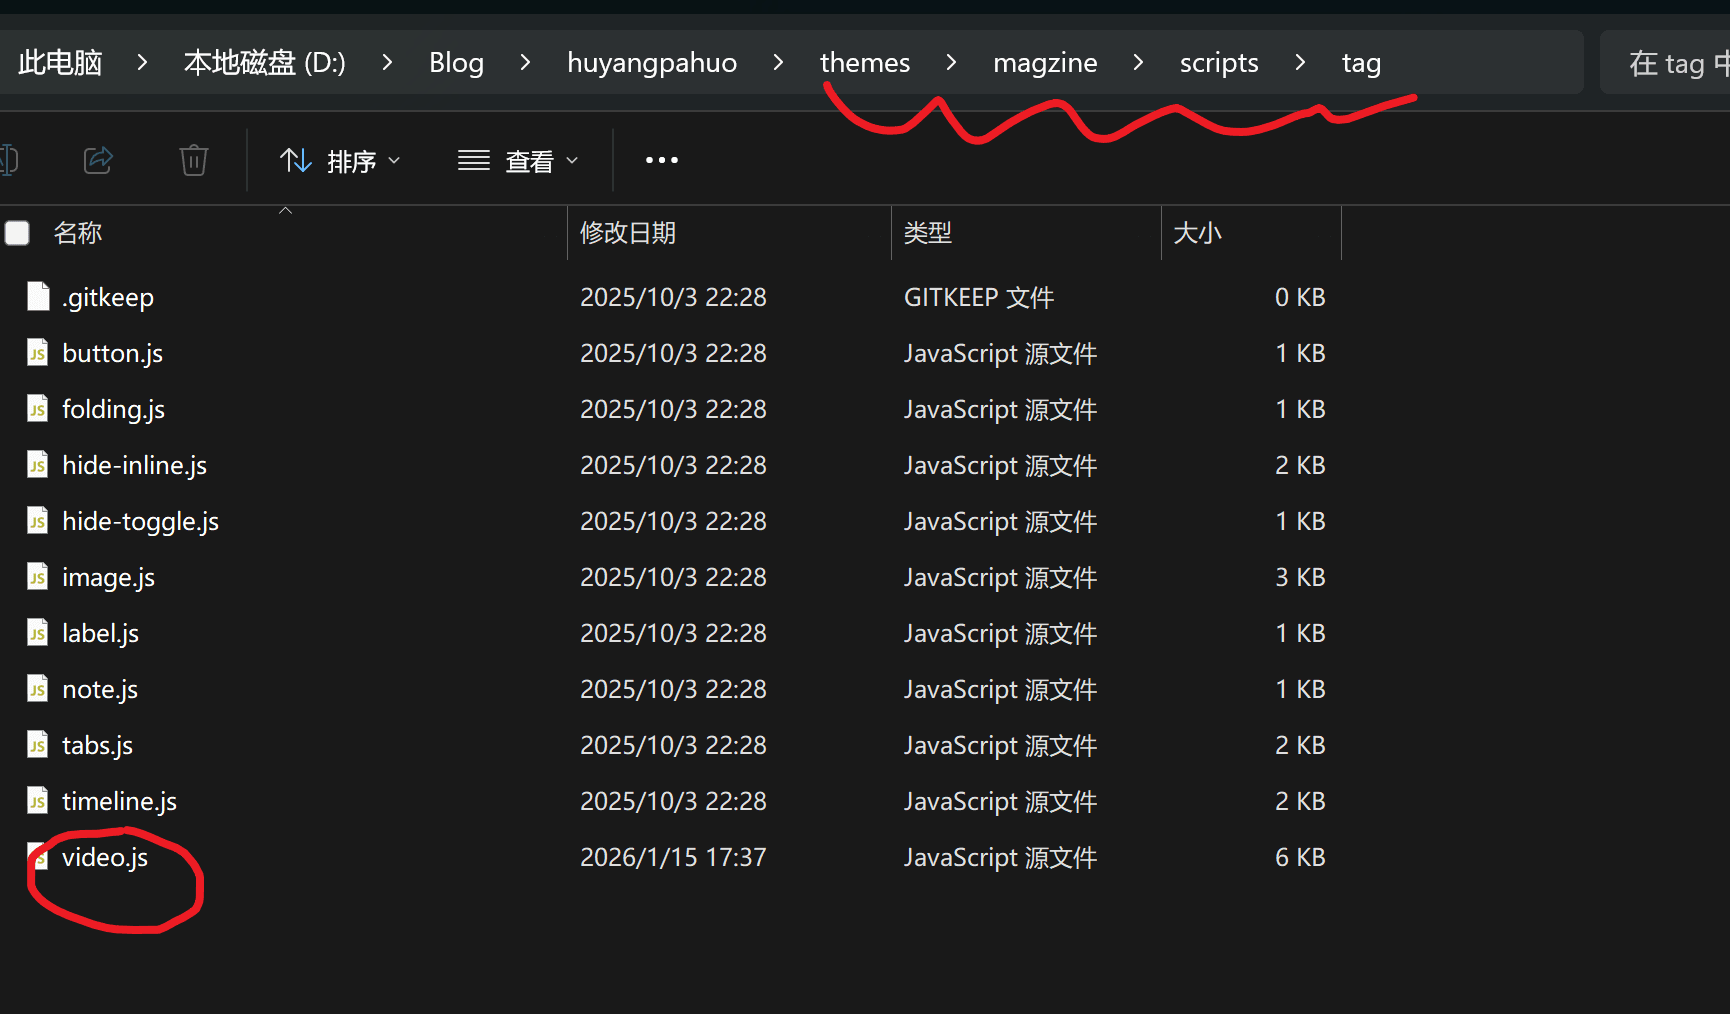
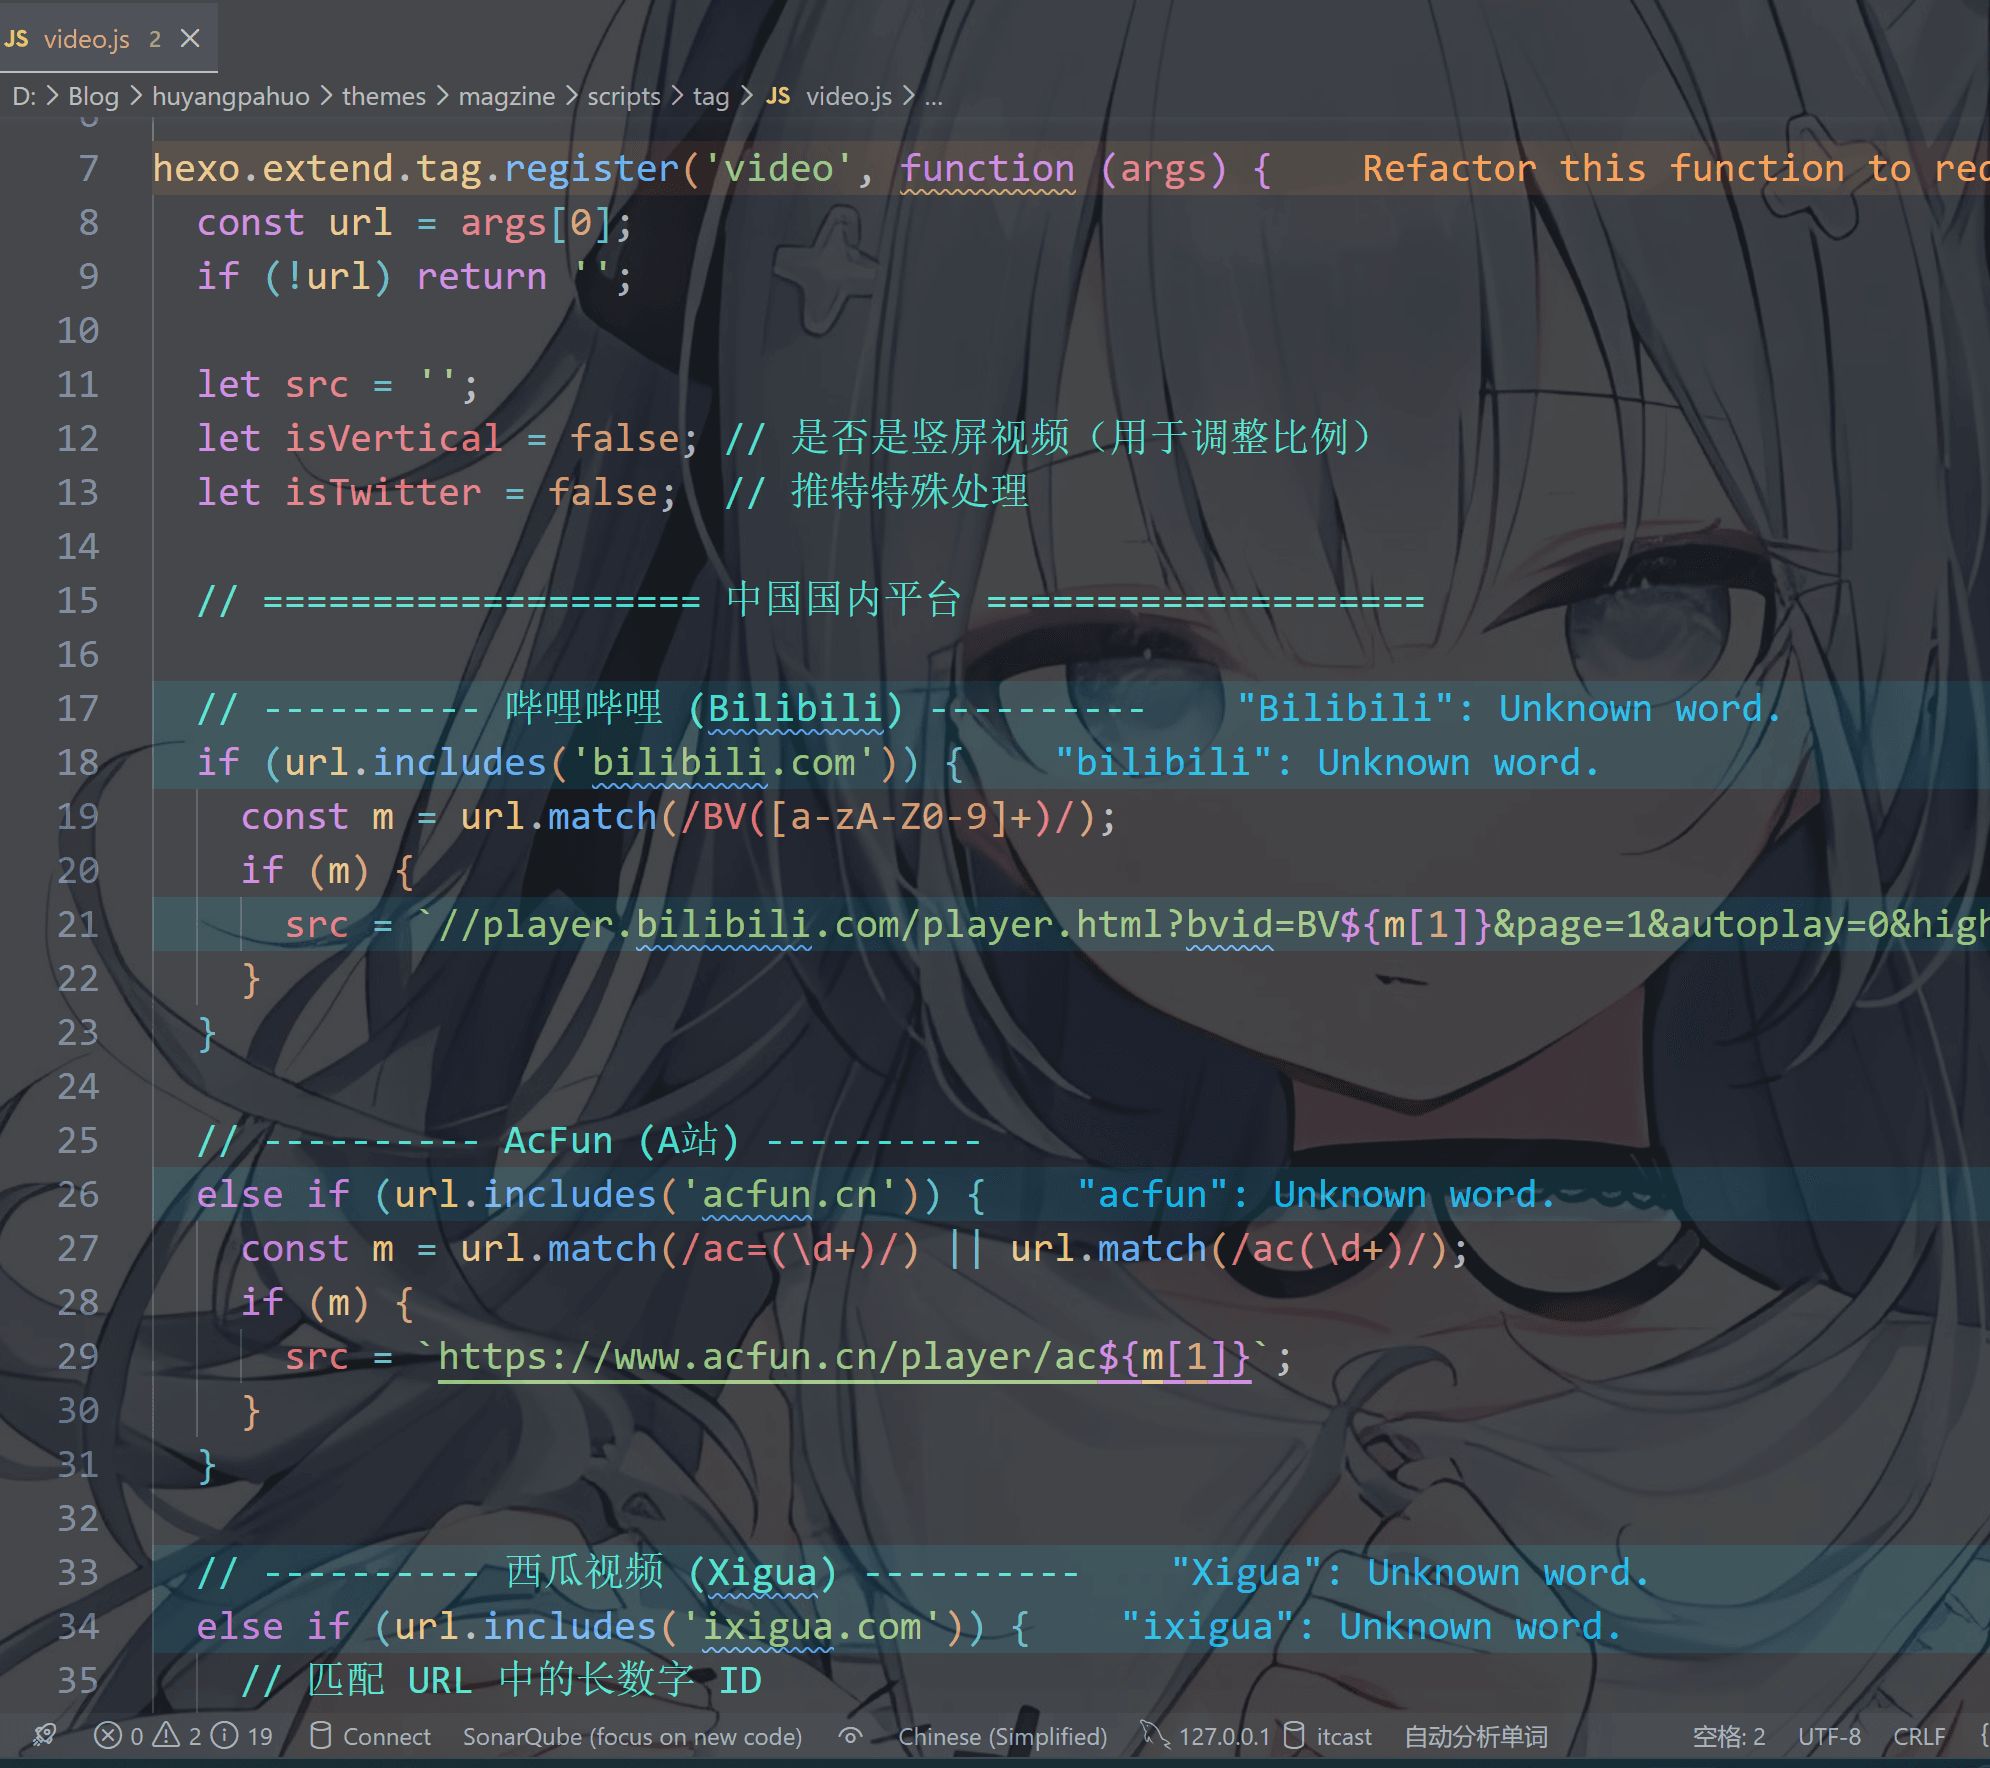
所以我在这里面增加了一个video.js文件
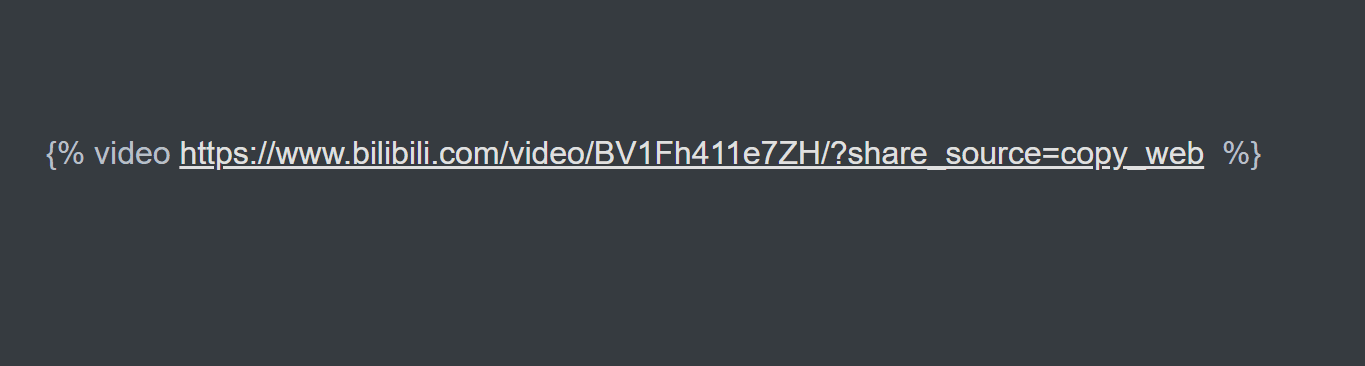
这个可以允许使用这个语法来插入视频
例如下面这样就可以哔哩哔哩的视频
当然这个功能和hexo自带语法格式的并不冲突,你们如果不喜欢这种格式也可以不用,或者和我这种格式混用也是没有问题的
在这个文件里我其实主要支持哔哩哔哩和Youtube,,其他的相当于是支持iframe格式的所以我也加进去了,你们要是有别的需求可以让AI帮你们改一下,不过出了问题不要问我哦,因为我也是让AI写的并不知道有没有Bug
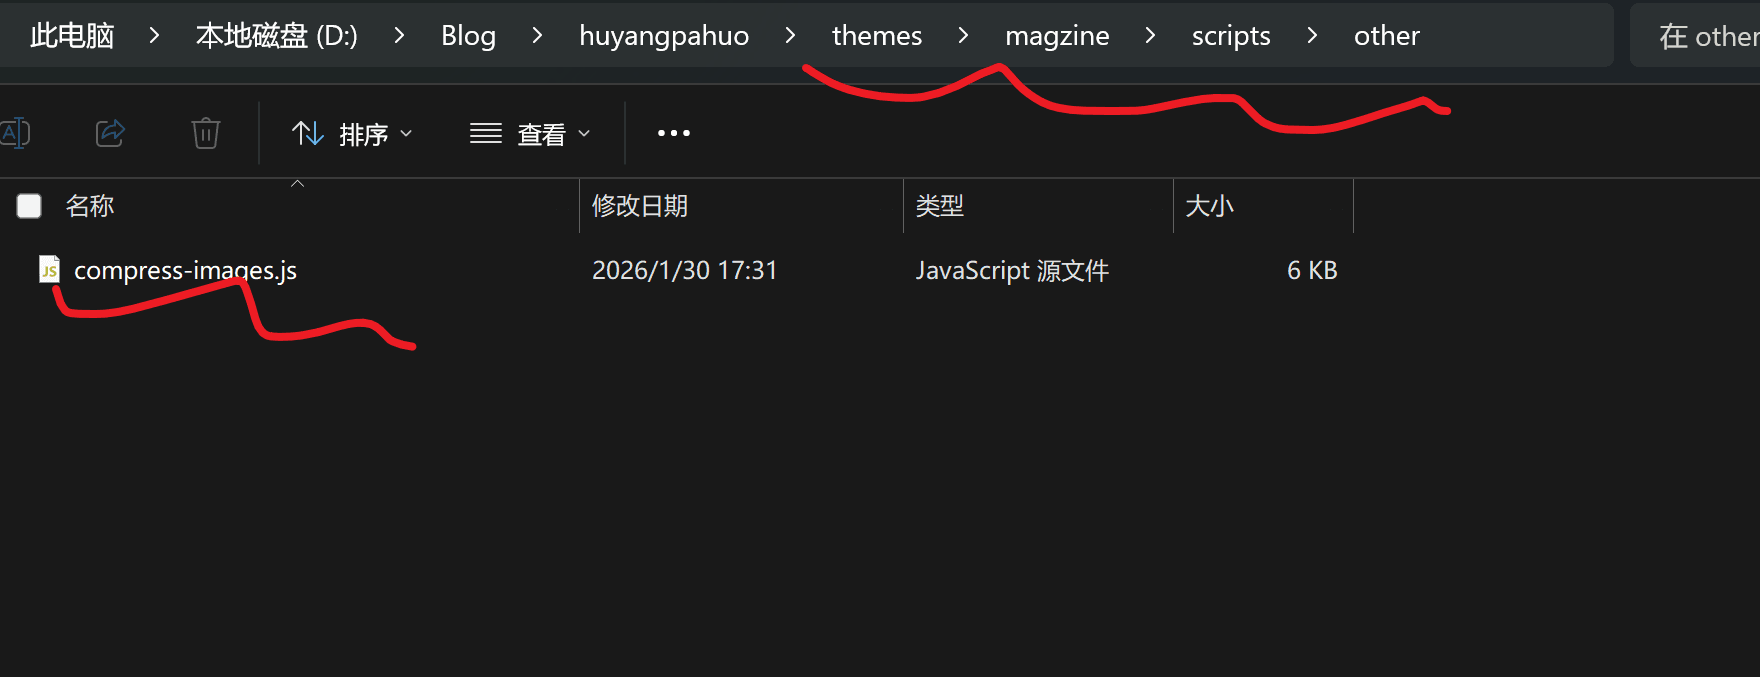
⑪ 压缩图片功能 功能文件在这里
这个需要hexo额外下载一个插件,当然不下载也不会影响正常的使用的哦
然后触发压缩的操作为
① 先清理 再生成 再生成 再部署
② 假如public文件夹已存在,不需要清理,直接只生成一次,再部署
③ 先清理 再生成 再启动服务器 再 部署 (推荐)
⚠️但是不要先清理再生成再部署或者直接部署了,这样不会触发压缩程序的
出现类似这样信息就是成功
1
2
🚀 [Image Compressor] Starting image optimization.. 🎉 [Image Compressor] Finished! Processed 619 images. Saved 190.29 MB.
你要是看不出来区别在哪可以对比一下public文件夹和source文件夹的图片大小就知道了
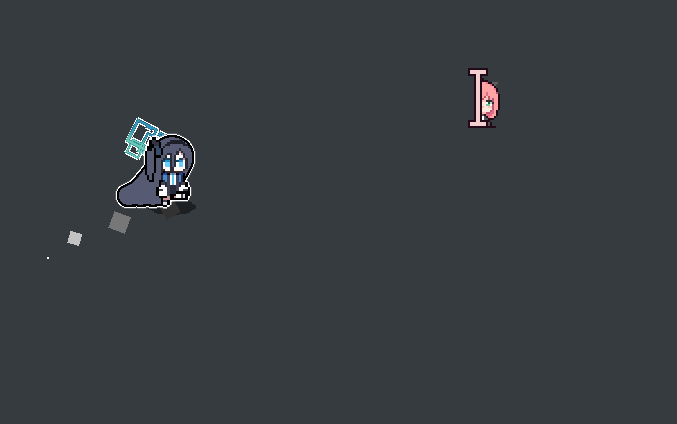
我的一些新的想法 ① 桌宠取代看板娘 我其实非常不喜欢那种网页 看板娘, 又大又挡视野, 我反而更喜欢满屏幕乱跑的桌宠,放寒假的时候我看看能不能把这个godot制作的爱丽丝小桌宠转换为 网页版本的
②网页内嵌小游戏 我希望像itch那样直接在网页里玩游戏,到时候看看能不能做到把一些小游戏嵌入到网页里,这样可以让Blog更有个性
③ 进一步美化图片查看功能(已实现并PR,你们现在可以使用了) 之前给forever218大佬的那个AI改写的图片缩放逻辑电脑端没什么问题,手机却不行,不过现在我已经修好了,但是我觉得暂时不要再PR给大佬了,因为我觉得这个还有很大的改进空间
到时候看看能不能搞成相册那样可以跳转到上一张或下一张还能保存下载到本地而且图片可以自由放大缩小旋转自适应屏幕那种
④ 增加更加丝滑的转场 比如我们切换文章或者其他的功能的时候都会出现这个圈圈一直转,我到时候看看能不能丰富一下这个让转场更好看一点
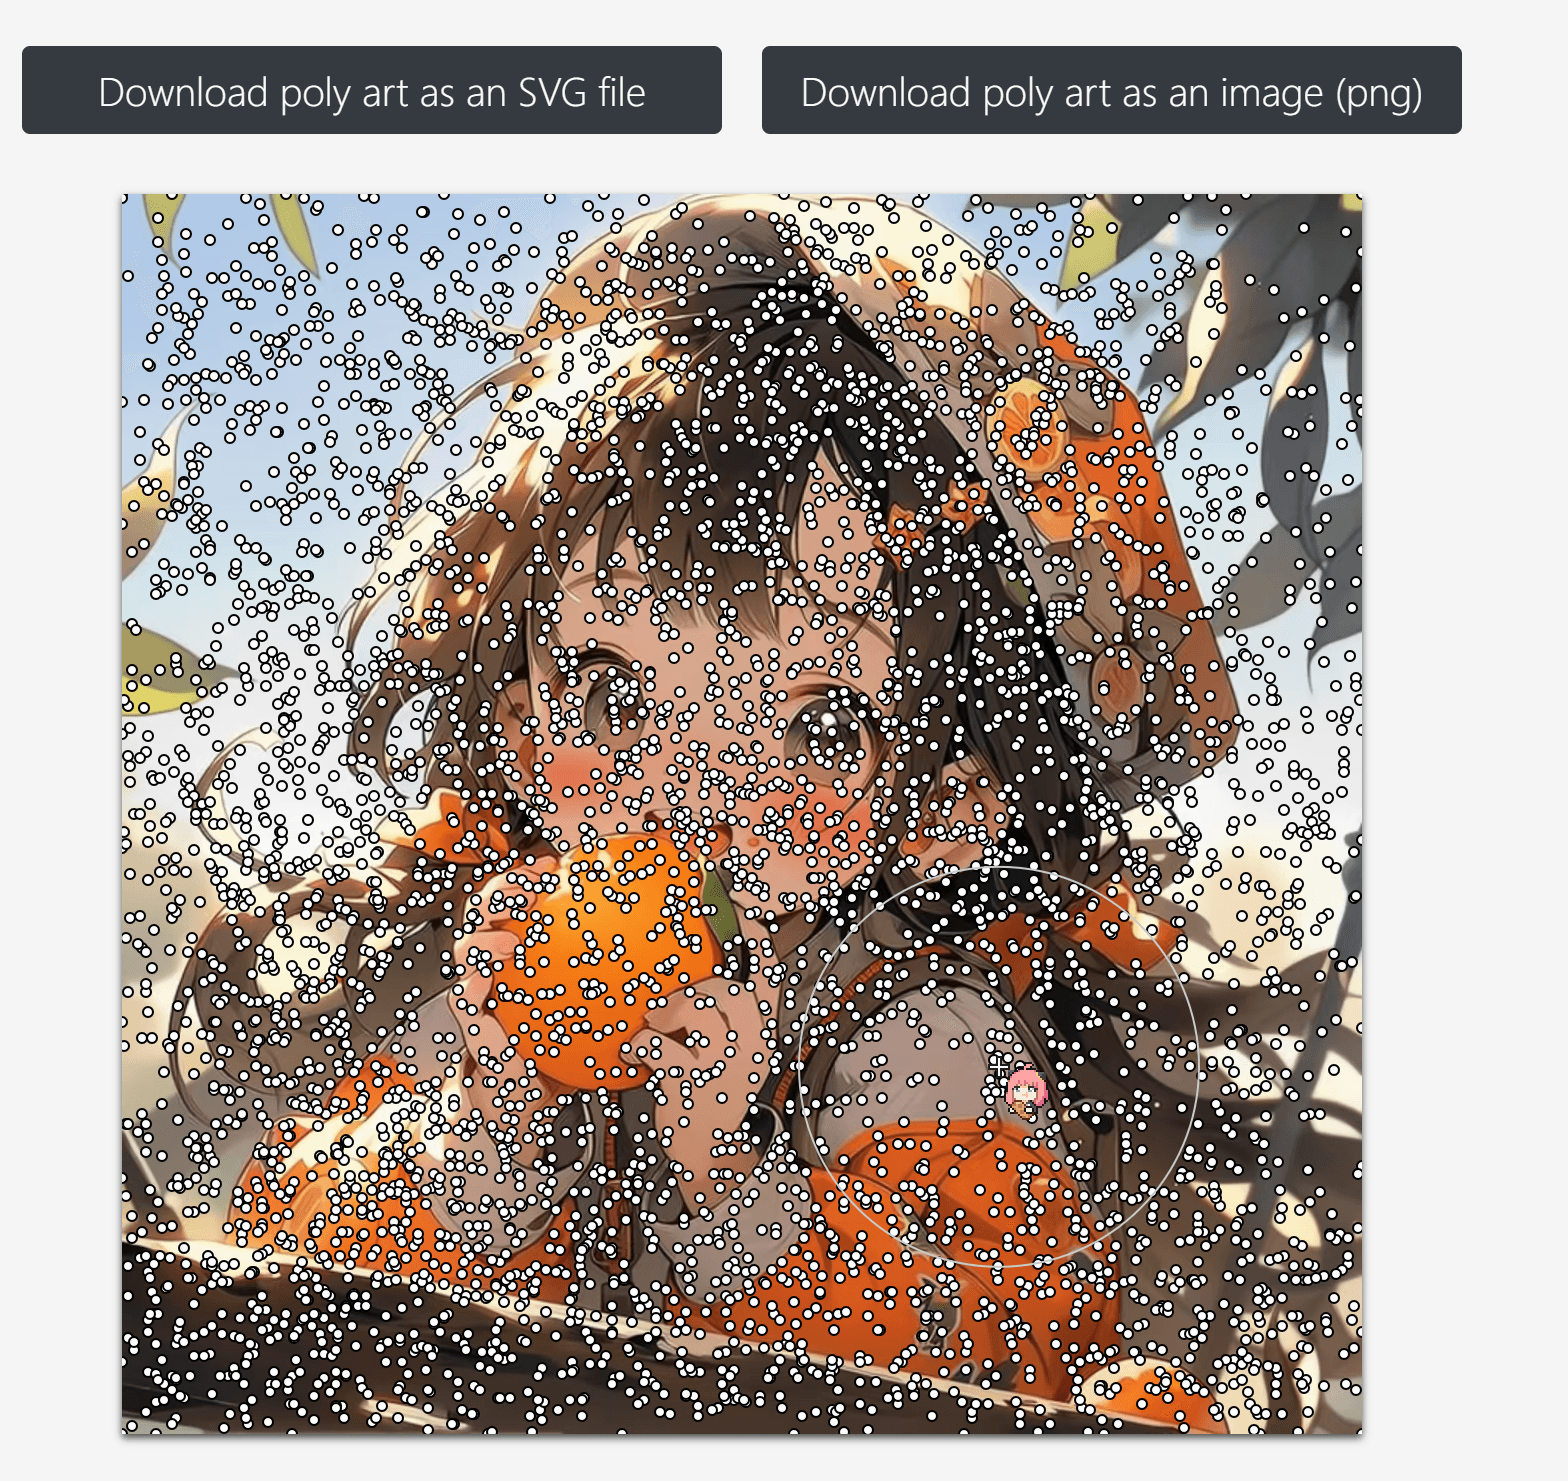
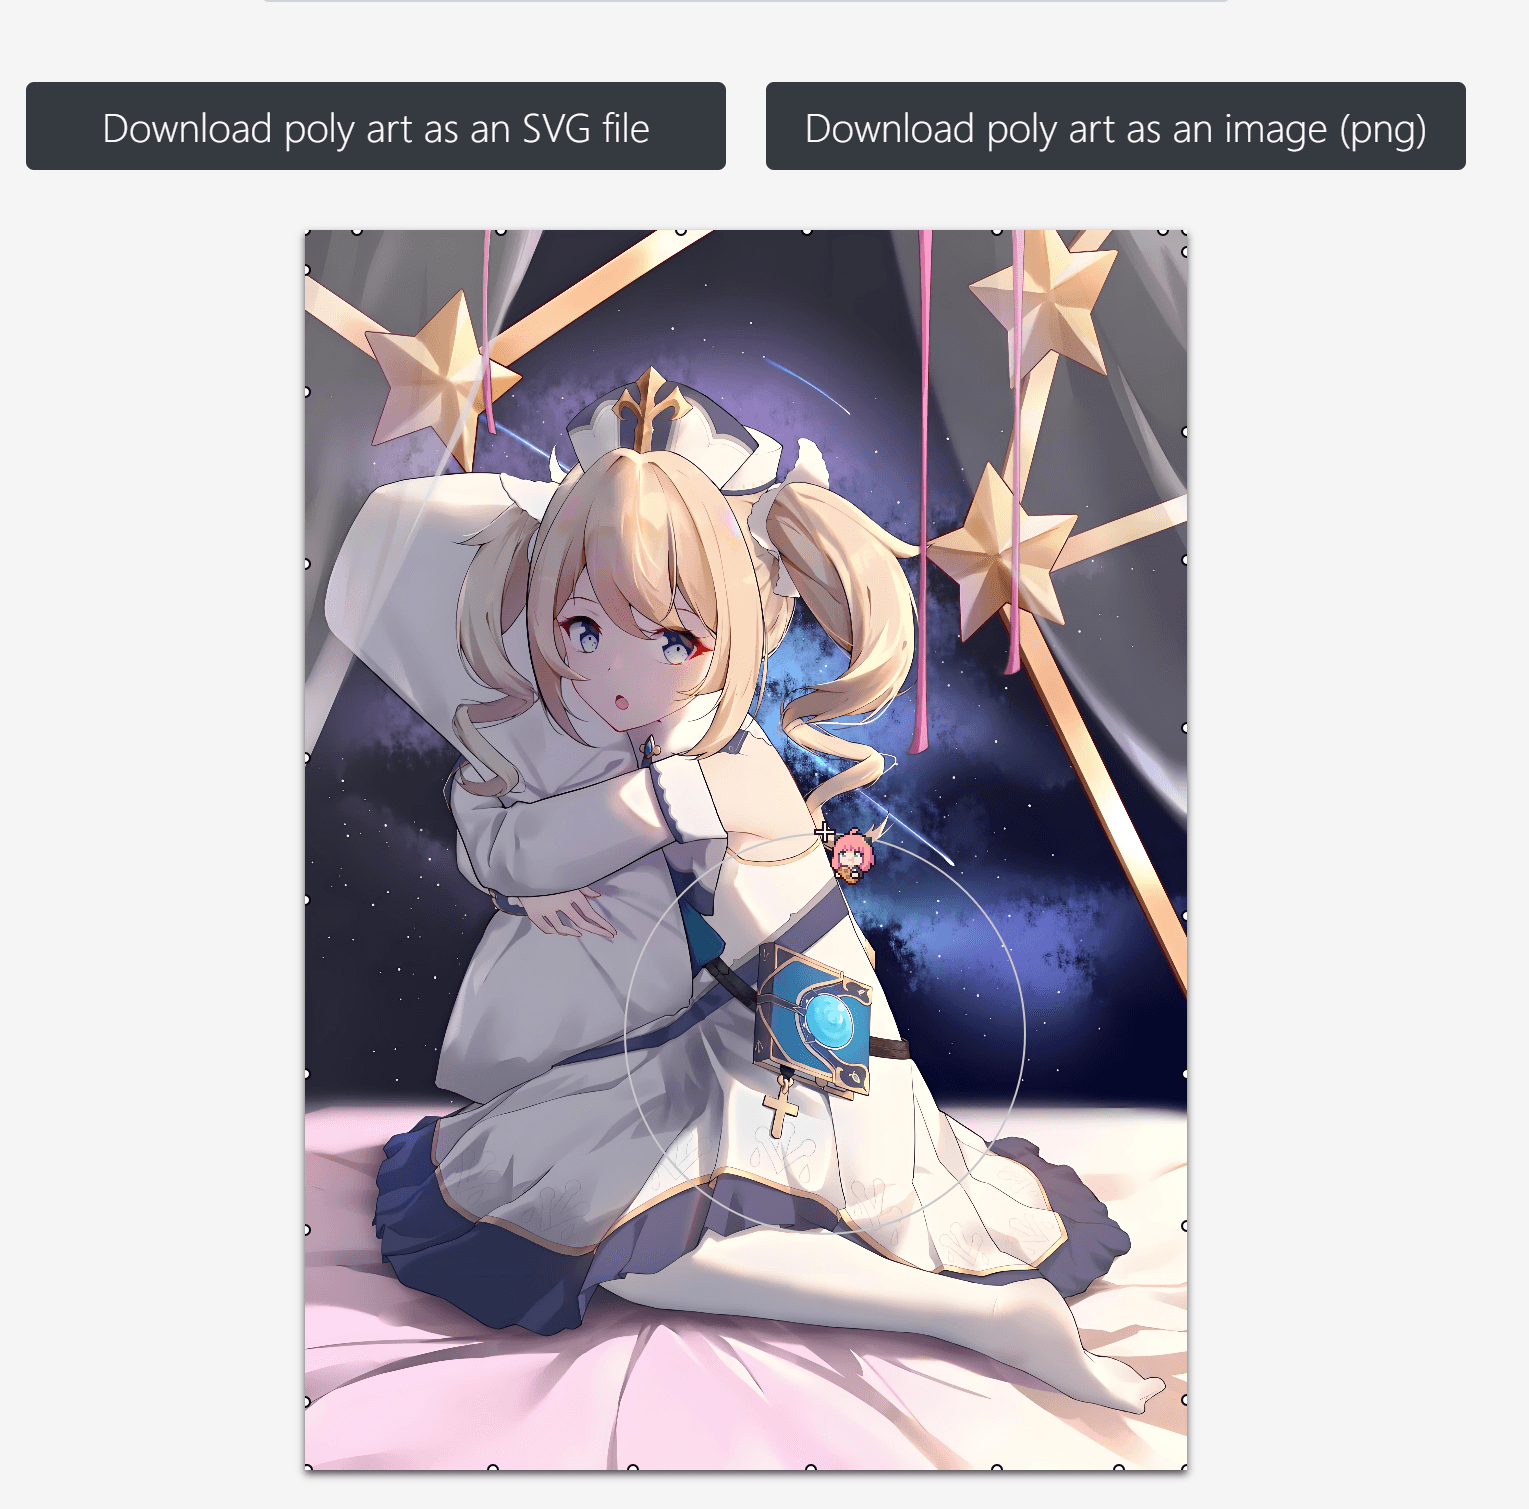
这个目前想采用的是这种三角玻璃破碎的效果,有点类似于游戏里的转场那种,比如蔚蓝档案的官方前端网页我就觉得挺好看的
⑤ 将传统的Blog和本主题融合 到时候我看看能不能增加一个按钮,点击一下可以切换界面的格式为杂志样式或者那种 fuwari 的样式,相当于是满足不同人群的阅读习惯
⑥ 语言切换功能 这个我目前只是一个想法,就是一键可以切换网页的语言,斌结合浏览器翻译插件,但是目前我对 这个hexo的国际化多语言插件 hexo-i18n 了解的不多
所以目前我还需要更多的学习(forever218大佬要是已经做了这个功能就不需要我补充了)
好啦,如果大家还有什么不懂的请在评论区告诉我哦(虽然我可能看不懂 狗头狗头狗头)


评论区